Search the Community
Showing results for tags 'External'.
-
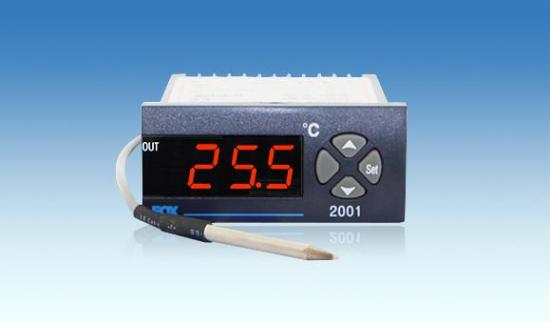
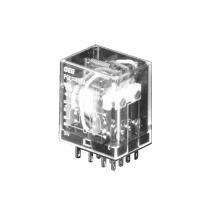
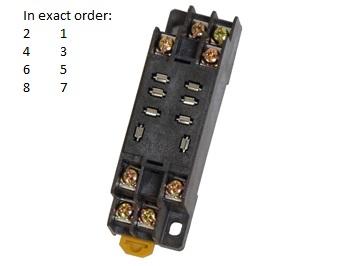
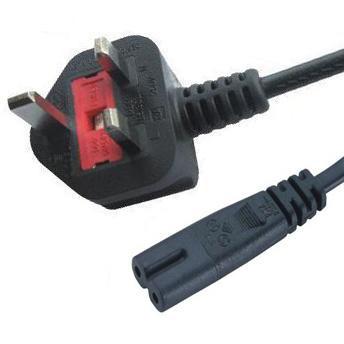
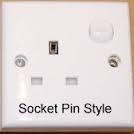
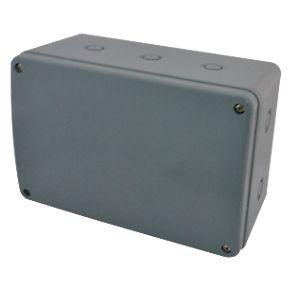
Hi all, This is just to document my (not so DIY) DIY external temperature controller. The main purpose for the controller is to trigger my chiller once the controller sense the set temperature. Its present a more accurate reading than the one that is built into my chiller (Hailea HC-300A). As my chiller was kicking in like every other 1/2 an hour, it makes sense to add in the controller to decrease the frequency of it kicking in. Some will say its because of my in flow rate causing the sensor to pick up false reading, while other might debate that the thermo sensor in the unit is faulty. Well, nothing is perfect in this world and hence this device is put together to make a better world, or at least for the fishes and me. There are a couple way you improve the temperature sensing / kicking in of the chiller. Open up the chiller and disconnect and install a seperate temperature probe ( requires dismantling of the chiller, need to determine if its NTC or PTC probe) direct connection of the temperature controller to the chiller by retrofitting it and wiring it (limited to the output current of the controller and requires dismantling of the chiller. Put together a external temp controller and configure it to trigger power supply as and when it sense the set temperature to kick start the chiller and pump. I'm going with #3, which is easier for those of you that not so into the idea of dismantling your chiller. Also, if you decide to upgrade your chiller or even to a drop in coil, this can be reuse, just need to change the relay accordingly and made slight modification. Decided to document this as I was searching for similar guide within the forum and did not manage to find one that has any pic ( PIC speaks a thousand words, they say). Many use fox controller, bro triggerfish had earlier document a similar for his chiller, but i can't seems to find one with a diagram that could make the build a little easier. DISCLAIMER: This is based on my purchased controller, its schematics as well as the technical specification of my chiller. Yours may differ a bit, please exercise abit of self judgement unless yours is 100% similar setup. I will try to state as much details as I can. --------------------- So here we go: Material required: 1 Fox-2001 temperature controller ($50 as of today. From Acez instruments, Sim Lim Towers #B1-38.) 1 10A DEG PCLH-108A1S relay ($6.50 as of today. From KOBA electronics, my fav electronics stores, People's Park Centre #03-06) 1 relay plug in socket ($3.50 as of today. Also from KOBA) 1 3 pin fused power cord. Its 3 pinned for easier connection, but only 2 wire in it ($3 i think. Aloso from KOBA) 1 single-gang socket ($5.80 as of today. Also from KOBA) Enclosure box to house all the above ($10 - $20,depending on your preferred size from Jalan kayu hardware store) Reason for selection: 1. The fox-2001 is one of the cheapest and most basic temp controller i could find. It comes with a 3m NTC probe, allow user to set highest and lowest temperature, provides a relay output (sadly only 250V - 2A) and it takes in 220v power. Other variant are available, such as one that allows 2x or even 3x output for your fan or pump, or 1 that includes alarm. Product inforamtion: http://www.acezonline.com/products.php/temperature/temperature-controller/fox-2001 Datasheet: http://foxeng.co.kr/upload/pty3/1397457444_0.pdf 2. The controller provides a relay output of 250V, 2A. This pose a problem. My chiller max running at 3A, or so i think from the datasheet that I have got. The Hailea HC-300A states the current rating as 1.8A (3A). So to be on the safe side, i got a 10A!!!! more than enough to power the chiller and allow future upgrade without the need to change the relay. You don't have to get the same relay as me, I'm just kiasu. However, this relay has to at least match the current rating of your chiller's or any thing elsethat you are running, otherwise it will 100% fry your controller or the equipment. Worse case, both. More is better. LESS IS NOT!!! Make sure you buy one with plug in terminal, not pcb terminal. We do not need to do soldering. Datesheet: http://docs-asia.electrocomponents.com/webdocs/04ab/0900766b804aba9a.pdf 3. The relay plug-in socket is solely for the relay and ease of connection. All you need to do is identify the correct port and connect the wire. 4 & 5. Both power cord and socket are meant for 3 pin. The temp controller requires only 2 wire, Live and Neutral, hence the power cord. It comes with fuse just as a additional safety in addition to the relay. 6.Waterproof enclosure allows your to safely house all components without fear of water splash or condensation sipping in, since the final product will be place near water. ------------------------------- Ok. Time to sleep. Tomorrow update on the connection and why this is call (not so DIY) DIY external temp controller.
- 27 replies


