-
Posts
6,221 -
Joined
-
Last visited
-
Days Won
40
Content Type
Profiles
Forums
Gallery
Everything posted by sherman
-

LED lights suitable for 3ft 2.5ft 2.5ft. :)
sherman replied to sharonleong's topic in General Reefkeeping_
Tune down the blue for phototaking. Or use an orange filter. No camera sensor can read the blue light accurately -

LED lights suitable for 3ft 2.5ft 2.5ft. :)
sherman replied to sharonleong's topic in General Reefkeeping_
The Hydra 52 hd I will avoid at all cost due to the lens it use. The angle of the lens result in spotlight and burnt effect. Its a good light if you remove the lens -

LED lights suitable for 3ft 2.5ft 2.5ft. :)
sherman replied to sharonleong's topic in General Reefkeeping_
Radion G4 easily cover 3 x 2 althought it is spec as 3 x 3 for general reefing For SPS coverage is 2.5 x 1 .5 The spot lighting in G4 is greatly reduce by the new lens -
Upzzz
-
-
What model is that? How come only 6 leds? Send me model and picture
-
Upzz. ... Well encrusted
-
Today I add more info. Hope its ok for all of you. If too much let me know. i will slower. We continue tomorrow Enjoy
-
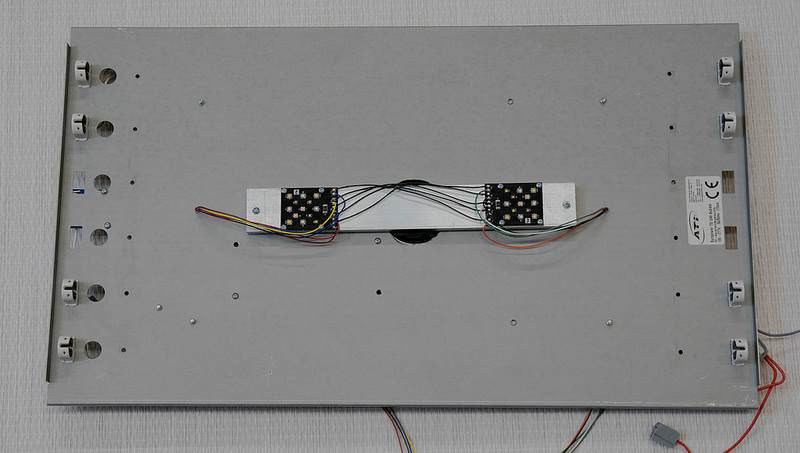
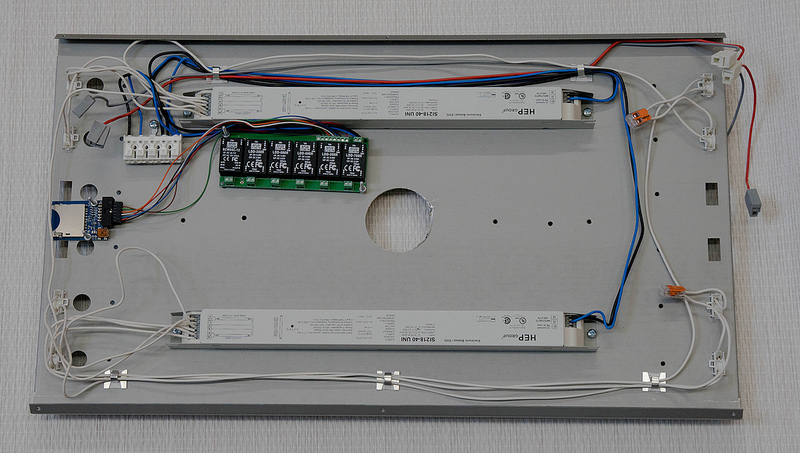
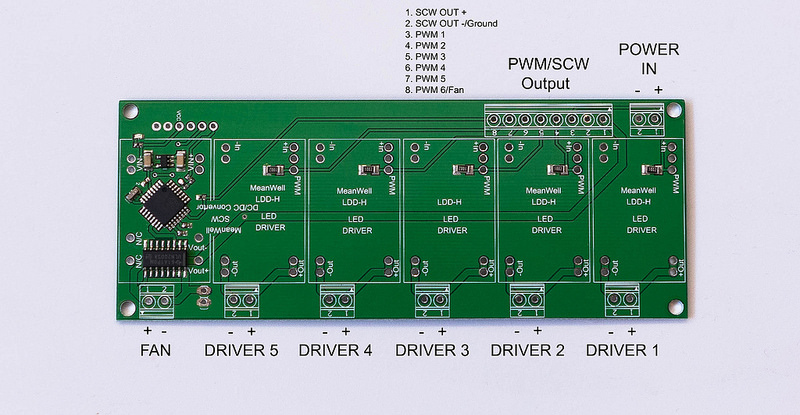
Step 8 : Run the heatsink wiring through an existing hole or drill a small hole next to each array. This will run the wiring to the backside. Connect the LED wiring to the driver board like so. · Blue – Driver 1 +· White – Driver 1 –· Brown – Driver 2 +· Green – Driver 2 –· Purple – Driver 3 +· Orange – Driver 3 –· Yellow – Driver 4 +· Grey – Driver 4 –· Red – Driver 5 +· Black – Driver 5 – This will arrange the LEDs in the following channels. · Royal Blue· White· Violet· Blue/Cyan
-
-
Step 7 :Using the provided screws, stand offs and nuts to mount the controller and driver board to the chassis. Use the last two screws and nuts to mount the heatsink to the chassis. You do NOT need stand offs for the heatsink.
-
Step 6 : The controller cable will have seven total wires. Attach them to the driver board like so. · Redo SCW OUT +· Blacko SCW OUT –· Blueo PWM 1 – Royal Blue Channel· Whiteo PWM 2 – White Channel· Orangeo PWM 3 – Violet Channel· Greeno PWM 4 – Blue/Cyan· Browno PWM 5 – LimeNext connect the wiring from the Sunpower terminal 3 & 4 to the driver board POWER IN + and -. · Terminal 3 – Power IN + ( Positive )· Terminal 4 – Power IN – ( Negative/Neutral )
-
-
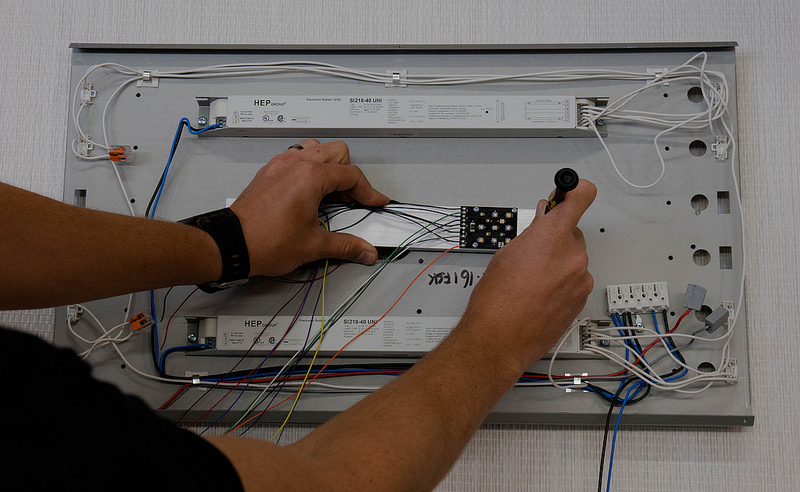
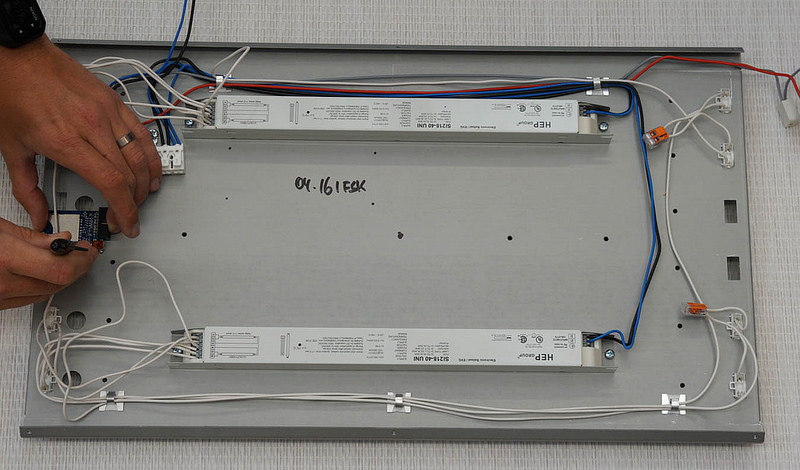
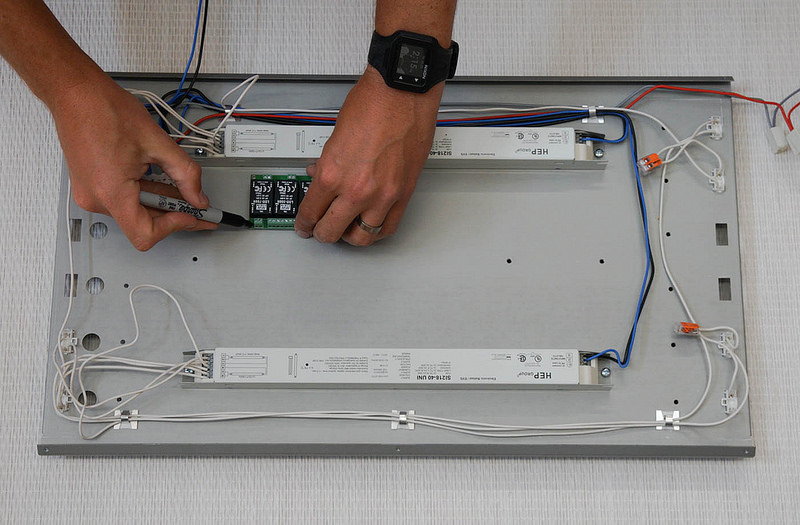
Today lets continue with the Hydrid DIY discussion. I know you are very excited and is waiting for the discussion to continue. So without wasting too much time lets continue where we left yesterday. Step 5 :Using a sharpie mark the driver board and controller. You will need to use a 5/16” drill bit for these holes. Next using something low to scratch the chassis mark the mounting holes on the heatsink. Use the same drill bit for the holes.
-
Most welcome
-
You know how yr maxspect light circuit is? Like how many channel. Each channel how many led? Each led what is the voltage and current spec?
-
That is all for today. We will continue tomorrow
-
-
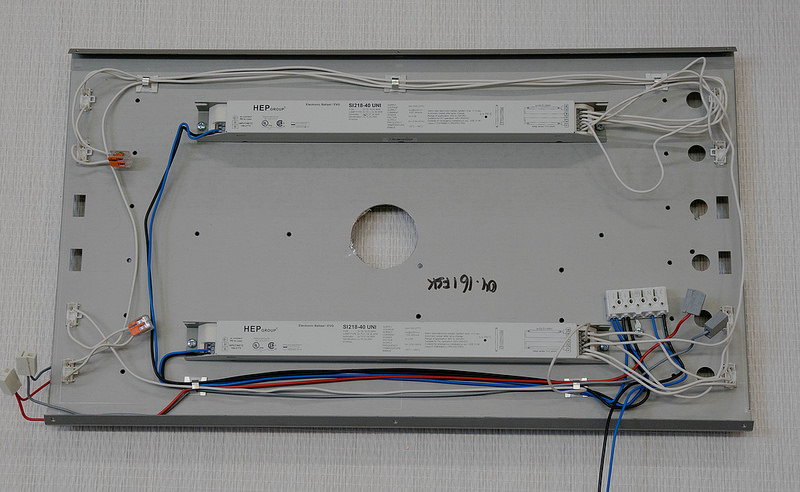
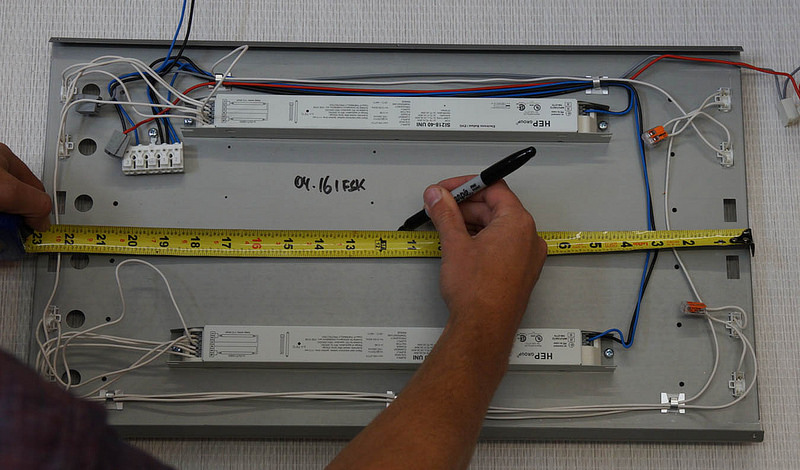
Step 4 :Using a measuring tape mark the center of the unit. You will need to use the 60mm hole saw to drill the hole for the added fan.If you are using the dual heatsink kit you will need to measure the center of the two bulbs you took out. Same size hole saw required.
-
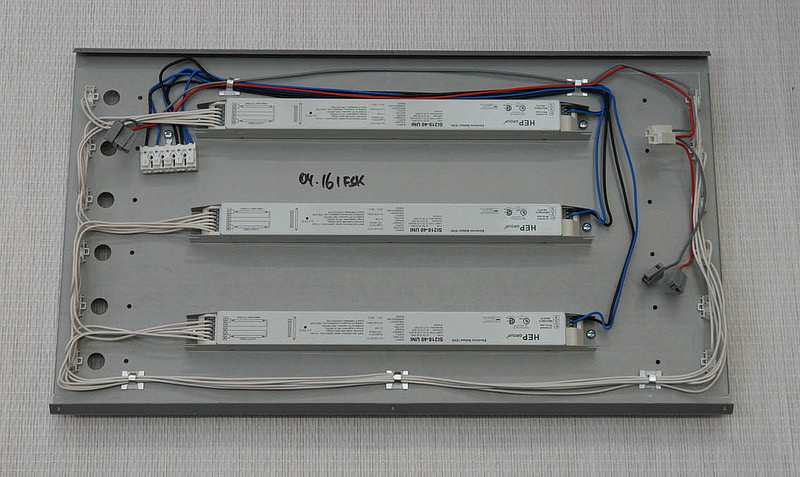
Step 3 :You will need to arrange the end caps so that they are grouped together. You will need to cut the jumper wires and use the provided terminals to connect them to the changed positioning.
-
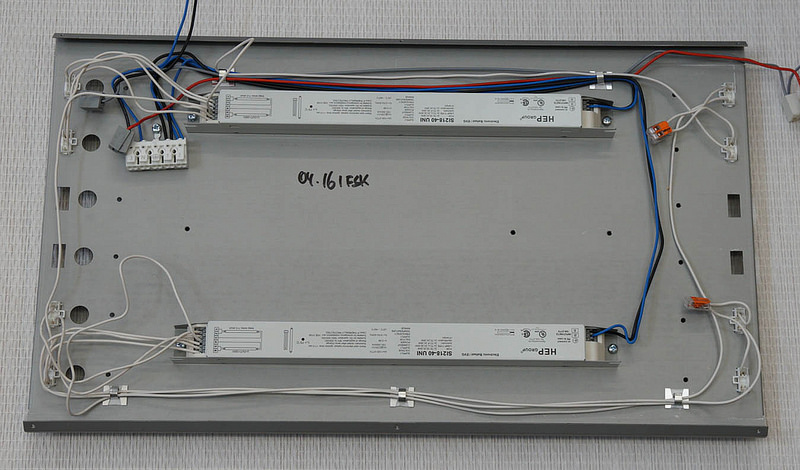
Step 2 :Detach the ballast you’re taking out by pushing the white terminal “tabs” on the ballast. Then take the two Philips head screws out that are holding the ballast down. I prefer to take the ballast off that uses wires labeled 3 & 4 on the terminal. This is normally the center ballast.
-
This "How To" will guide your to install a NanoBox RETRO kit inside a ATI Sunpower. This will help anyone with questions regarding the work involved. I will install for the same price besides shipping charges. Tools needed : · Drill or screw drivero Philips Heado Star/Torx Head – Tx10 & Tx20· 60mm Hole Saw· Wire snips or wire cutters· Sharpie· Measuring tape Step 1 : Disassemble the Sunpower. Unscrew the sixteen torx/star head screws on the housing. This will detach the chassis from the housing and side caps. Next take the fan assembly off. Slide the chassis out by disconnecting the main wiring from the terminals. You will only need the chassis for the rest of the install.
-
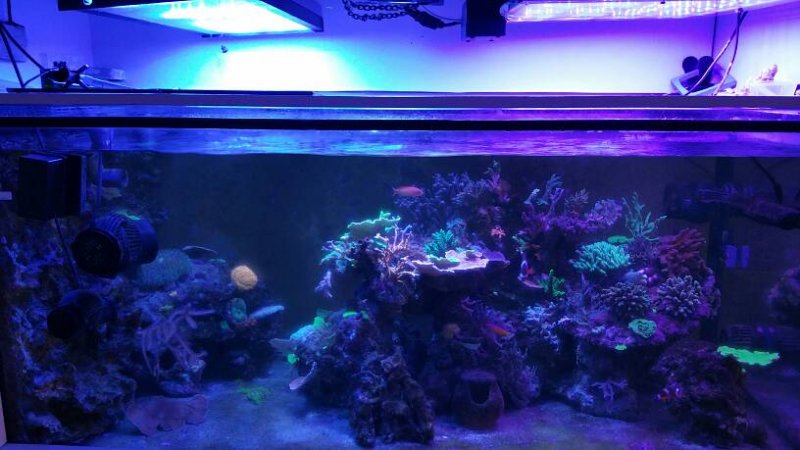
If you own a T5HO light set today you can now convert the set to achieve your dream light. Hydrid light pendent with T5HO and Led Below is a guide using the nanobox led array with Bluefish controller Of course you can use any other led module and any other led controller
-
T5HO can color up your tank . Proven. But you are not happy because no shimmer MH shimmer and also can color up your tank but the energy use and heat dissipated is not what you want How to get the best of both world: Less energy to color up your tank , less heat dissipated into your tank surrounding and has the shimmer of MH?


