-
Posts
2,331 -
Joined
-
Last visited
-
Days Won
119
Content Type
Profiles
Forums
Gallery
Everything posted by SubzeroLT
-
Silicon work is quite nicely done. Freehand or with masking tape?
-
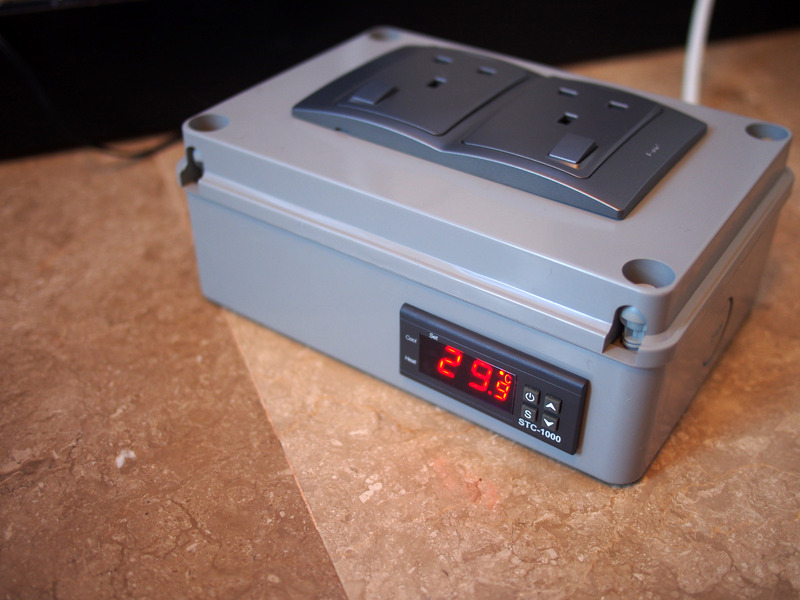
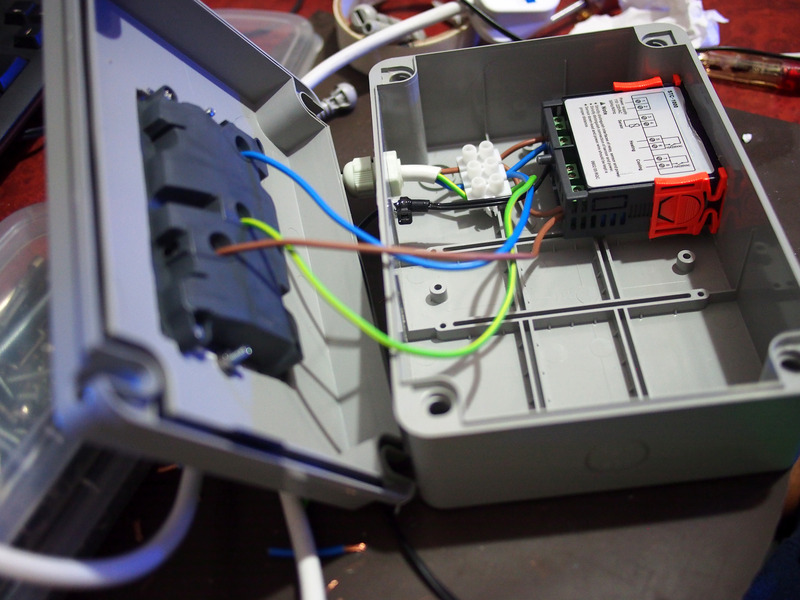
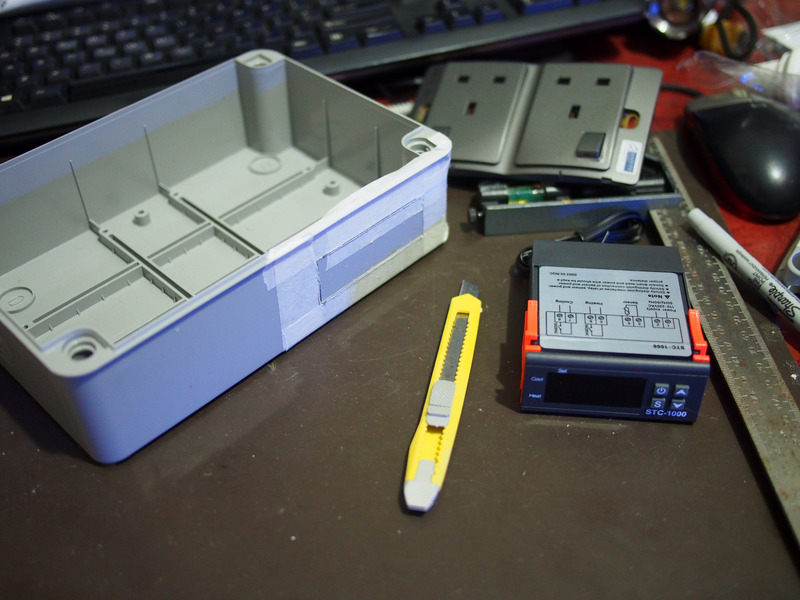
Thanks. Started working on stuff like the temperature controller for the chiller. 1st time building this & referred to past SRC posts & google. The STC-1000 is rated 10A. So it should not be an issue for 1HP compressor. i.e. no relays required. Internal wiring Finished product
-
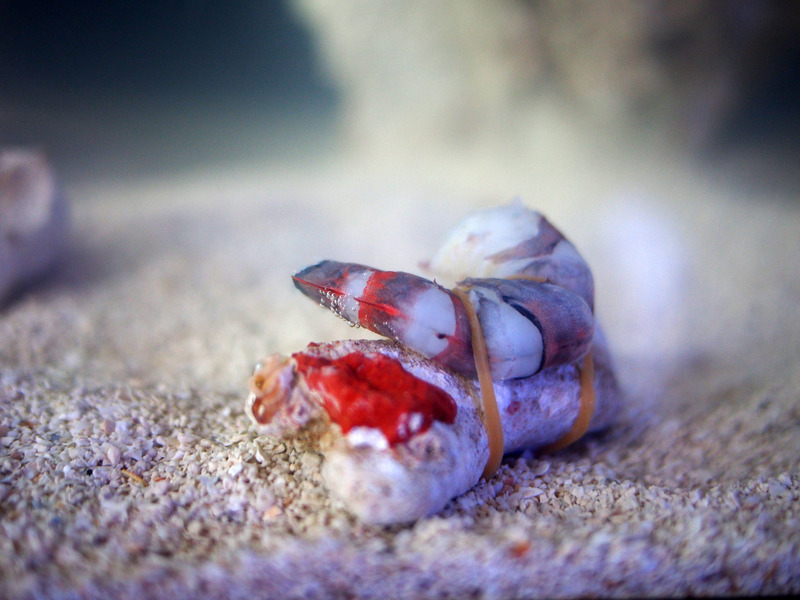
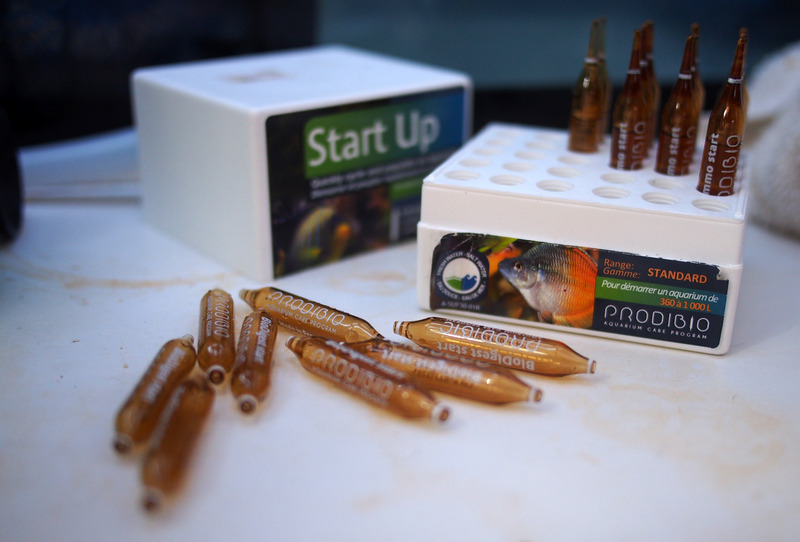
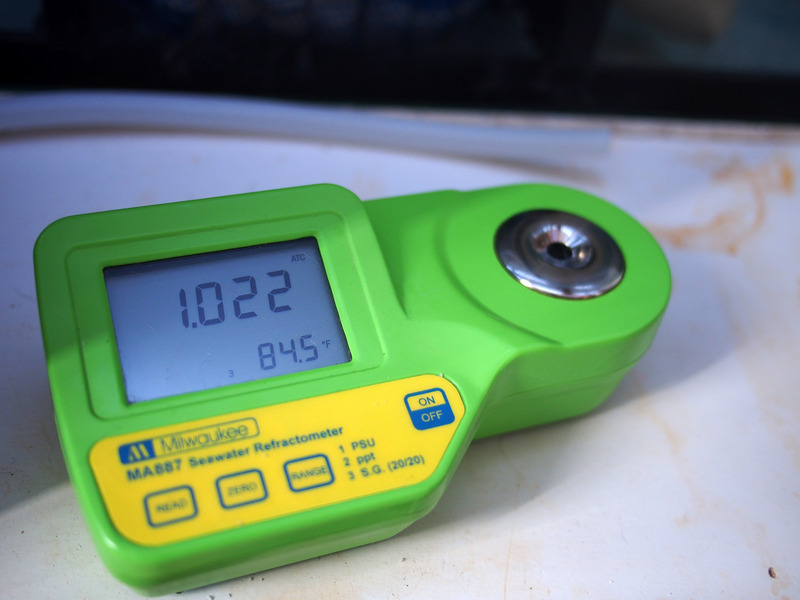
And the cycle process begins. Tied the prawn to a rock. I recall 'losing' the prawn when i cycled my last tank as it floated away & got wedged in some rocks. Used more than a bucket of salt for the initial mix Set a little lower salinity for a start. Probably let it rise to 1.025 over the next weeks as water evaporates.
-
Nice!! What's next on your fish list?
-
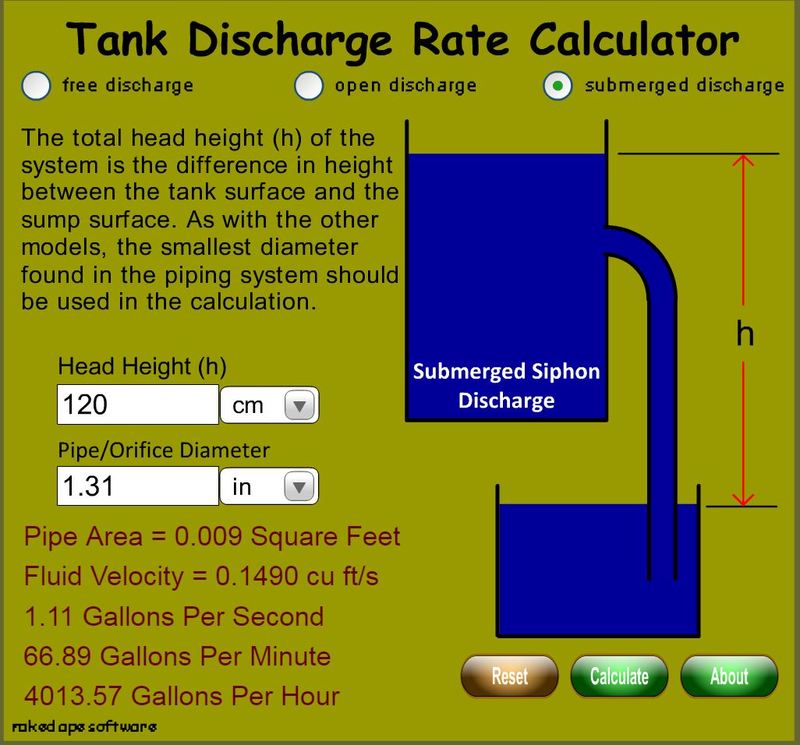
I had some queries about the overflow. Its set up as a Herbie (not Durso as mentioned earlier). With a DIN 40mm pipe (1.31" internal diameter), the max flow rate is 15.2k litres/hr. That's plenty of capacity above what i'll be using.
-
A pic of my current tank? Refer to My Slice of Nature part 2 for continuation of this thread
-
.thumb.jpg.57c2e34da3fe90fcdb8e11c6a93f46a9.jpg)
Can this sump be use as marine?
SubzeroLT replied to sharonleong's topic in New to the Marine Aquaria Hobby
No lei. 7" filter sock is 17.8cm wide. It won't fit the 10cm compartment. It will however barely squeeze in a 4" filter sock (10.2cm) -
Its still running at this time. Will transfer to new tank once its ready.
-
.thumb.jpg.57c2e34da3fe90fcdb8e11c6a93f46a9.jpg)
Can this sump be use as marine?
SubzeroLT replied to sharonleong's topic in New to the Marine Aquaria Hobby
Some feedback : - Is the 1st compartment on the right wide enough to fit a 7" filter sock? - Suggest not to use K1 media if you are short of space. K1 require a lot of space & fast constant flowing water else it'll just jam up. Aside from that, this sump design seems alright -
.thumb.jpg.57c2e34da3fe90fcdb8e11c6a93f46a9.jpg)
Can this sump be use as marine?
SubzeroLT replied to sharonleong's topic in New to the Marine Aquaria Hobby
This design will NOT work. Its an underflow partition to the last chamber (return pump). This means that the water level will not be consistent. This will affect in sump skimmer performance. As some mentioned before, its ideal to have a bubble trap just before the return pump section. -
I will reply in the other thread you started so its easier for folks to follow. If you want to overhaul, you could DIY repartition like Edmund did (thumbs up) or get a new sump. For reference, I made a 2.5' sump previously for ~ $120+ from Atlantic Glass (2 years ago). Prices may have gone up a little. Refer to "My Slice of Nature Part 1" thread.
-
Yes, the filter wool is above water level. Sent from my iPhone using Tapatalk
-
Appreciate the questions as well. Also seeking feedback if i'm doing things wrong. The sump glass isn't all that clean actually. Some calcium stains still present despite using ph ~1.5pH oxalic acid to clean. Frankly, a good penknife blade + wetted surface is the easiest. A 6mm sump is alright if its about 2-3ft in size. Thin glass (eg 6mm) has the risk of cracking with hard knocks. The original sump design would probably work just fine. But i added acrylic panels purely for the fun of DIY.
-
Its a recirculating skimmer, so it should be able to run in any position. Current placement clears the cabinet top when the cup is removed for cleaning. I did cater enough space for a regular in-sump skimmer though. The Nyos 160 looks interesting.
-
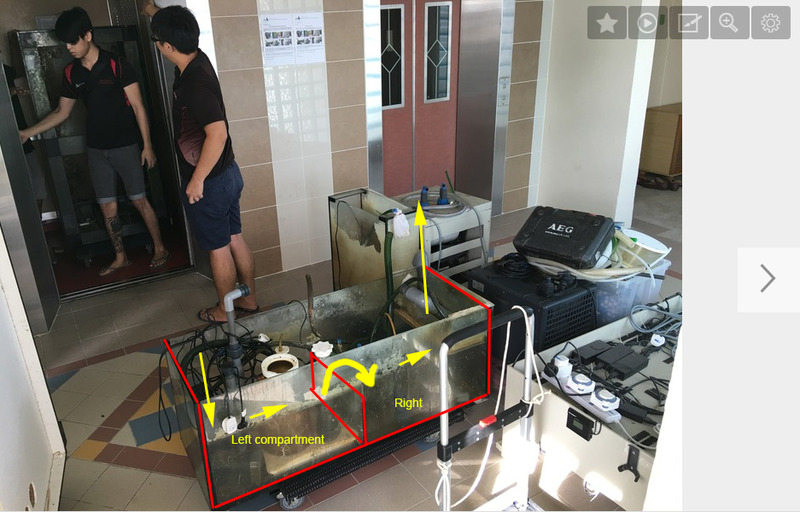
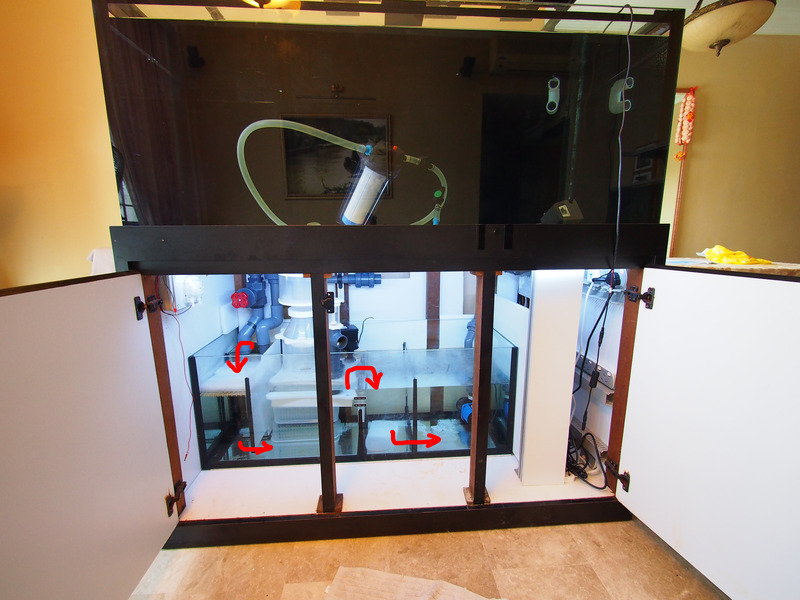
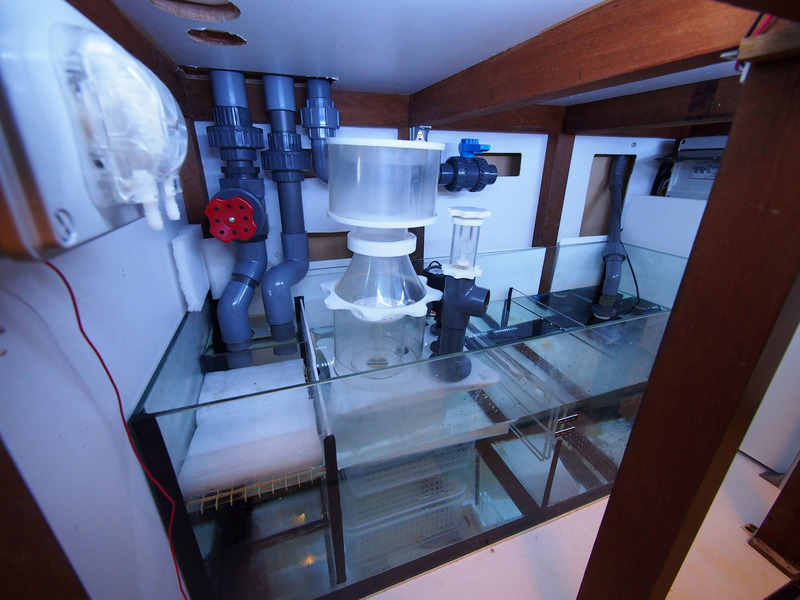
How does the glass level get adjusted ? - I'll post some pics another time once its installed (misplaced the nylon screws for it). Essentially a screw-on acrylic sheet that slides up/down on one of the panels which then change the effective height of the panel/baffle. Meaning to say the previous owner came out with this design too? This was the original sump which only had a left / right compartment separated by a glass panel. The second last compartment to last compartment you design a under flow.... May i know how did you get this idea from? Fellow reefer RedDevils highlighted that the compressor coil needed high flow. Thanks for the tip Hence the underflow idea. Not sure if this will work. Workaround is to place a wavemaker in the compartment. I also notice that the skimmer you place so high why is that so? That's a Skimz recirculating skimmer - external water level does not affect the internal water level. To maximize water volume, i will place it above above water and straddle it over some bio media What will you place after the skimmer compartment ? The compartment where the skimmer is will have bio media, basically whatever i have accumulated from my current tank will be moved over. (marinepure block, marinepure block, siporax, bacteria king) The 3rd compartment will be a refugium. The underflow area is covered with a netting to prevent fishes from getting into the return pump section. As the name implies, it'll be a refuge area for injured fishes (if any) Oh for the acrylic panel will it cure over time and be able to retaint he water pressure? - I sure hope the acrylic will hold. From my understanding, Dow Corning 795 is quite strong & adheres fairly well to acrylic. Lastly what the thickness of your sump tank? Sump is 8mm glass with bottom bracing. The brace helps ensure the bottom does not bow. Hope this helps.
-
Thanks for the comments. Here are 2 views of the sump. The original tank had the overflow on the left side of the tank with 2 holes in the glass. The new tank had the overflow located at the back left corner with 3 holes. Some thoughts on the sump design - Inlet water to sump under water to minimize noise (not fall on top of filter wool) - Use filter wool instead of filter sock. Wool is cheap & easy to replace. - Middle partition has an adjustable panel to adjust the overall water level in the sump. At that time, i don't know how much backflow there is when the return pump is off. The amount it rises also depends on how much stuff is placed inside. - Inlet to the right most (return pump) compartment from the bottom. The compressor coil will be placed in the right compartment. The bottom flow should provide increased flow across the coils
-
That's a lovely setup you have. Your tank is amazing!! Wharfedale diamond 10 speakers back there? lol
-
Nice setup & equipment!! More pics please
-
I've put up the 3 Hydra52. Will transfer my existing 3 Hydra26 over later once the tank is ready. Many good neighborhood shops sell the PVC trunking. I got mine at the shop at Clementi Ave 2 near MarineLife and also at the shops at Kelantan Lane area.
-
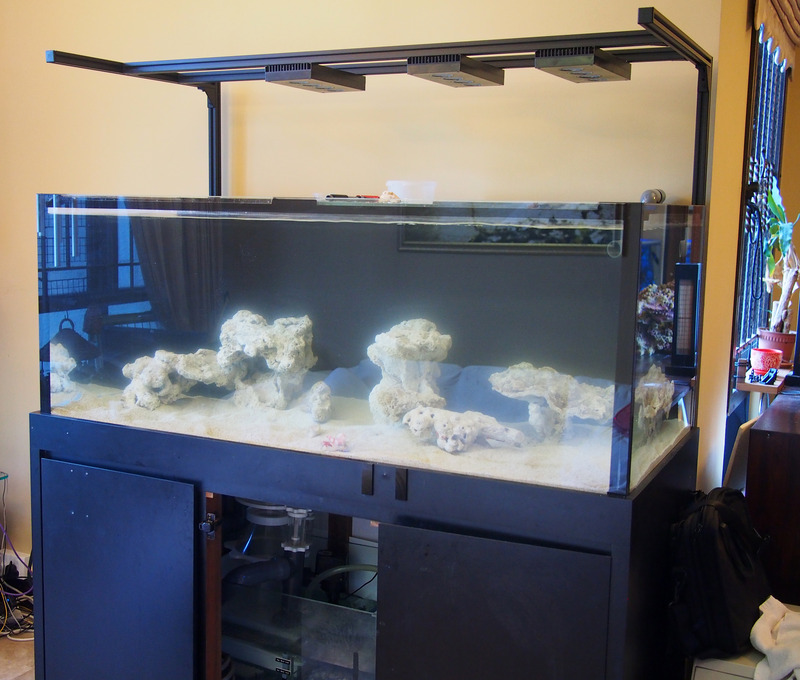
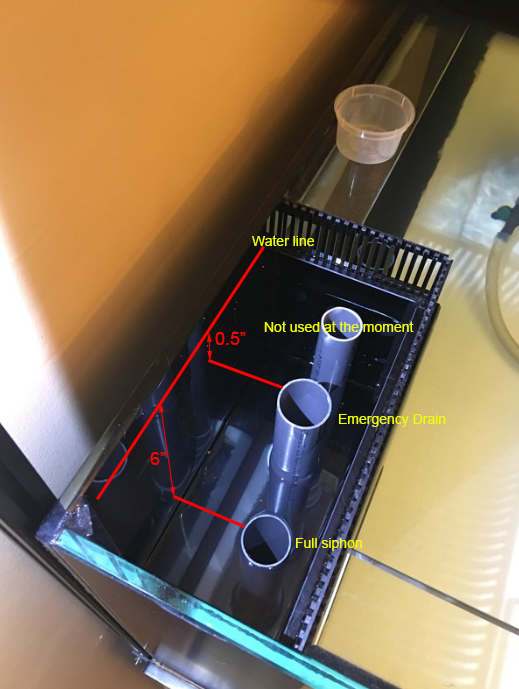
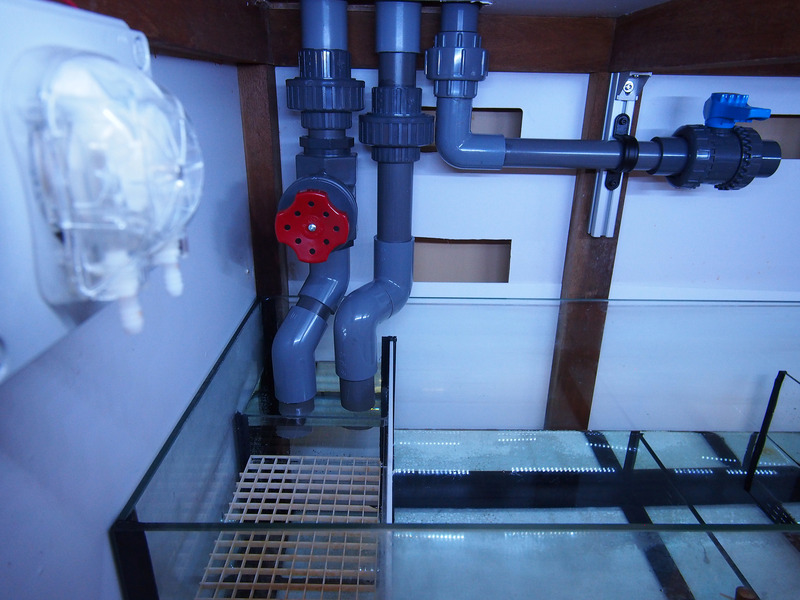
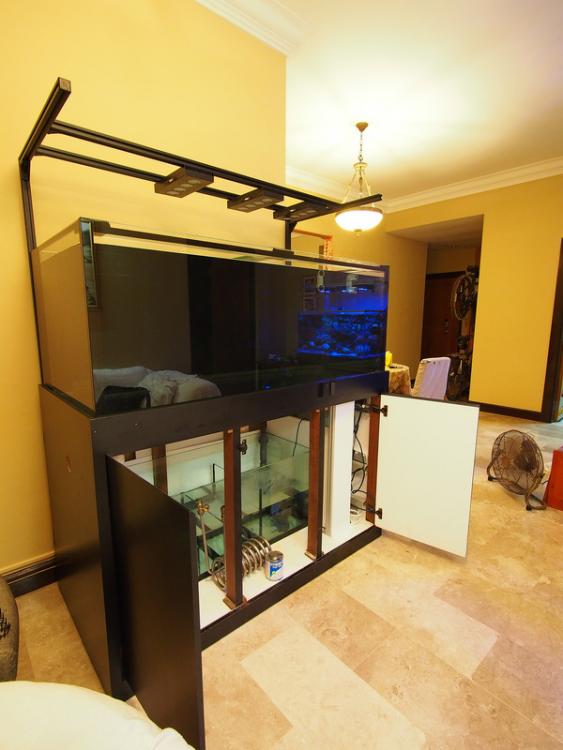
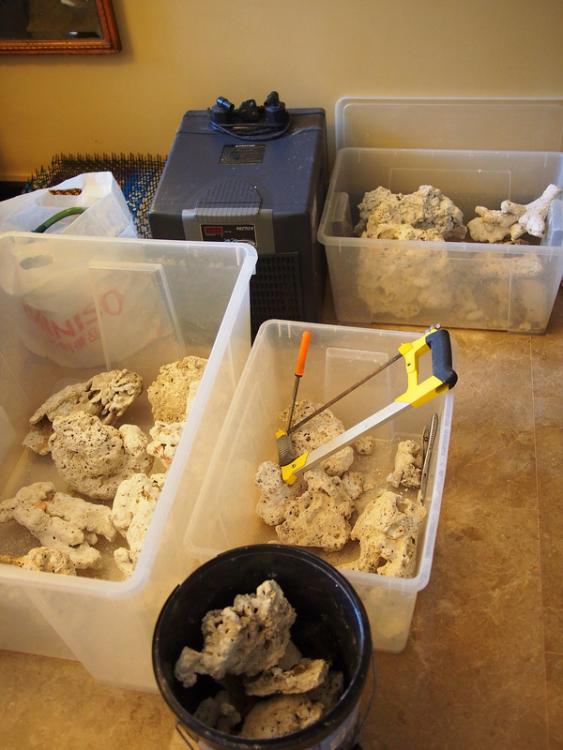
OK...so i had a big reset on the tank. Sad realization that i missed polishing some spots & scratches could still be seen. A fellow reefer took the tank & re-purposed it as a large terrarium. Got a new display tank made by CRA. It was delivered earlier this week. Fixed up the piping, light stand & finally filled it. Took the opportunity to have bigger Durso style pipes for the new tank. - Left : siphon drain. That's a King's Brothers gate valve from Amazon - Middle : Emergency drain - Right : Spare pipe. May be used for 2nd return pump if needed Rockscape preparation - hacksaw & rough file used to create flat surfaces at the bottom of the rocks so they are more stable.
-
Agree....very nice upgrades! Are you not using a PH controller for your calcium reactor?
-
Thanks for sharing. Any particular reason for using the canister filter for media? Not enough space in the sump?
-
Very nice. No sand this time?
- 70 replies
-
- shallowreef
- mixreef
-
(and 1 more)
Tagged with:
-
You can contact Vincent from aquarium artist to enquire more - 9695 9086. Sent from my iPhone using Tapatalk
-
I was in your same position of using existing 3ft tank and added a skimz overflow box. It has its own issues. I'd suggest getting a new tank/sump. But reuse the cabinet. The cabinet is usually the expensive item Sent from my iPhone using Tapatalk


