-
Posts
2,331 -
Joined
-
Last visited
-
Days Won
119
SubzeroLT last won the day on January 4 2024
SubzeroLT had the most liked content!
About SubzeroLT

- Birthday December 31
Profile Information
-
Country
Singapore
-
Location
Singapore
SubzeroLT's Achievements
-
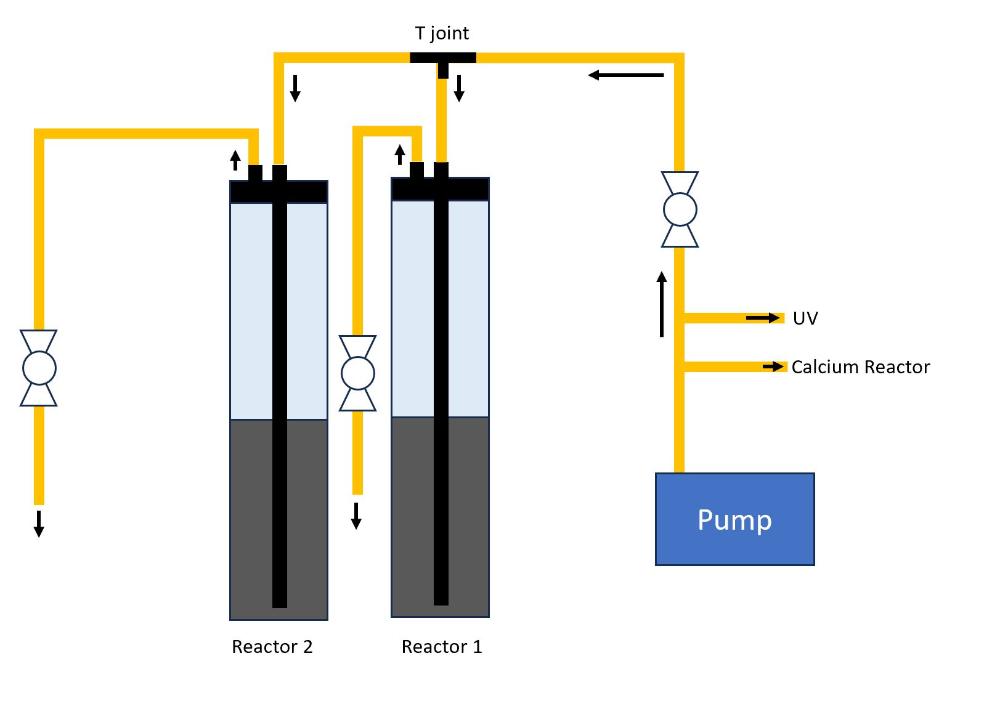
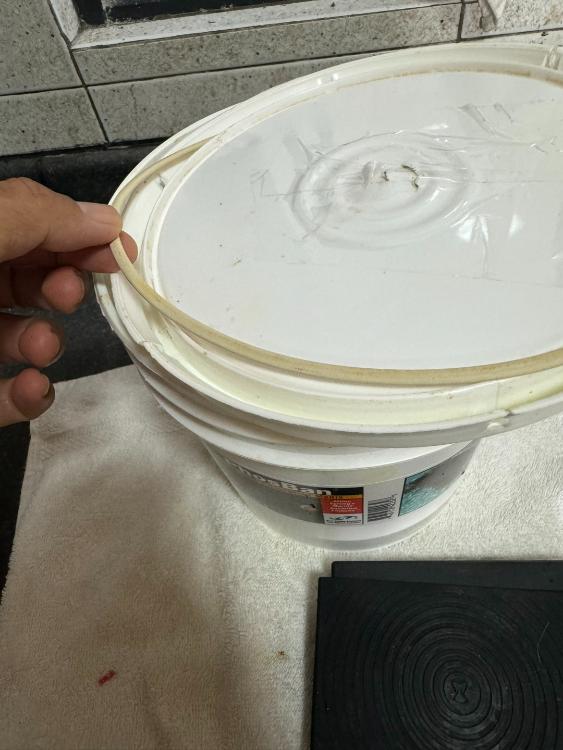
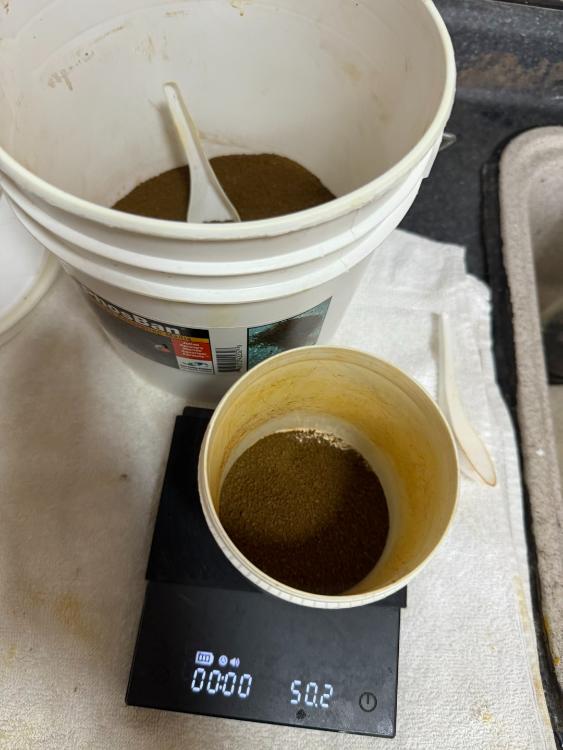
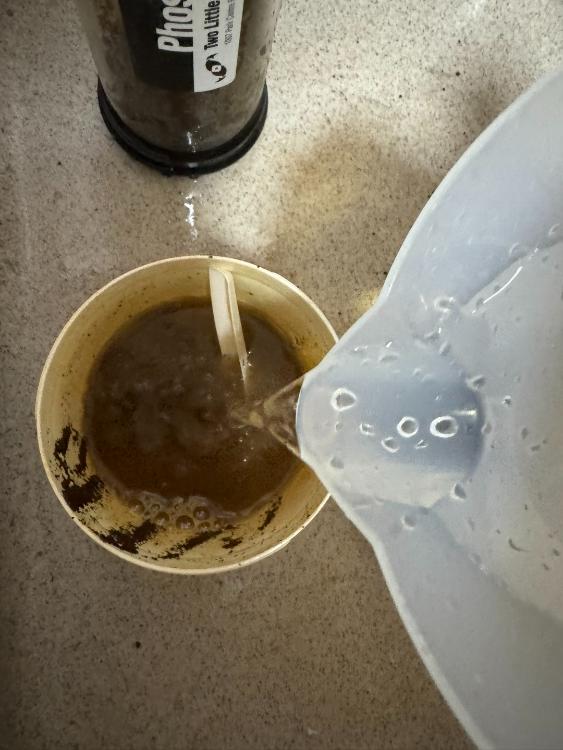
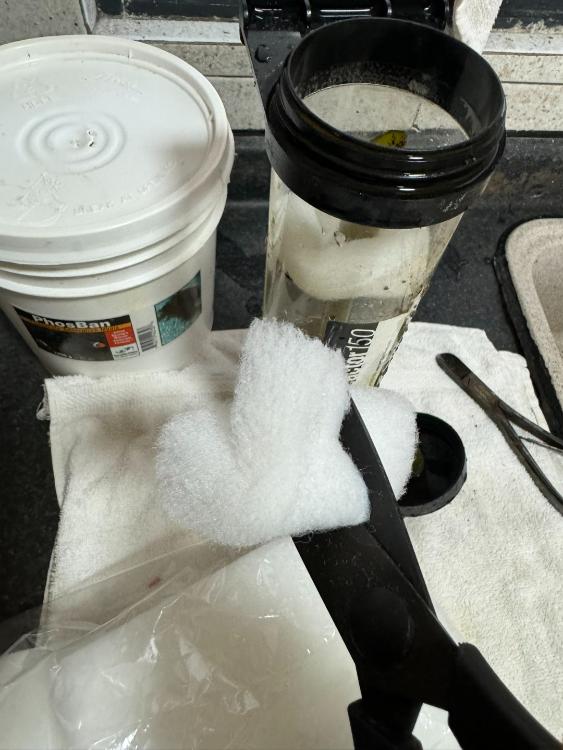
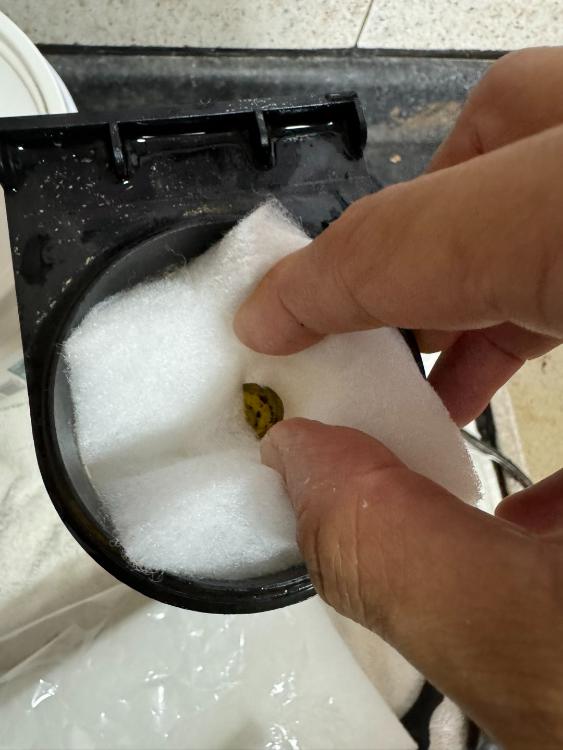
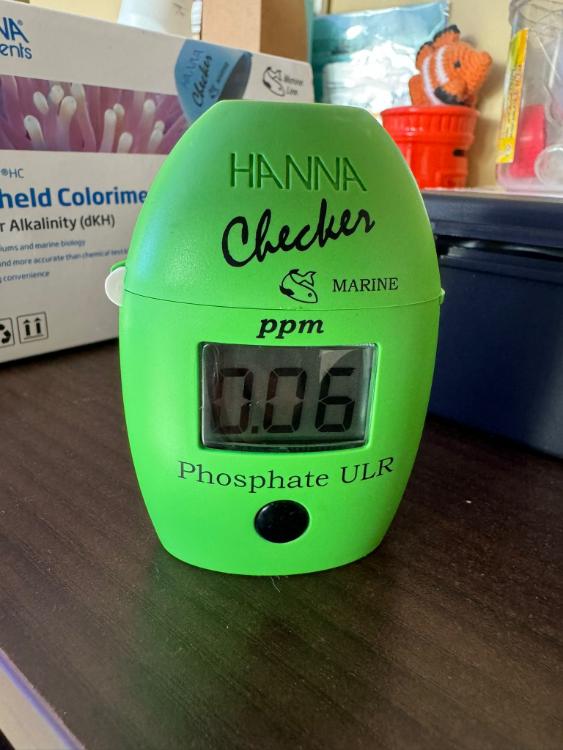
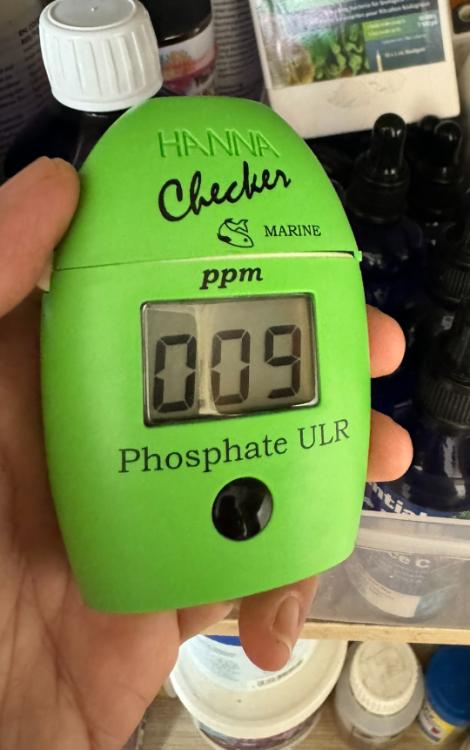
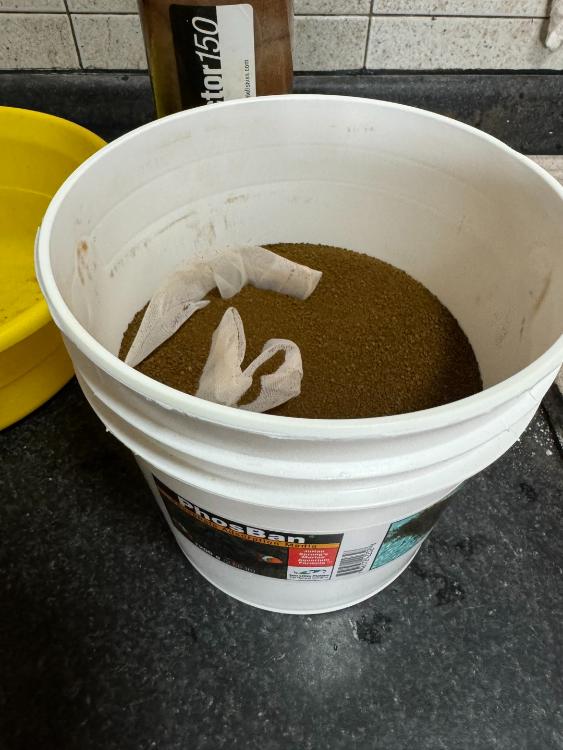
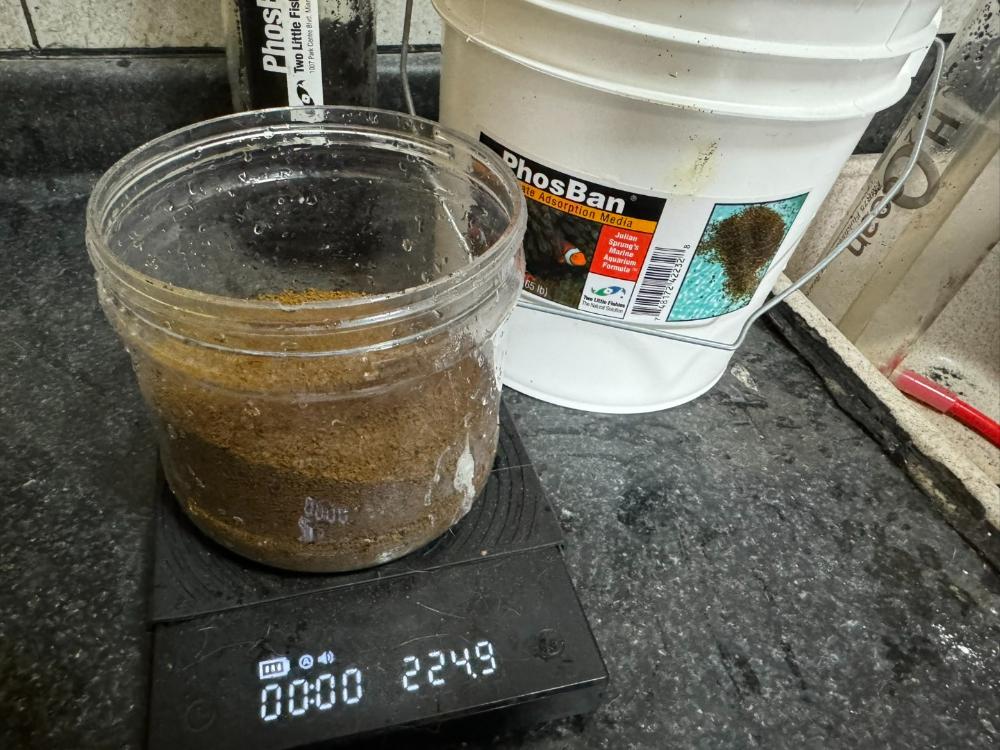
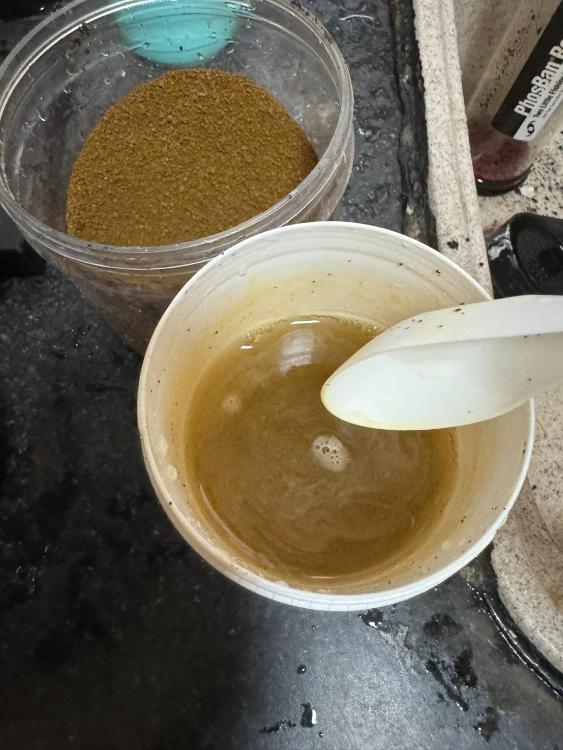
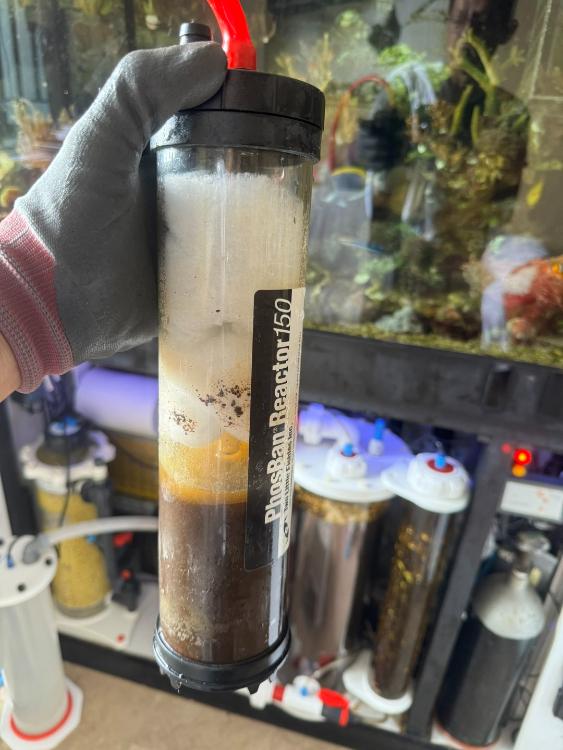
Not posted here for quite a few months. Over the past months, I've been stepping up efforts to keep PO4 'low' in the 0.05 to 0.1ppm range. I used to struggle with high phosphates in the 0.3-0.7ppm range. Primarily with the reluctance to change out the media knowing it may not be fully depleted/saturated (waste $$ by discarding it prematurely). And keep the media going for another period till the next water change (2 weeks later). By then the media is not effective & phosphates creep up. I tried using using 2 chambers in series but its too hard to control the flow rate. The setup that works for me is having 2 chambers in parallel and changing media alternatively every 2 weeks. That means media in each chamber is used for 1 full month (should be fully depleted). Media wise, I've had good success with both DD's Rowaphos or Two Little Fishies Phosban media. Both do work great. I've been using Rowaphos for years with good success. Note the media needs to be kept humid/damp in the bucket. Phosban media comes very dry in the bucket. And hence storage is slightly easier (no need to keep it damp). And the bucket comes with a nice o ring to seal the bucket tight. Personally, i don't have a preference over which is better. Both equally effective. Slightly more effort to rinse Rowaphos compared to Phosban but its manageable. If you don't want to mess around with the rinsing the fine brown bits, then try aluminum based phosphate removers (eg. Brightwell Extraphos..... more on this in another post) I'm currently using Two Little Fishes Phosban. Some pics : Weigh some a small portion of dry powder then rinse before putting into the reactor. About 2-3 rounds will get it clean. Will do the above for a few rounds. Since I'm using 2 reactors in parallel, I'll put about total 150g of dry Phosban media into each reactor I'll cut some filter wool to place at the top of the reactor to minimize fine bits from flowing out into the sump. Taken in 1st June 24 : 0.06ppm 7th April 2024
-
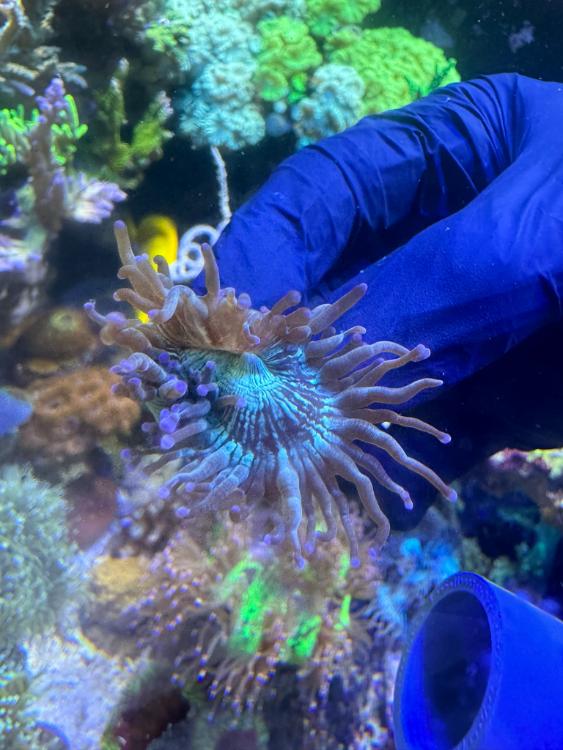
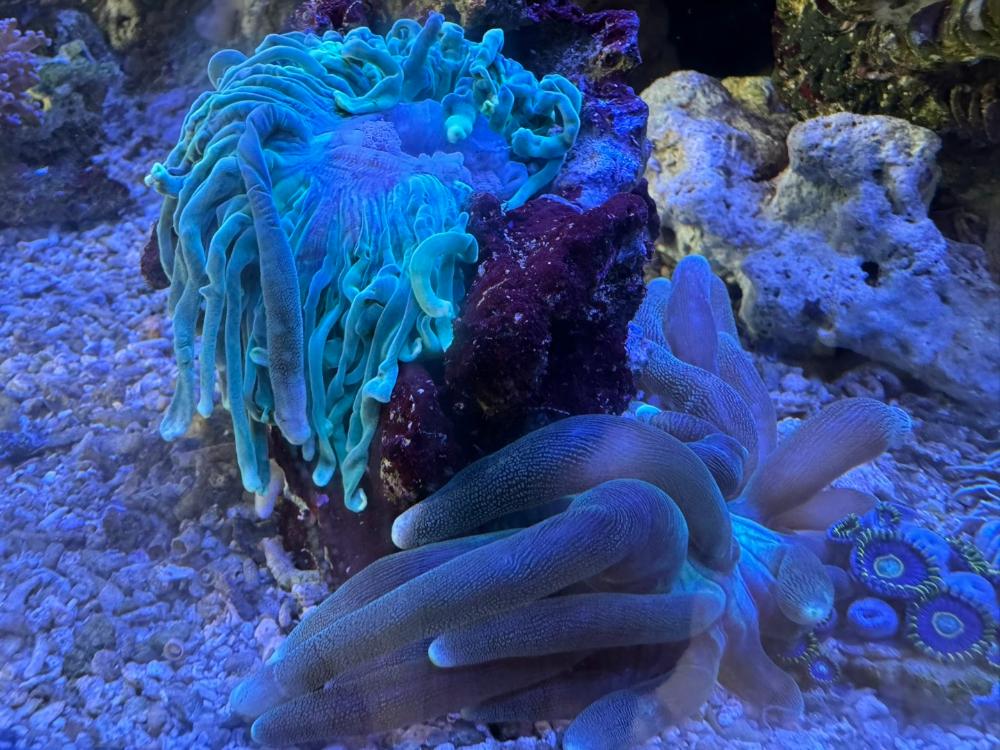
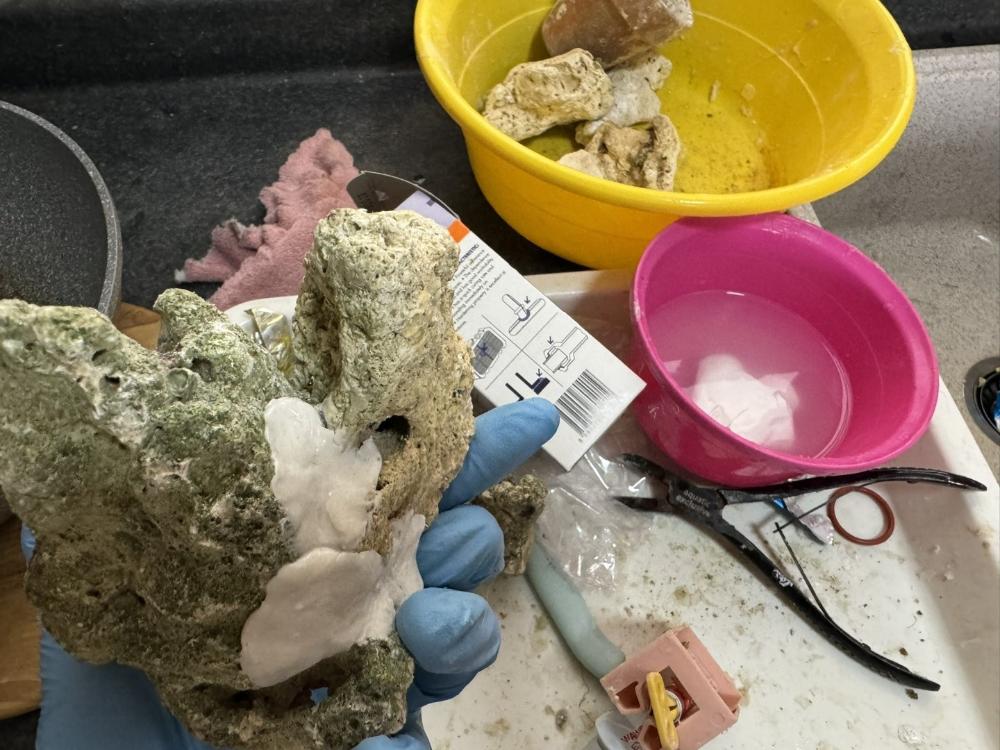
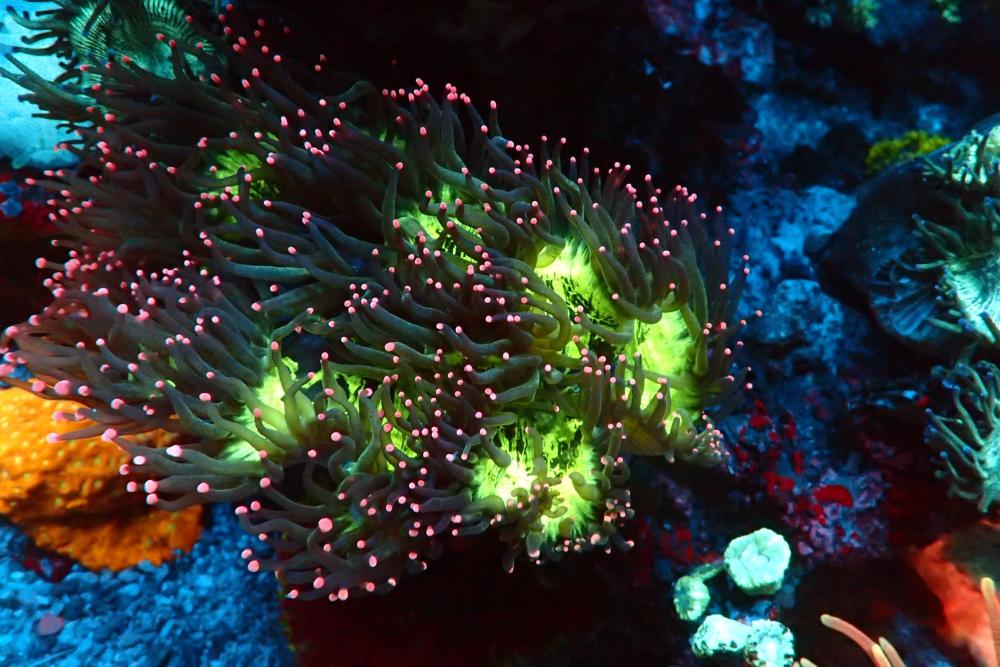
Found a tiny elegence coral on the rocks. Probaby a small piece broke off from the main skeleton. Just a regular looking Elegance in today's context....but feeling happy to see it as its from Golden Octopus legacy. Anemone split Making a small hollow rock structure for the anemone to secure itself. I see many reefers now use fine sand & liquid cyanoacrylate glue to hold rocks together. Feel quite old school ....still using Alteco epoxy and gel glue to hold the rocks together.
-
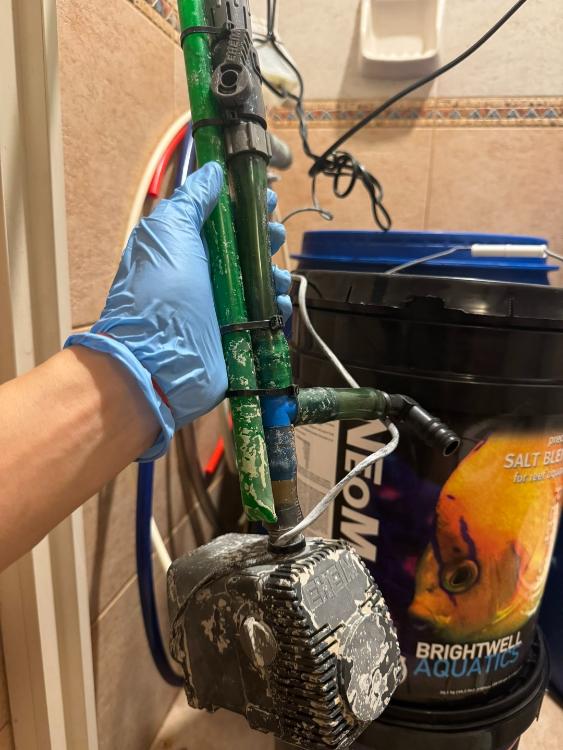
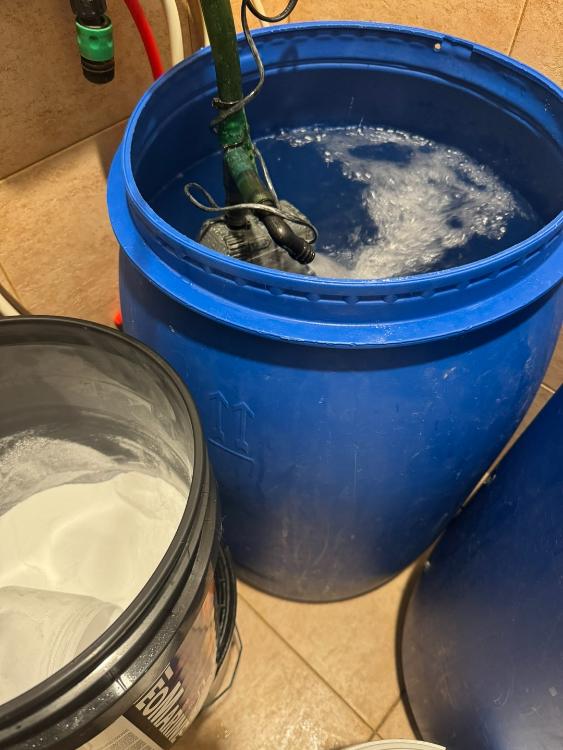
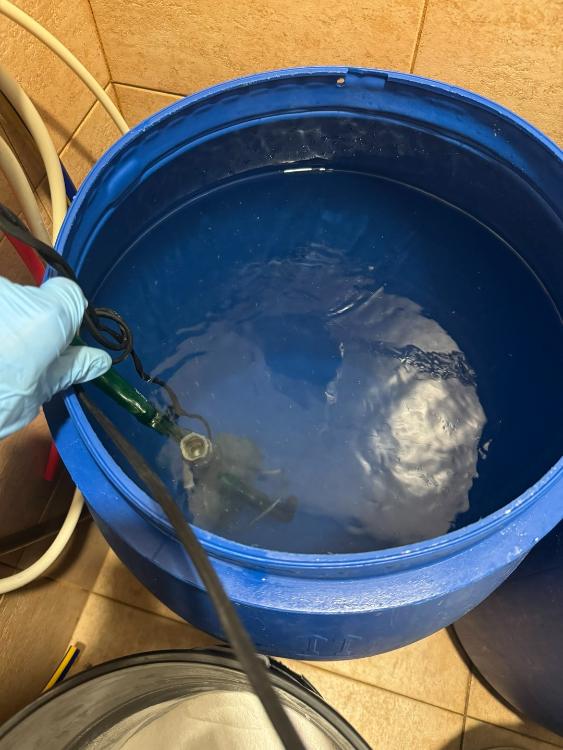
Love this contraption to assist with dissolving the salt quicker. Clears the bottom of the barrel very quickly. BTW, using the Brightwell NeoMarine salt now. Quite good.
-
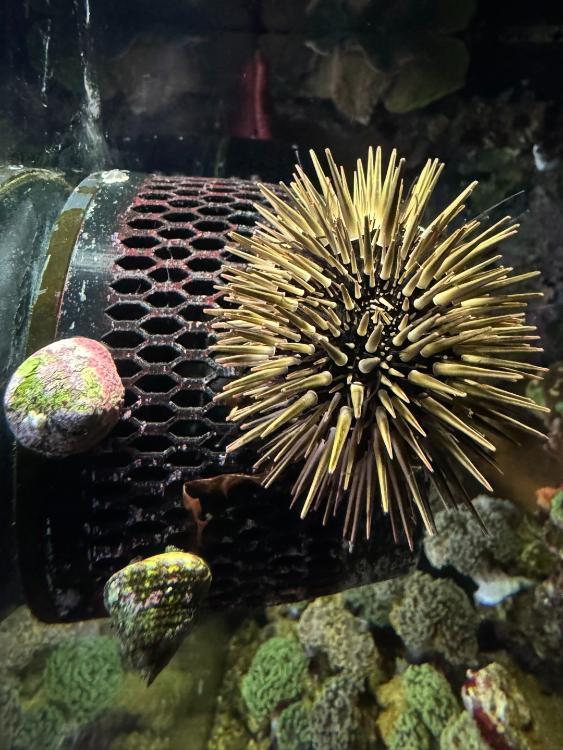
Empty out 50% of the basket every weekend. It becomes full again after about 5 days. This urchin is everywhere
-
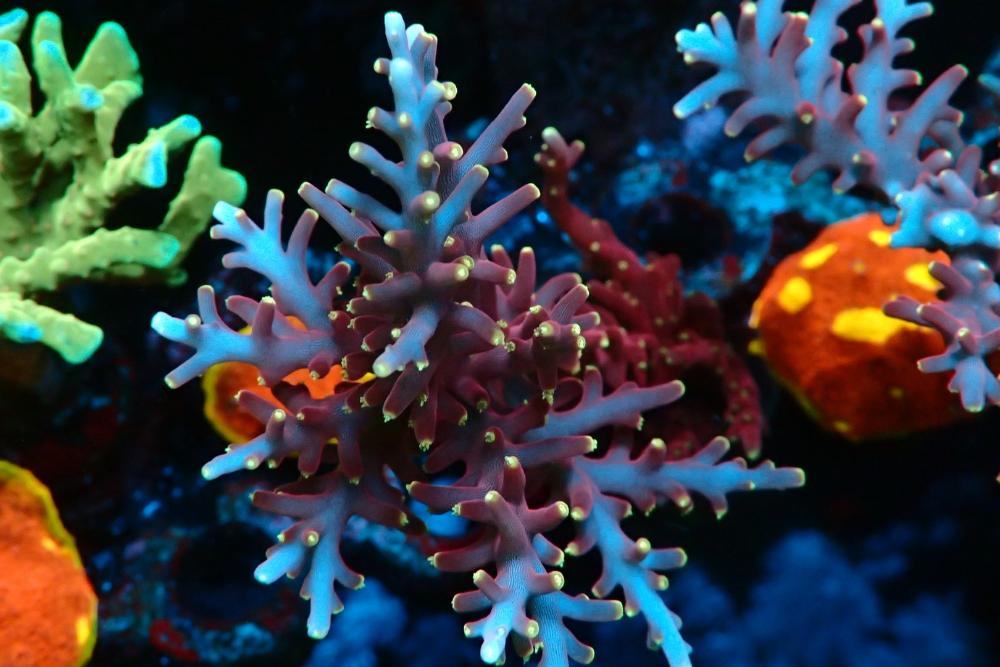
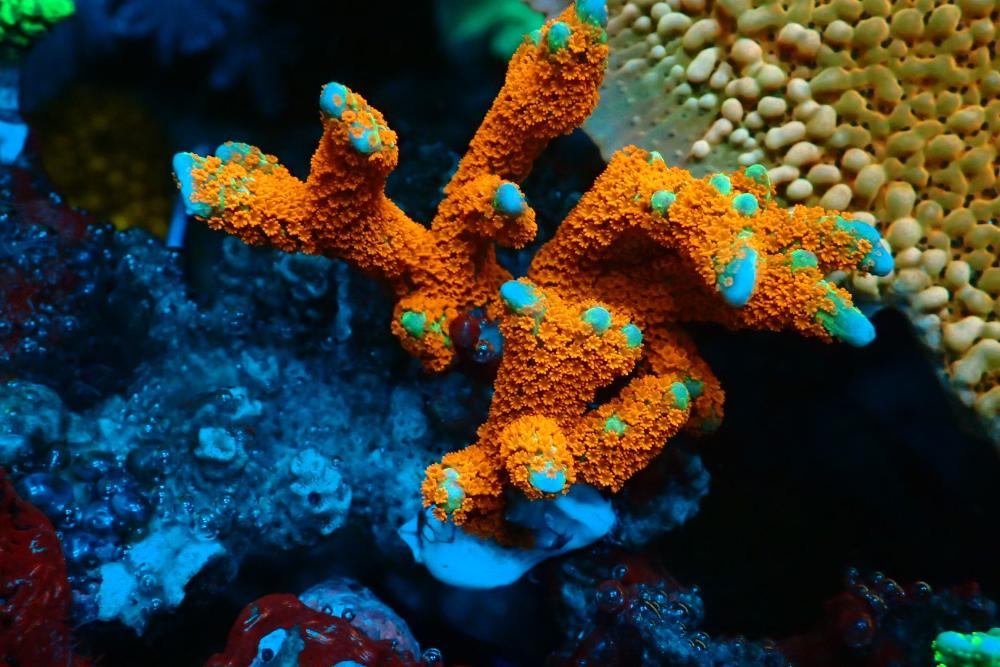
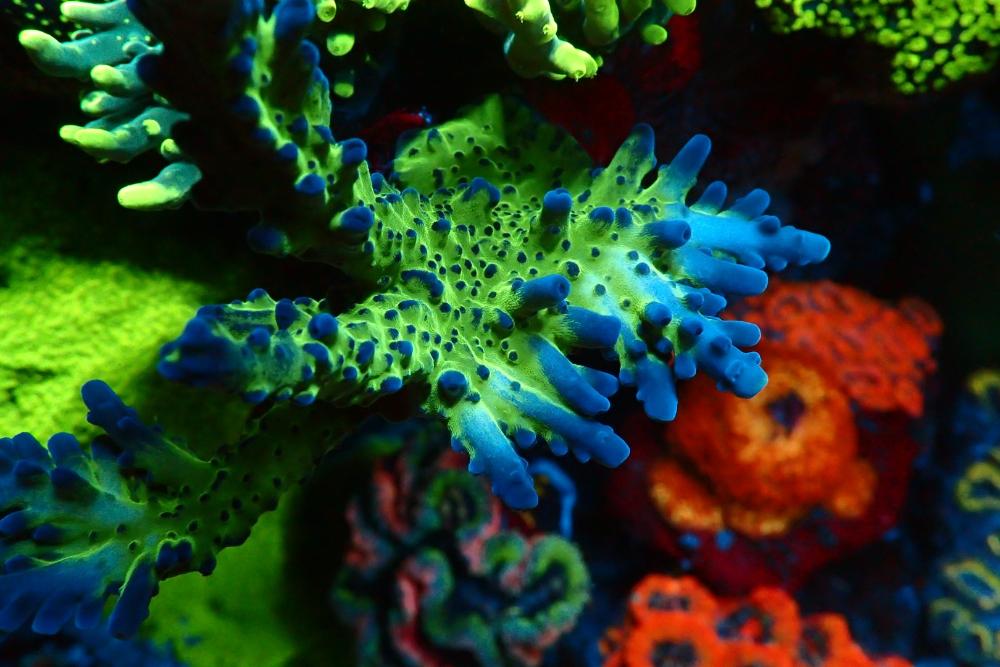
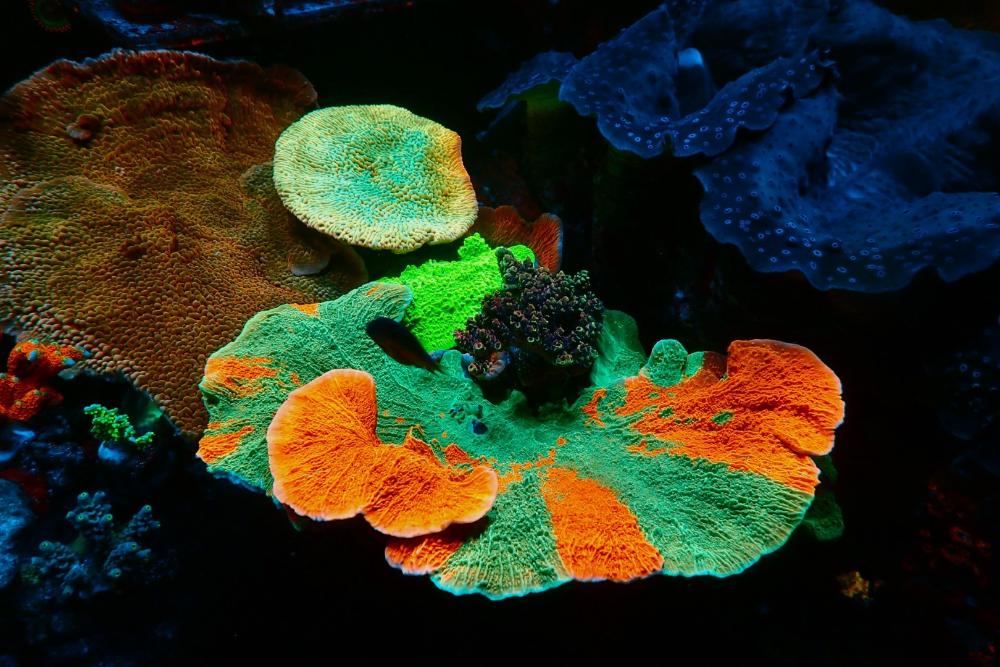
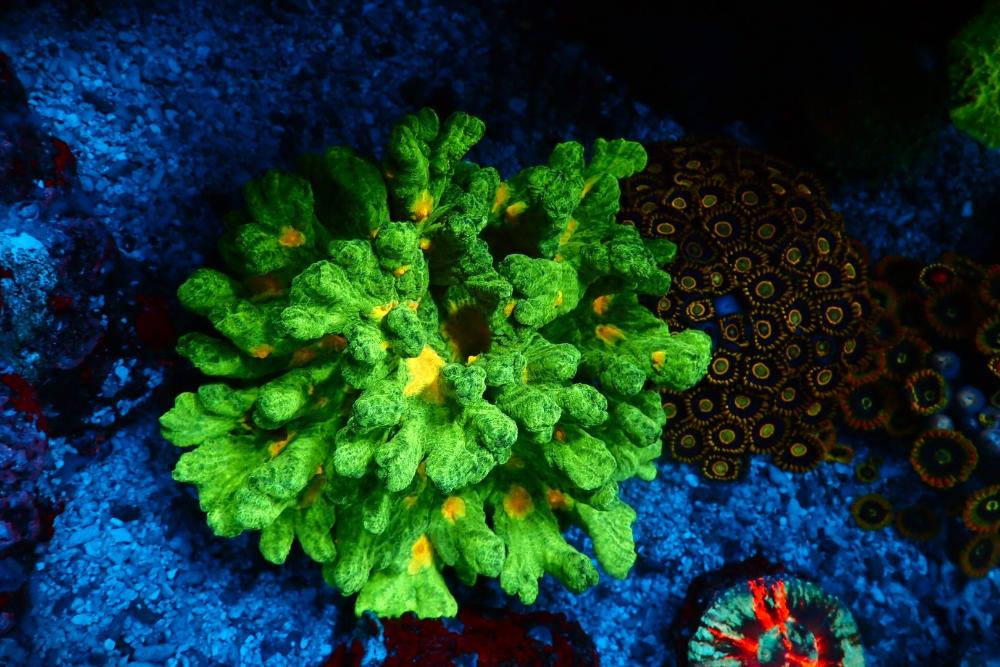
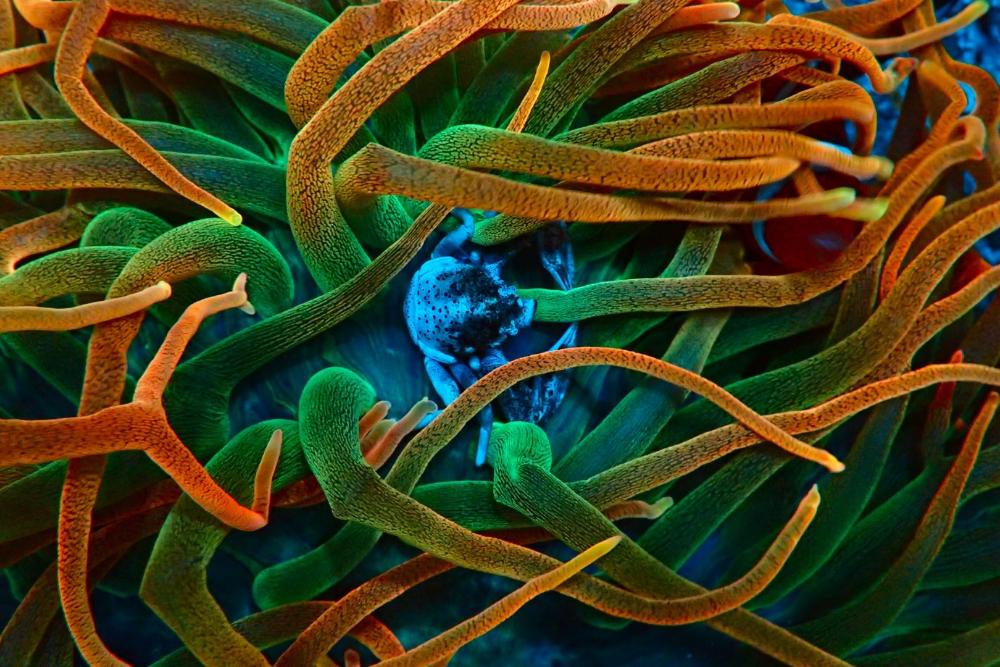
Some coral pics from tonight : Red ferrari Back to basics : Forest Fire digi (From Andrew) Miyagi tort (originally from Mike Stone) Monti & clam corner Space invader pectinia (originally from coral fanatics) Anemone (from HaiYang) Elegance
-
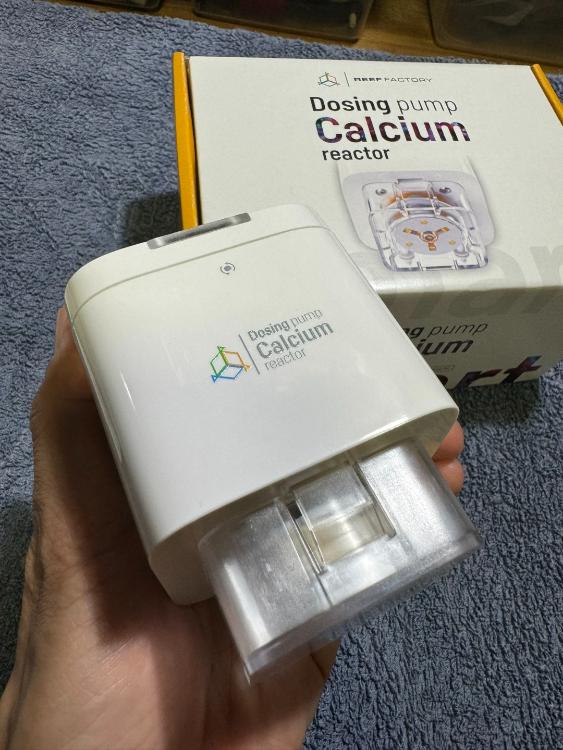
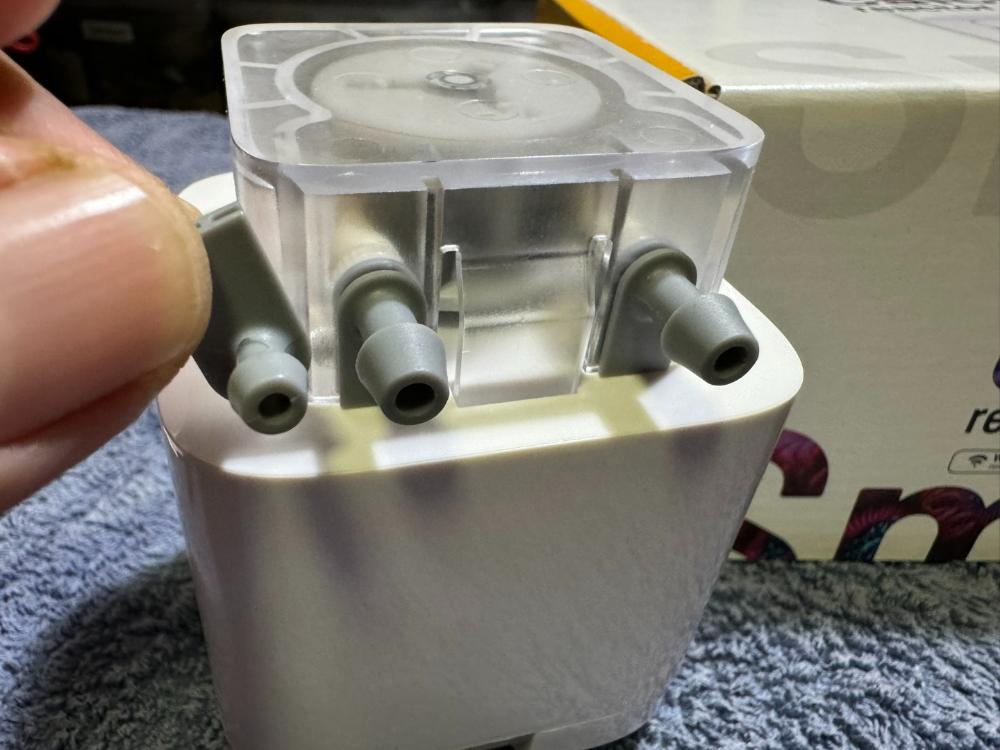
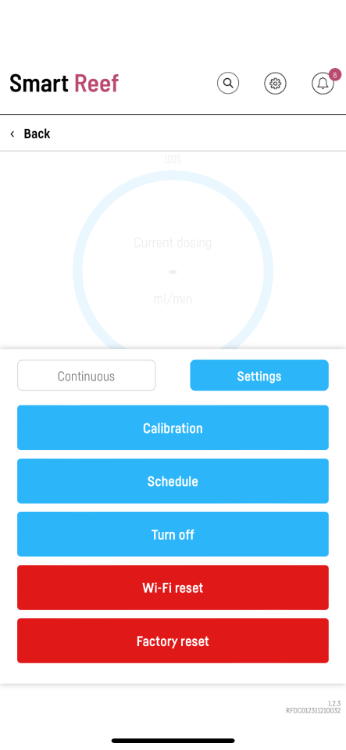
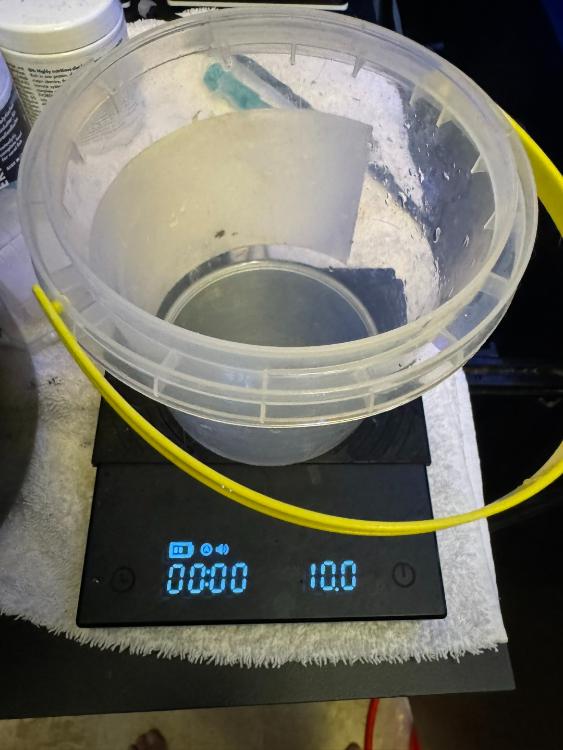
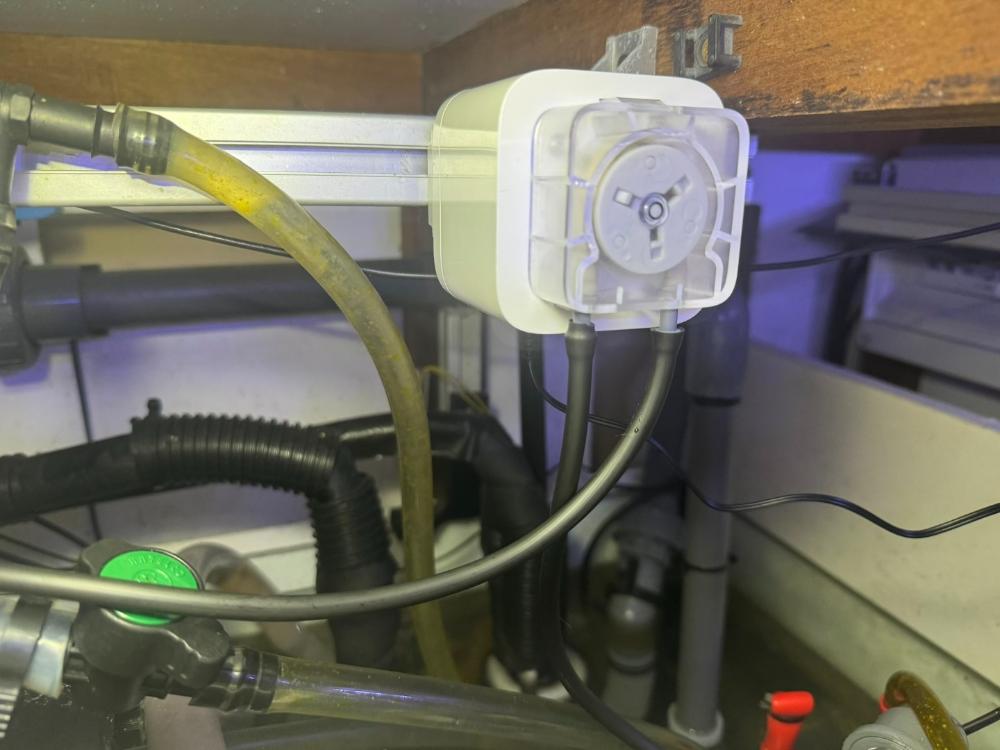
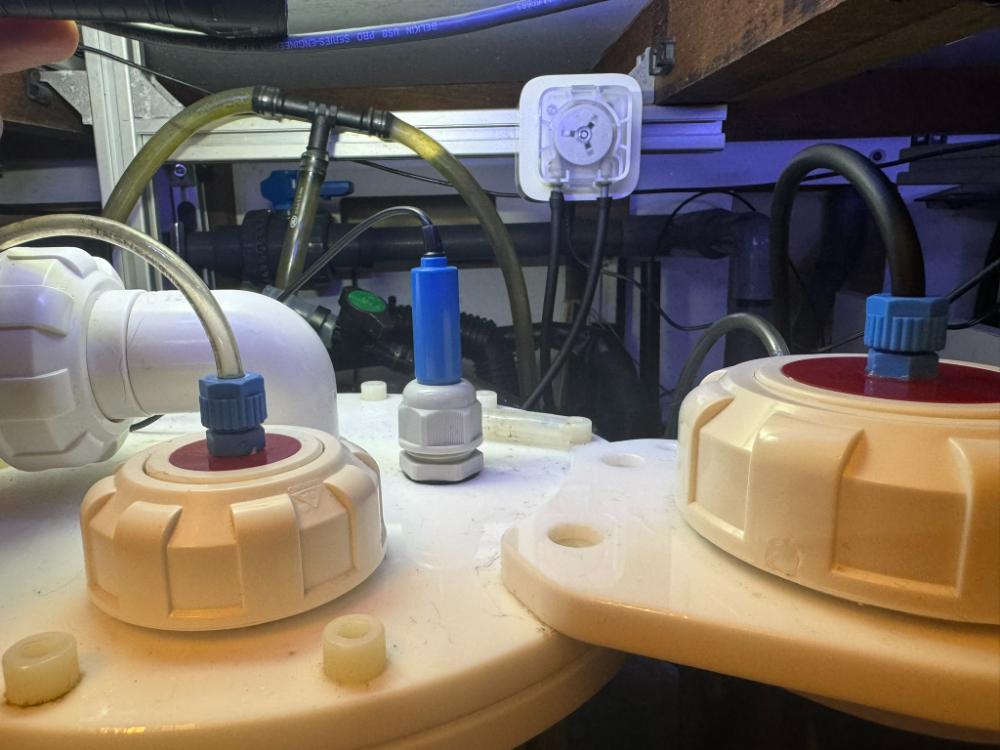
Recently installed a Reef Factory Calcium Reactor Dosing Pump for more precise control of the effluent flow rate. Using on this Calcium Rector : Aquatic Exclusive CR200 (10L media capacity) Installation configuration : Water inlet hose from the CR is dipped in the sump. Installed it in a "pull" configuration. The other option is to "push" water into the CR. According to BRSTV, a pull configuration is more ideal. Key paramaters : Effluent drip rate ~ 30ml/min. CO2 bubble count 130 bpm. CR PH ~ 6.6PH. System alkalinity ~ 9dKH. Comes with 2 sizes of fittings. I'm using the default fitting for normal 4mm air hose tube. Software is quite easy to use After calibration, its possible to do an accuracy test. Expected 10g of water. Spot on. unning it at at 30ml/min, its very silent! Loving it. Max flow rate of this pump is 60ml/min but I don't ever need to run it at such high flow. Always best to run it as low flow rate & 'most concentrated' effluent as possible to minimize dumping low PH water back into the water column. Installed mine on a 3030 aluminum profile straddling across the beams in my cabinet.
-
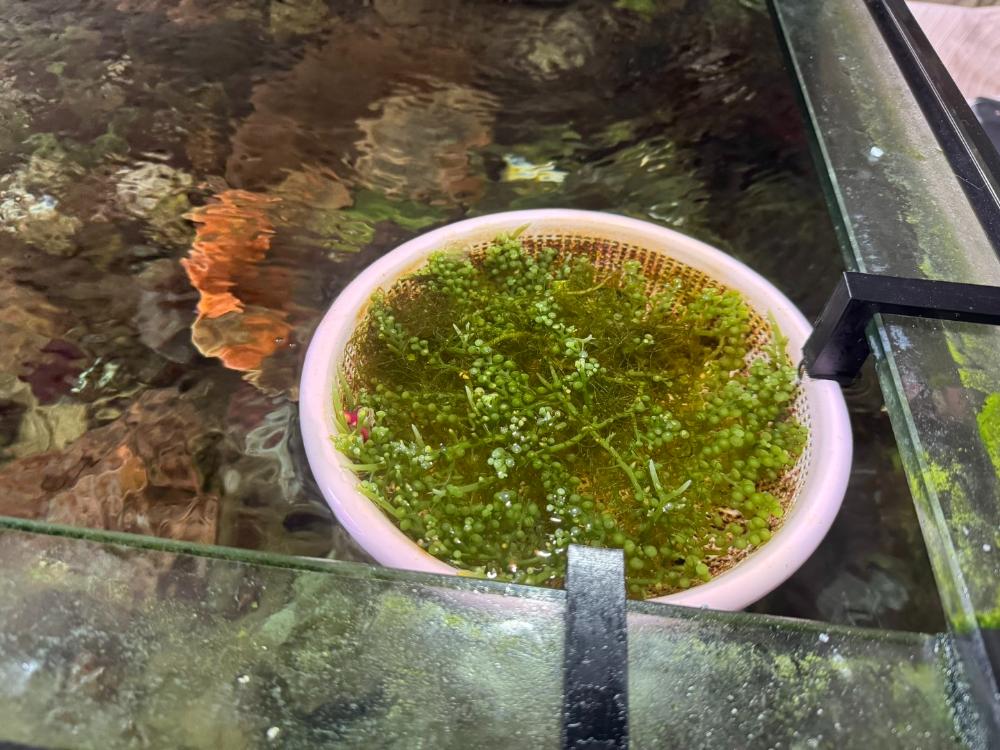
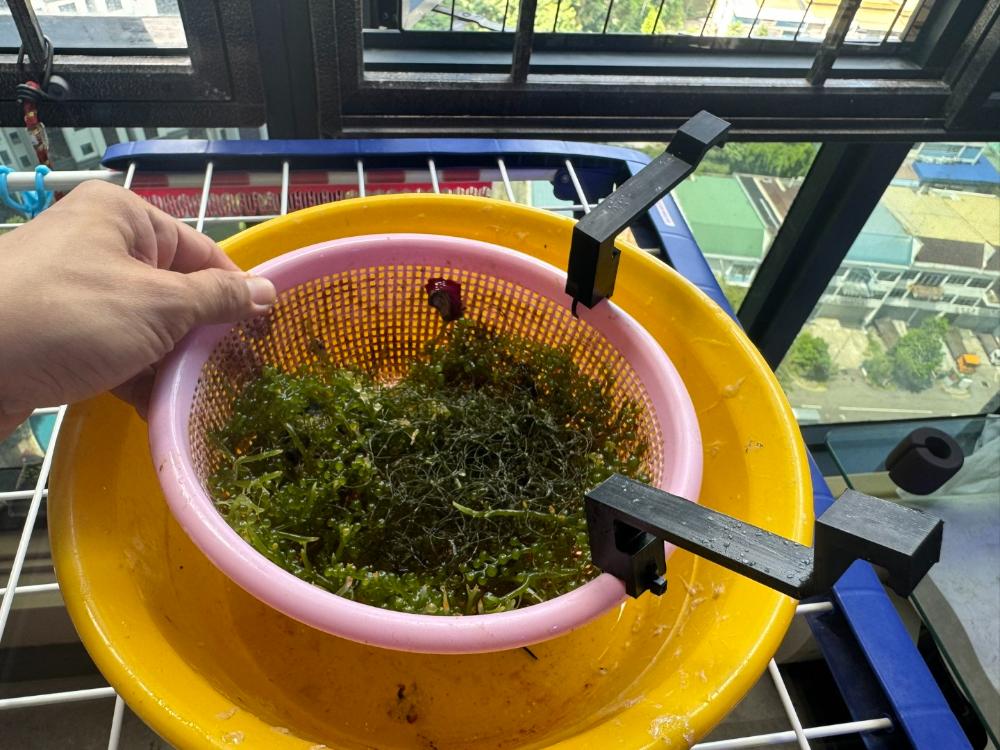
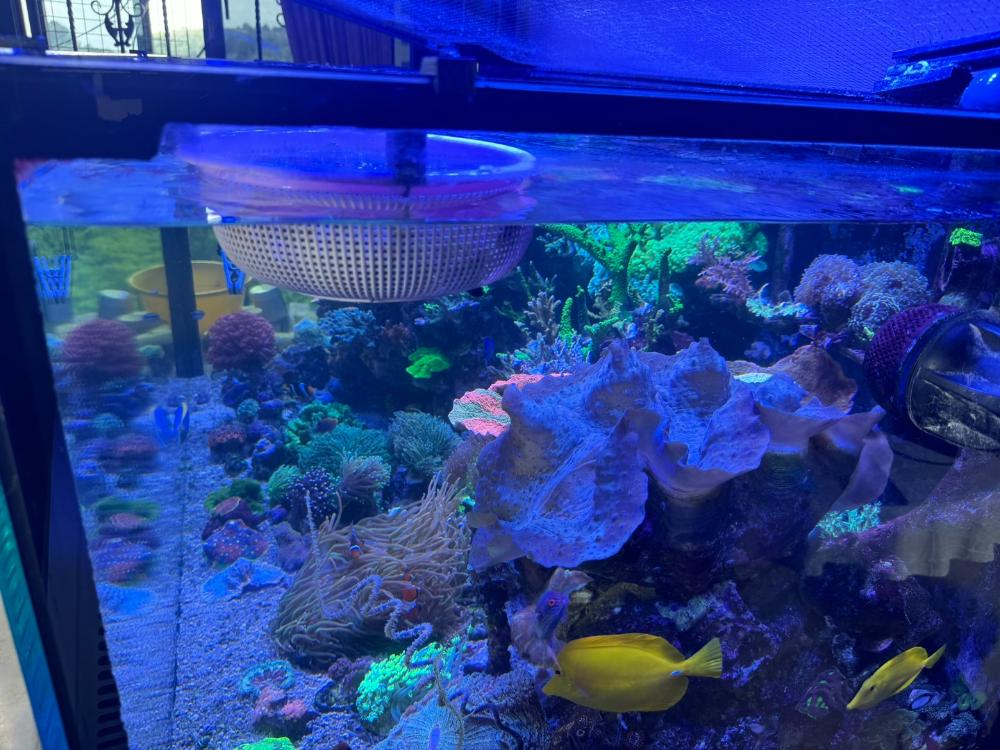
3D printed a basket clip that straddles over the Euro brace. Very convenient (though quite unsightly) to have a basket around to place frags. In my case, its to grow some chaetomorpha & caulerpa algae. To shade the trachyphylia, for nutrient export and also as a snack for the tangs. Chaeto is not their favourite but they will still finish it.
-
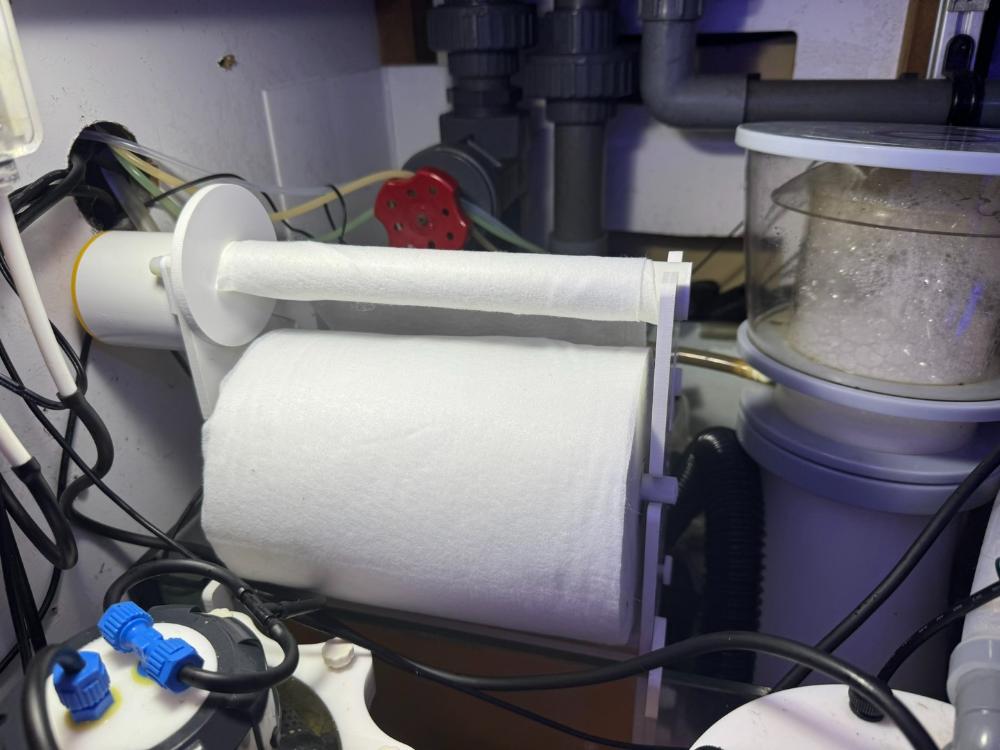
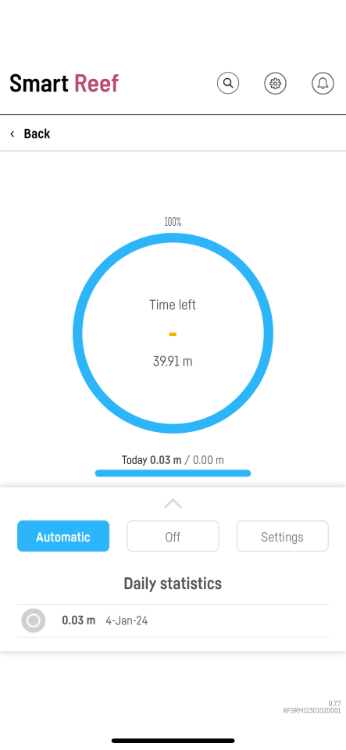
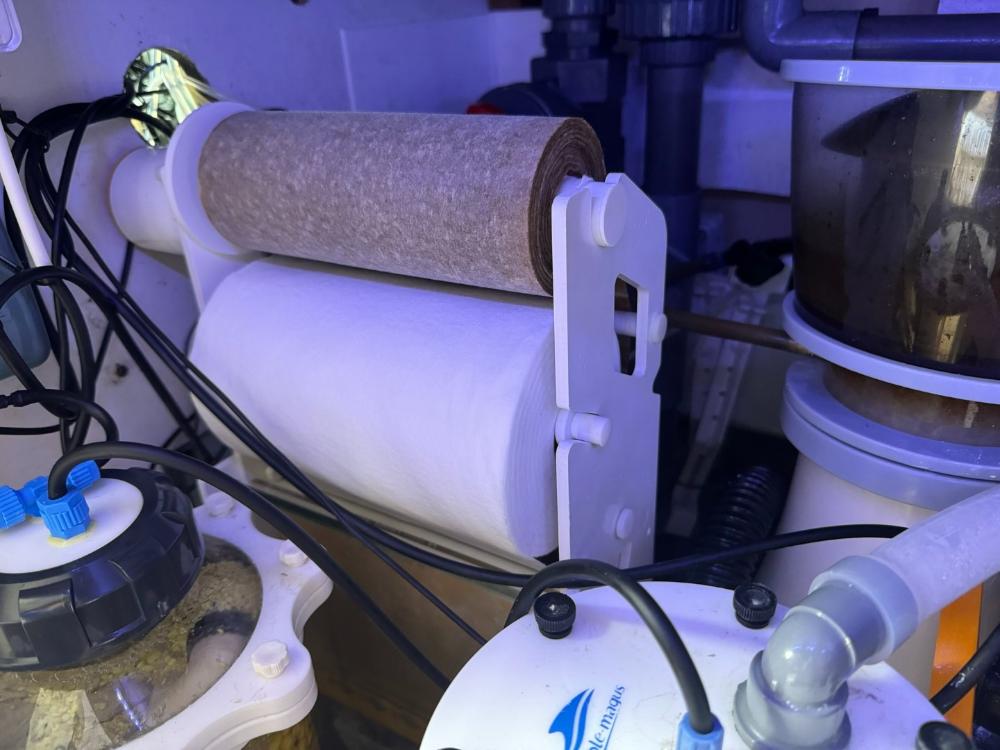
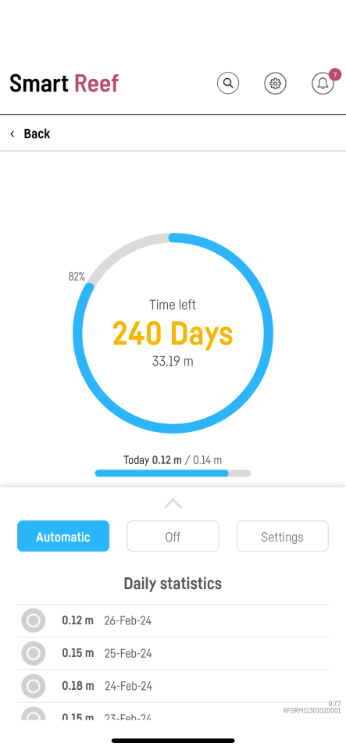
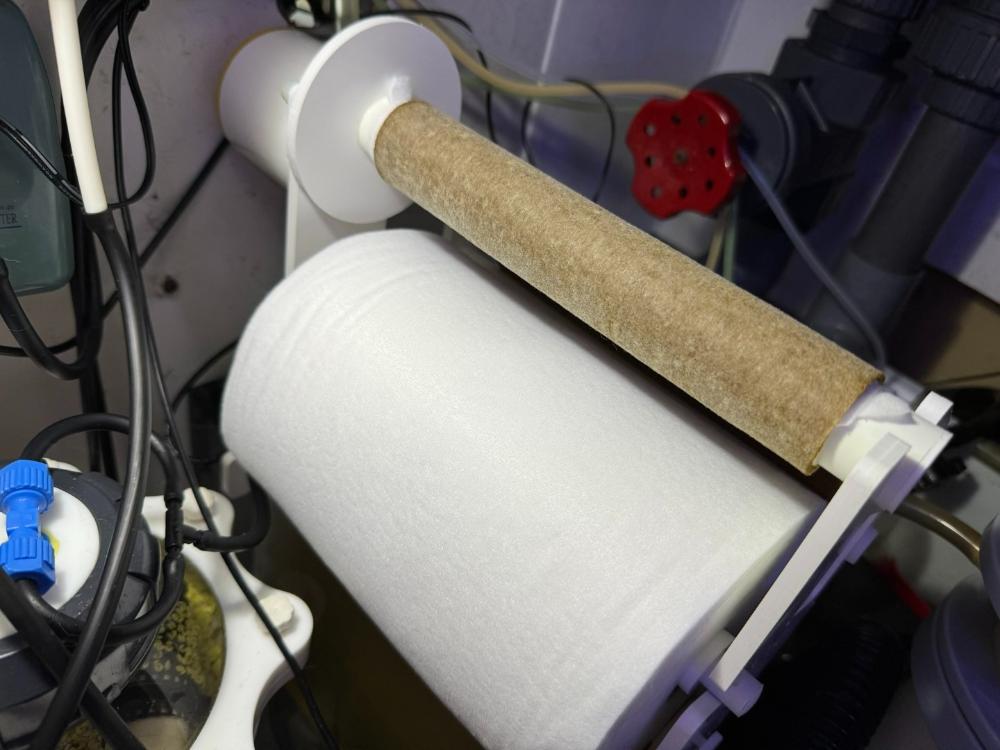
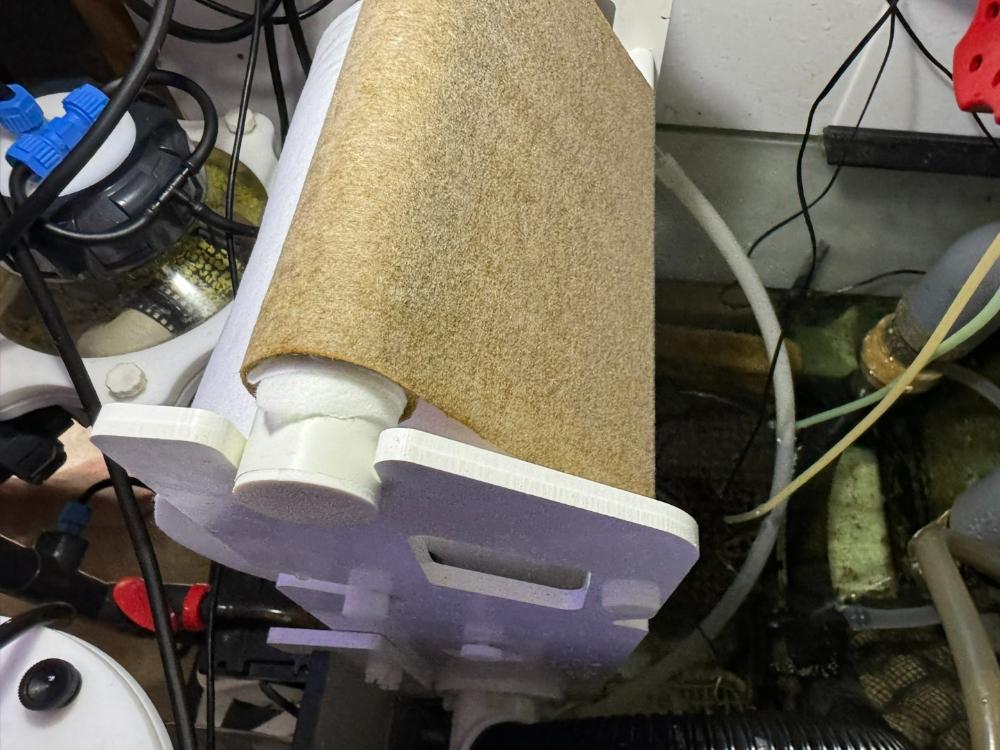
Quick update on the Smart Roller fleece. Installed on 1st Jan 2024. As of today, its about 56 days (almost 2 months) Rolling well : Nice to see the daily fleece usage rate :
-
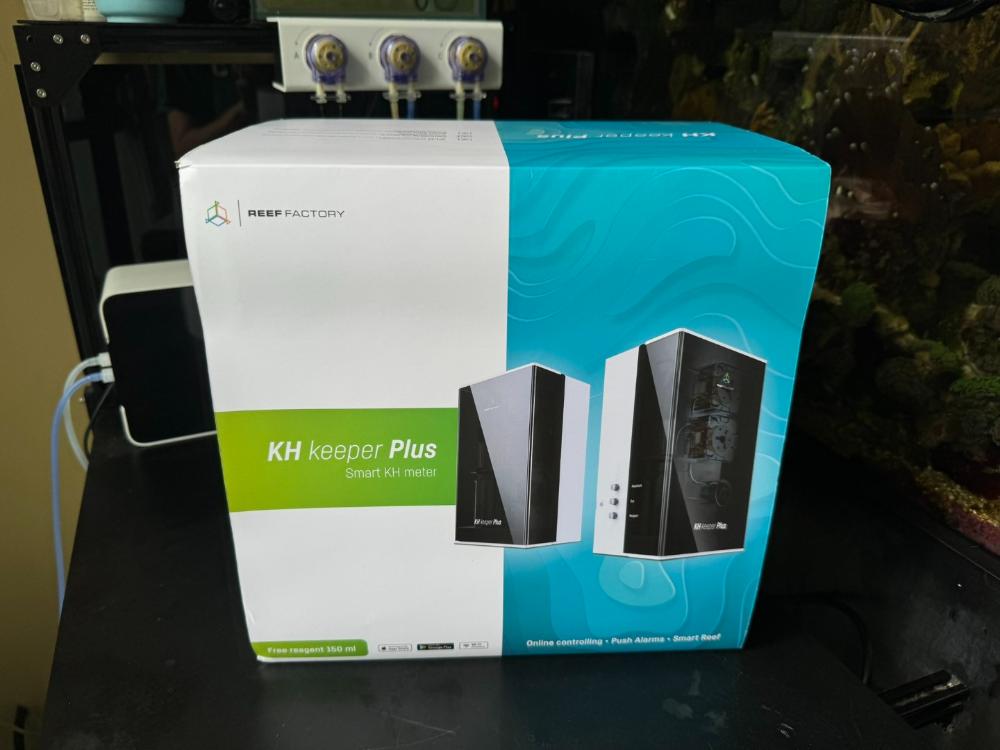
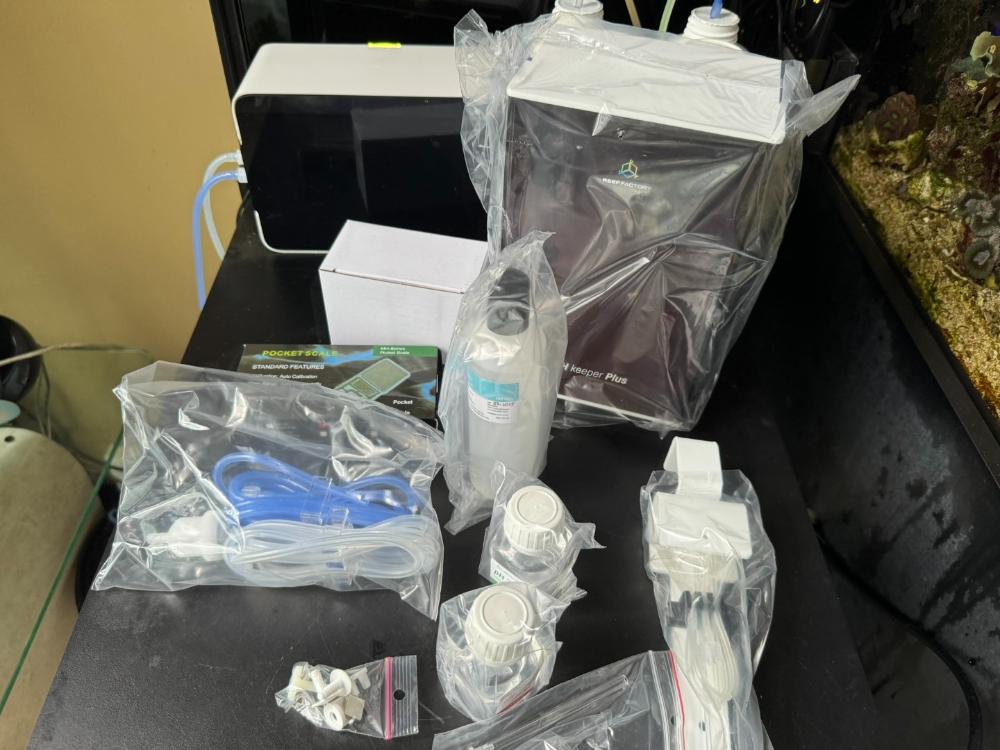
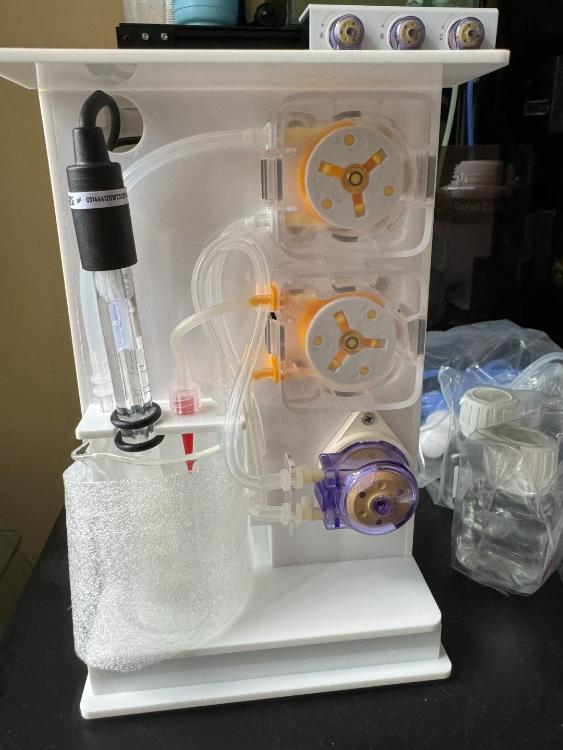
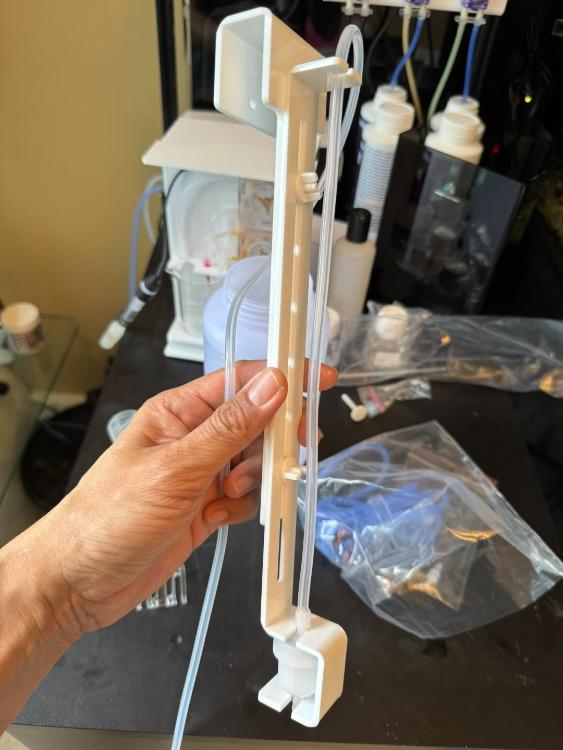
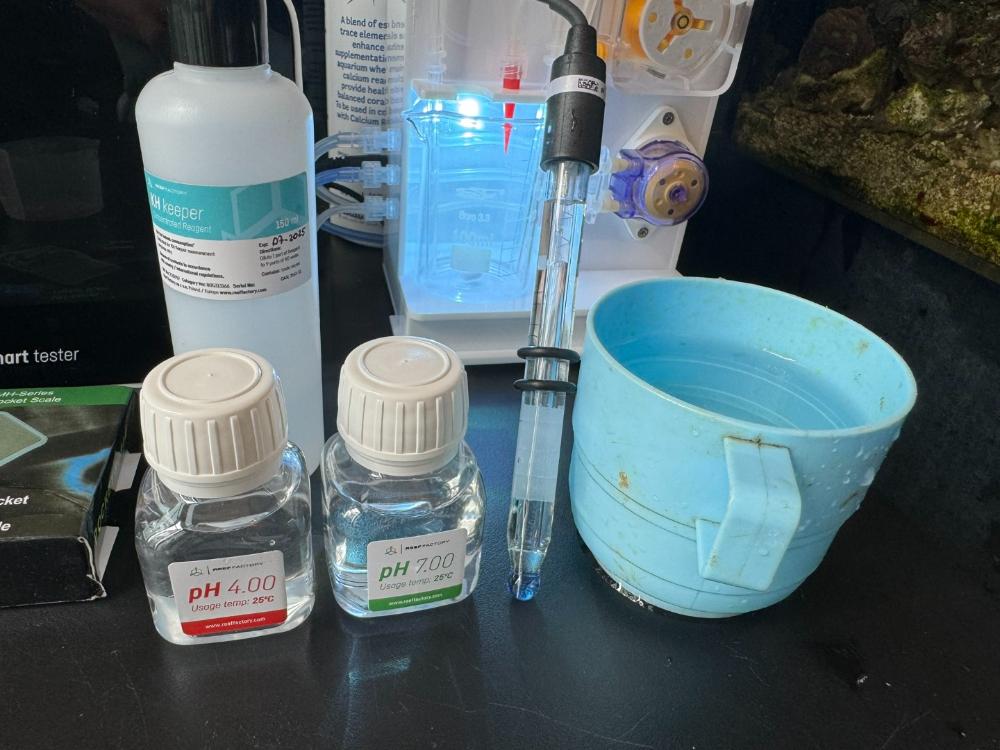
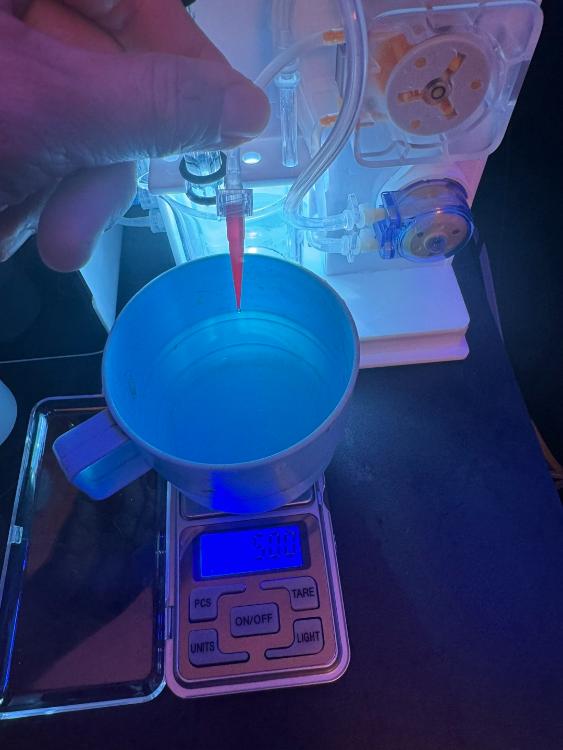
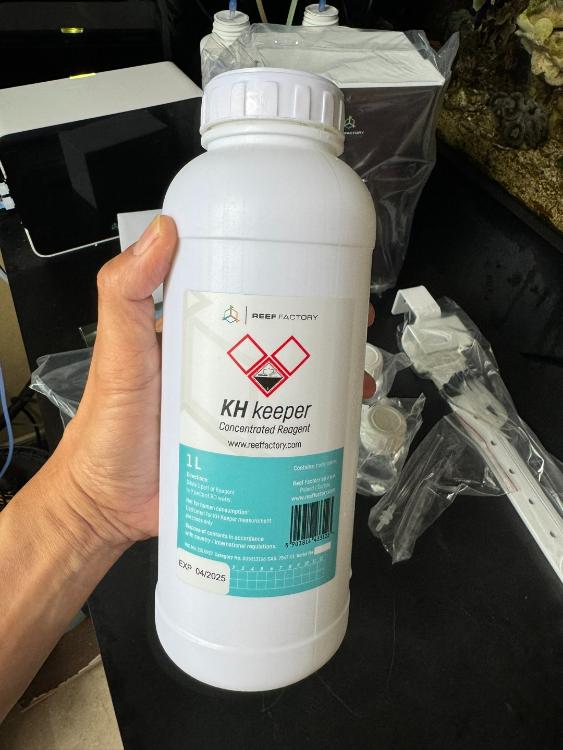
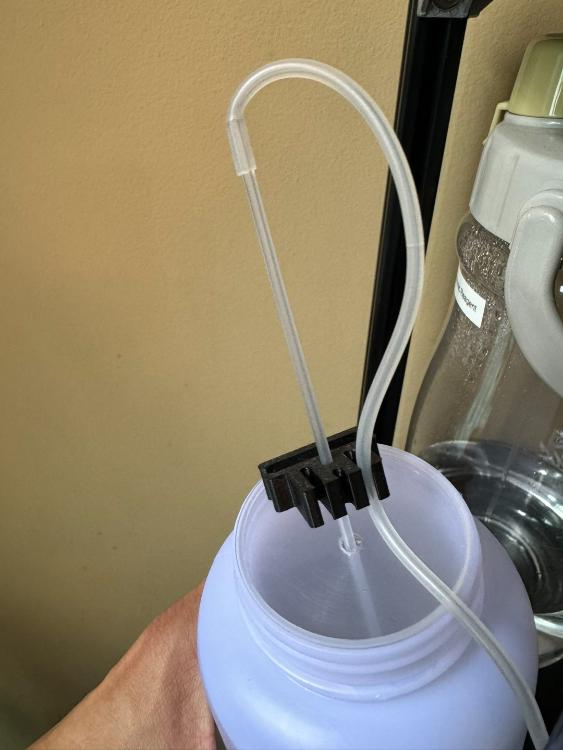
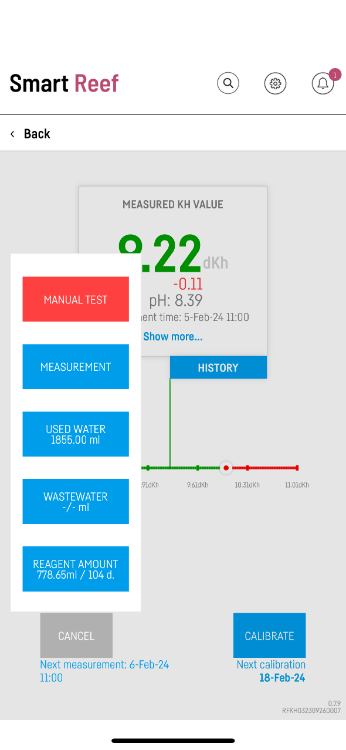
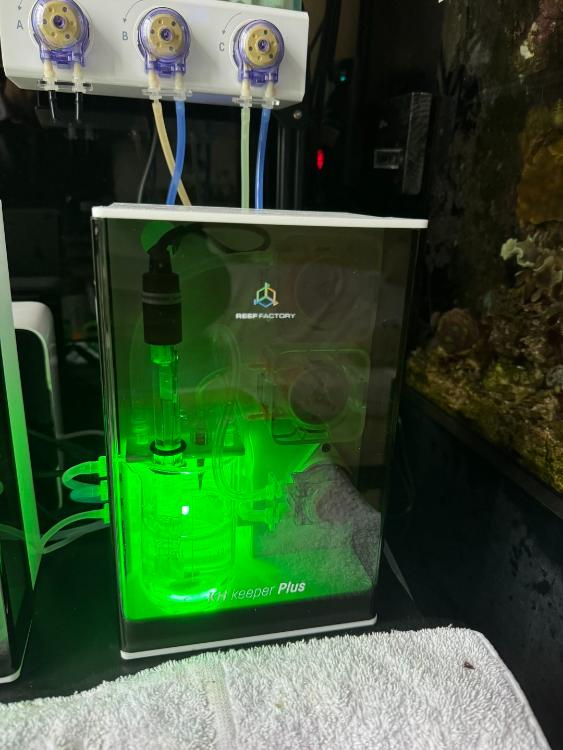
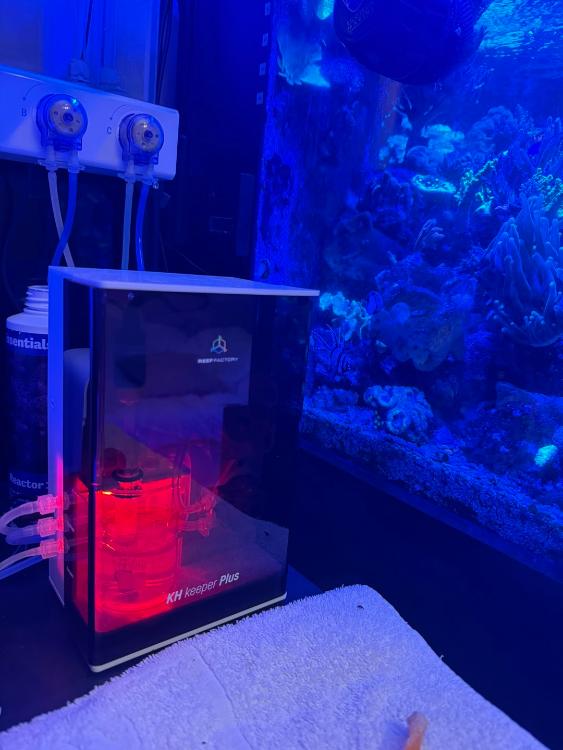
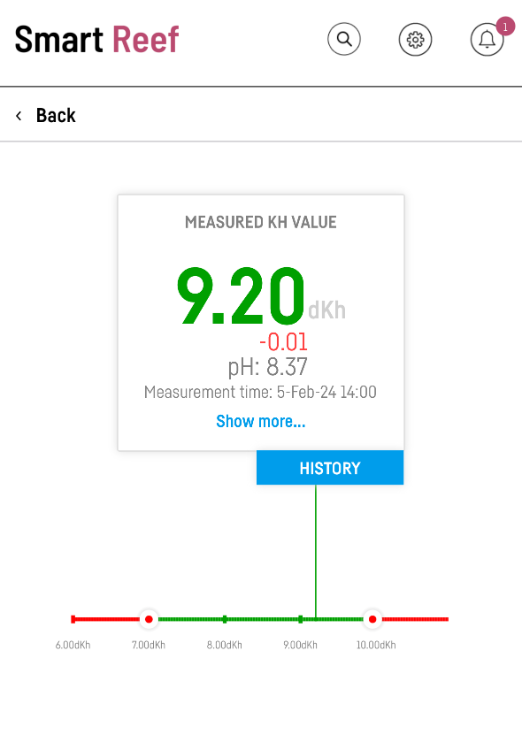
Some folks asked me on my opinion about the KH Keeper Plus and how it compares to other automatic testers. Got my Alkatronic back in Feb 2018 - an early adopter. Gosh...its been 6 years! Back then, having an automated parameter tester was a novel idea and it was a game changer to keep the most important parameter (Alkalinity) properly monitored. Alkatronic 1st gen was rather loud. Vibration and noise isolation was improved with Gen2. Software bugs were resolved over time. Reagents lasted a long time. Its been a good product with good local support. Over the years, I've used GHL KH Guardian, multi parameter testers like Mastertronic & Trident. But felt the fundamental Alkalinity tester is still the most critical to be run more frequetly (eg. 2x a day), especially for a calcium reactor user. Fast forward to 2024, KH tester technology is mature and stable. New Alkalinity testers became available. Earlier this year, I got a Reef Factory KH Keeper Plus. Reasons : It has a small foot print, pumps are silent, reagents are cheap and has fantastic software integration with its cloud based Smart Reef app. Some pictures : Got mine from ReefmarketSG. I understand this is a new batch of testers with new type of stepper motors. New is good. What's inside the box. I read the user manual ahead of time. https://www.reeffactory.com/?state=productsKHKeeperManual Finally took me only about 30 minutes to get the unit installed, connected to the wifi (effortless) & probe/pumps calibrated. Comes with a weighing scale to help with the calibration - genius idea. No more fumbling with measuring cylinders to calibrate the pump volume. Small foot print. Clean & simple design Water inlet hose. The kit includes a filter/tube holder to ensure its submerged in water. Comes with 2 bottles of PH probe calibration fluid. I like the fact it comes in a bottle. If the probe that is dipped into it is cleaned & dried properly, the calibration fluid can probably be stored & re-used again in the new future without issues. To make the diluted reagent for use, mixture is 1:9 ratio (1 part concentrated reagent : 9 part RODI water). The kit comes with a 150ml reagent pack - Can make 1.5L of diluted reagent. I also got a 1L concentrated reagent (SGD$70). This can make 10L of diluted reagent - good for ~ 1400 tests. That's good for almost 2 years @ 2 tests per day. Kit comes with a 3D printed hose clip. This prevents sharp kinks which can tear the silicone where its inserted into the hard tube App to calibrate the tester. Very clear & easy to follow using the app. The app allows you to run an accuracy test. Here, its expected to output 5g. Spot on 5g. If you enter the amount of reagent you made, the app can tell you how much is used & how many days its going to last. When the unit is running a measurement, the LED turns blue. When results are within your specified range, a green LED will light up. If its outside the specified range, it'll be red. Nice to have a visual notification like this. My mobile app also triggers a notification. And I also receive an email. Some notes & findings : Readings are very consistent with Salifert. The pump accuracy is good. I checked it a month later & its still spot on. Tip for mixing reagents : The concentrated reagent is an acid (density is marginally higher than water ~ 1.004g/mL). Ratio is 1 (acid) : 9 (water). To prepare the acid part, use volume method using a beaker or cylinder. Don't use weight method for the acid for optimum mixture. For the water, OK to use weighing scale If you use the weight method for the acid, you will actually be adding marginally less acid => more diluted mixture => dose more reagent during measurement => output from tester is higher KH than reality.
-
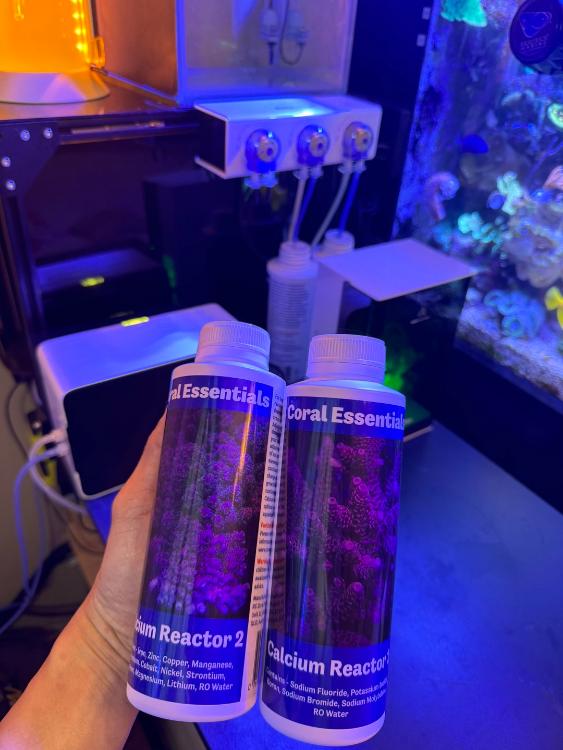
Swapping in a new set of the Coral Essential 1 & 2. Currently running on a dosing pump @ 12ml/day (split over 7 doses). Sent in my water last Sunday & received my ICP test results yesterday(Friday). Thanks AllyBoy for the ICP kit you passed me a year ago. Generally numbers look to be in range. Some fine tuning but nothing too concerning. Re-setting up my phyto culturing container on the top left hand corner. Could not find my grow lights. And the F2 is probably expired (5yrs old?). Time to source for both.
-
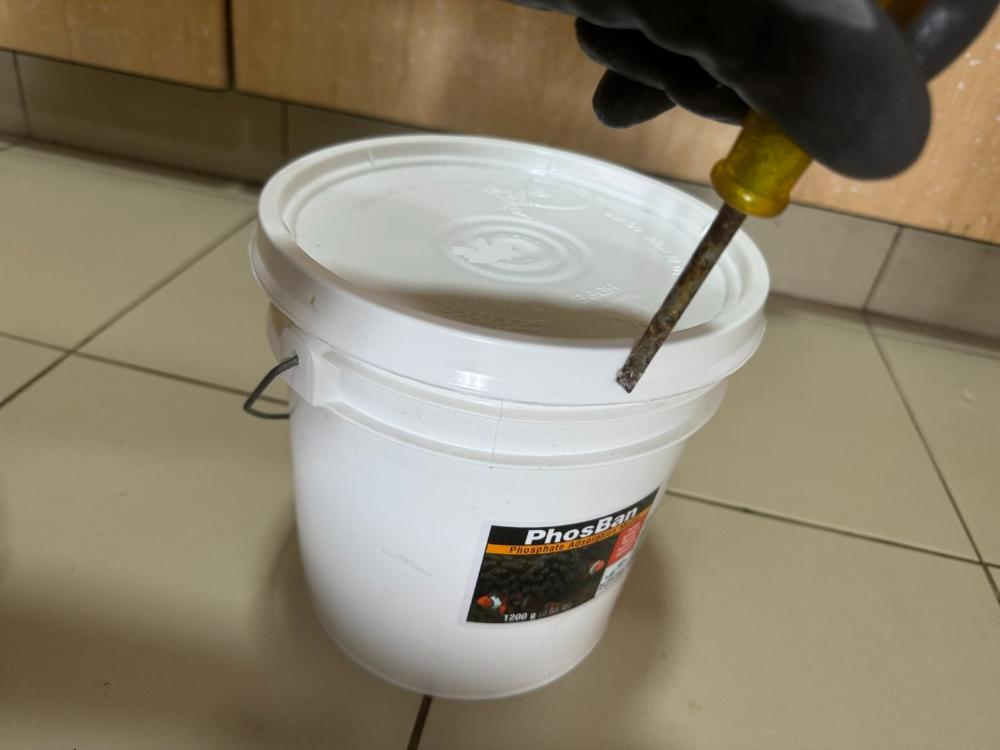
Following up on the road to lower Phosphate levels. Started from ~ 0.71 ppm phosphate ~ Nov 23. Its been stuck at the 0.2ppm range for the longest time. A fellow reefer suggested trying TLF Phosban GFO after his good experience with it. It shot down to 0.1ppm quite quickly. Here is my take on it: Got a 1.2kg bucket. Its dry GFO (absolutely dry). Hence it does not have any particular storage requirements (a good thing). Do note the lid of the 1.2kg bucket has a unique way of opening. From the graphic, it says to break the locking features on the edge of the lid. Basically, use a screwdriver & hit it downwards to break the feature. Absolutely dry. You will realise its so dry once you rinse it. You can hear the crackle sound when water is added. Easy to store (as its dry). No need to worry about keeping the product moist or drying out. Instructions say 50g to treat 50G (200L) of tank water. Hence, i prepared 200g of dry powder. Rinsed in a small container. Very easy to rinse. Water clears up after about 3 rounds. Its quite fine powder. Instructions says NOT to let it tumble. So this is how its placed in my reactor. I put a lot of wool on top so no fines escape. Leave a small gap to the wool to let it expand a little and let water flow through it. (Repeat : And not let it tumble) Started using Phosban on Sunday 14th Jan. Phosphate reduction effort progressing well after a couple of days. Happy with the results so far.
-
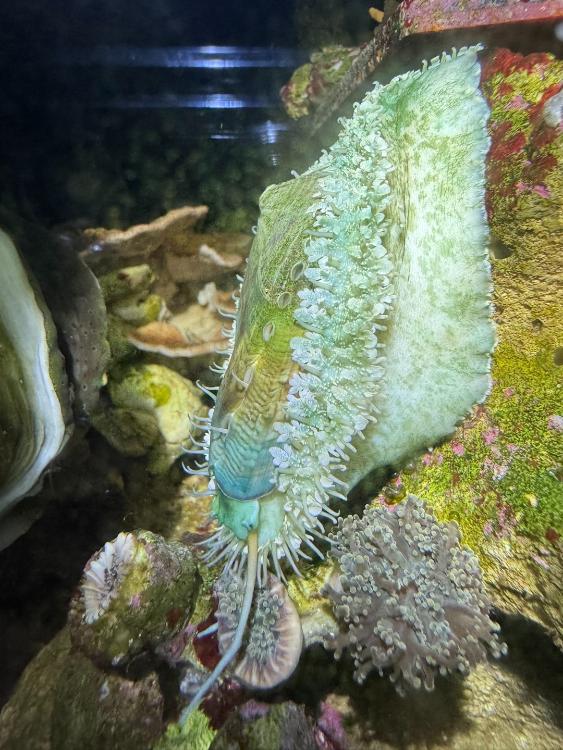
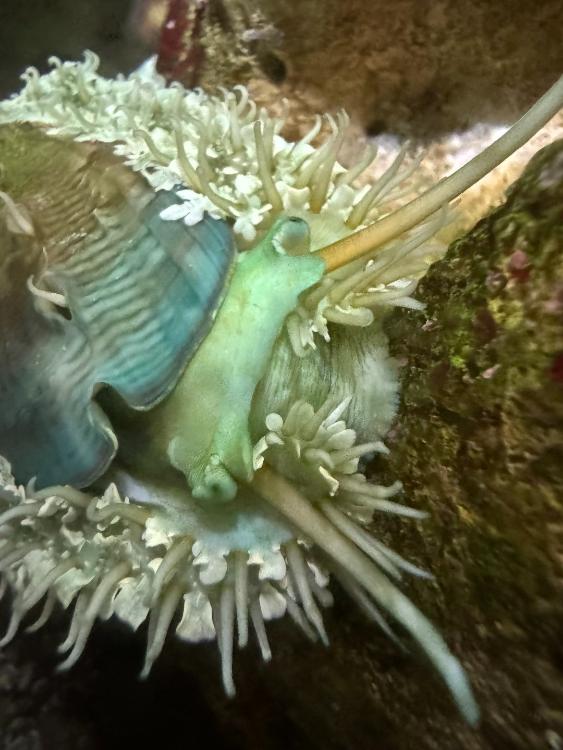
Added a large abalone on 30th Dec 23. Still has the blue/green tint when I took pics of it yesterday (13th Jan). I've not cleaned the glass for 2 weeks just to leave some film of algae for it to eat. Pretty sure it helps to clear the fine film of algae as it mows through the rocks & glass. Glue everything down!
-
2 week mark of using the Reef Factory Smart Roller. Im my setup, 100% water filtered through it without bypass. I've set it up for the water level mark on the unit to sit about 2" higher higher than the actual water line. Its been running very well. Fleece looks like its picking up dirt fairly well (not advancing prematurely). Cleaned tank and sifted some sand yesterday & today - hence more fleece was consumed. Look at the number of days remaining. It will change to a more realistic number once the daily usage rate average out & stabilize.
-
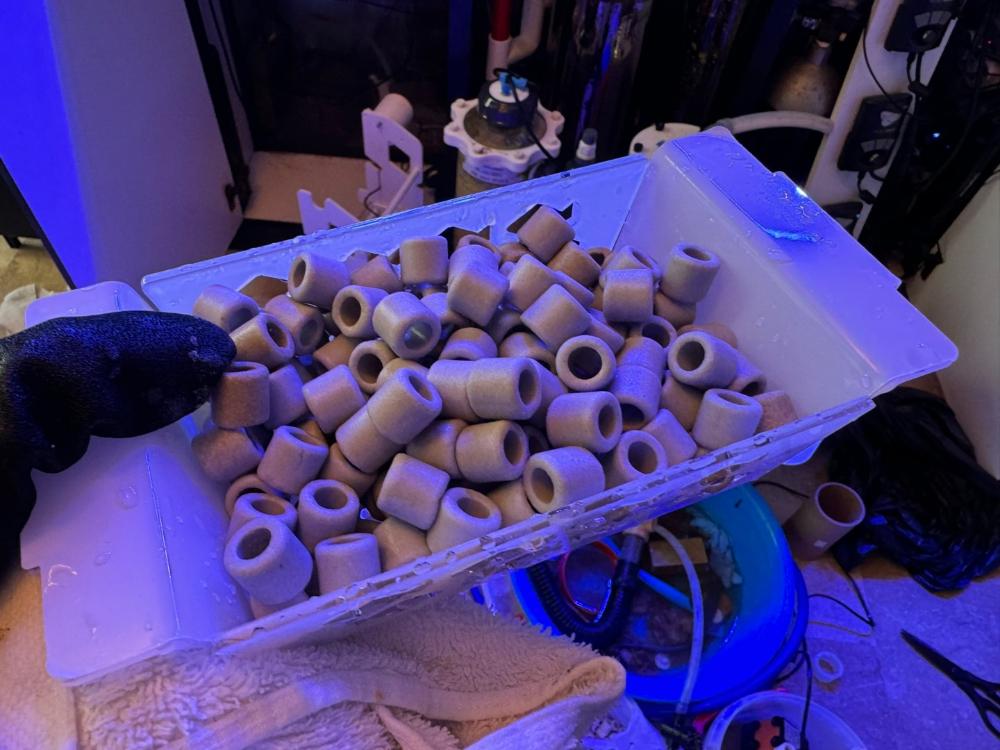
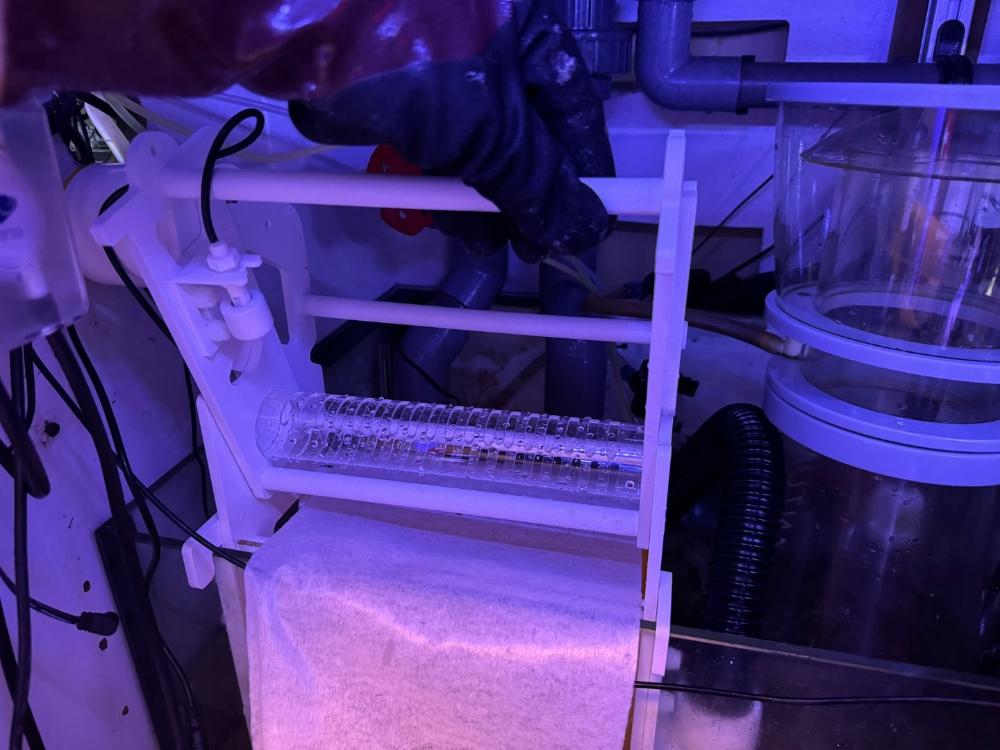
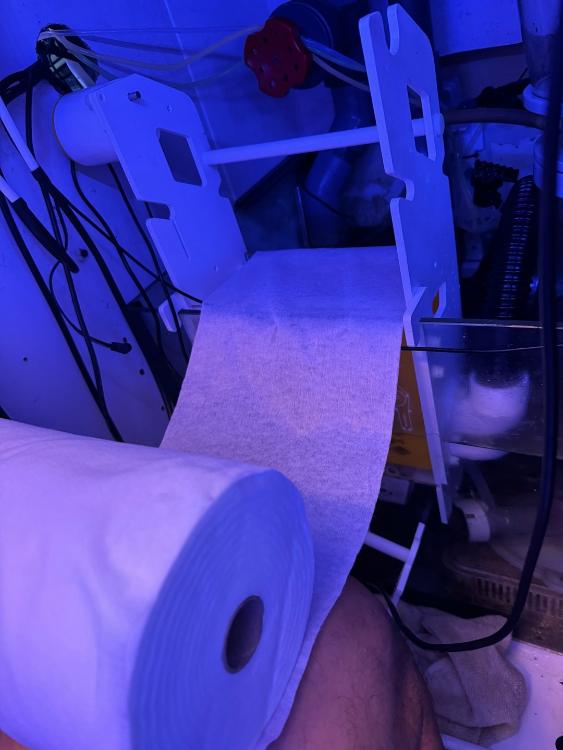
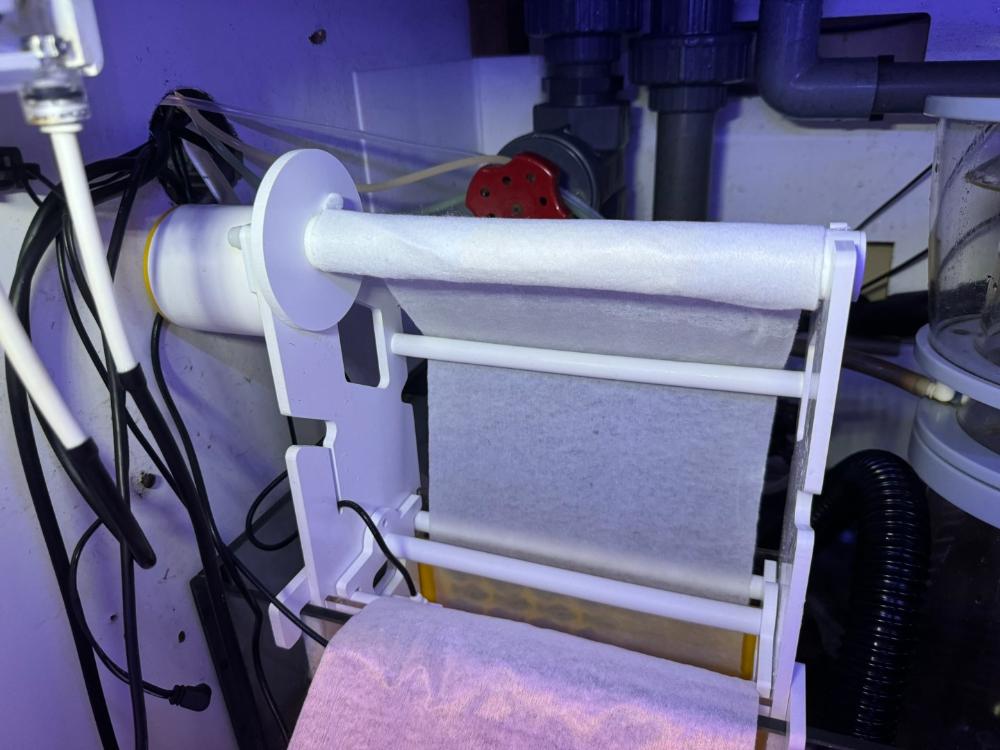
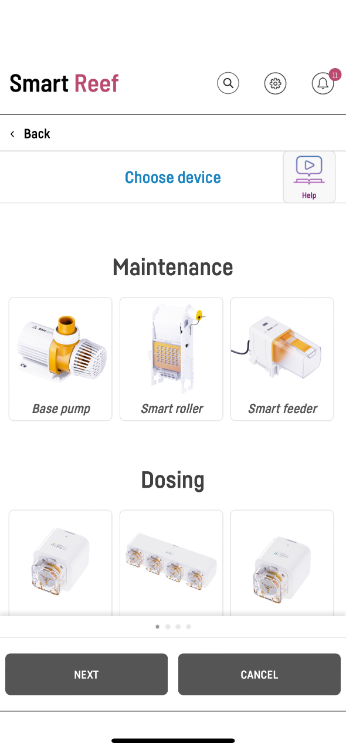
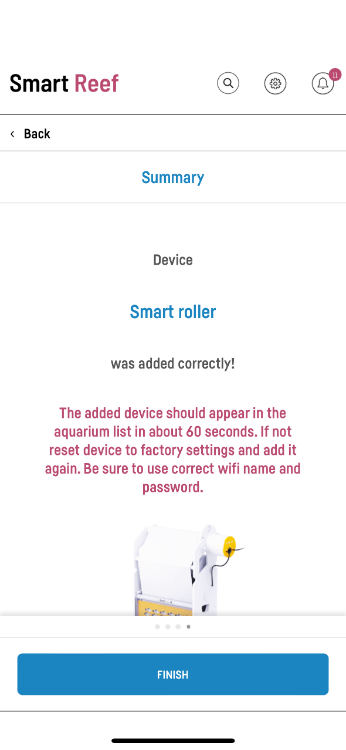
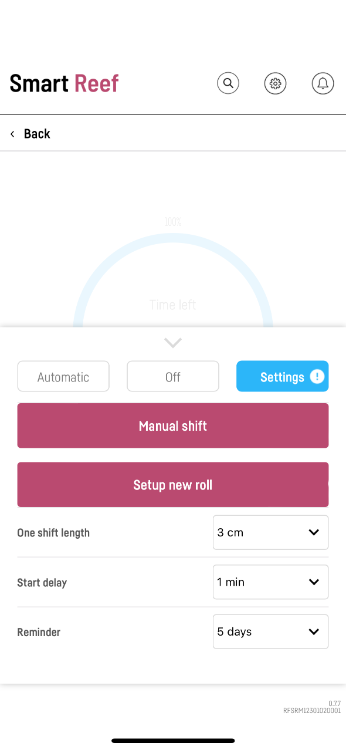
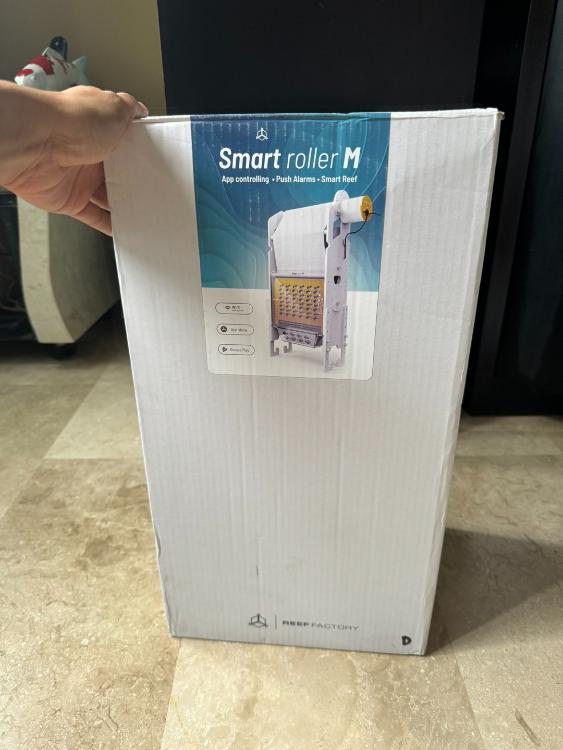
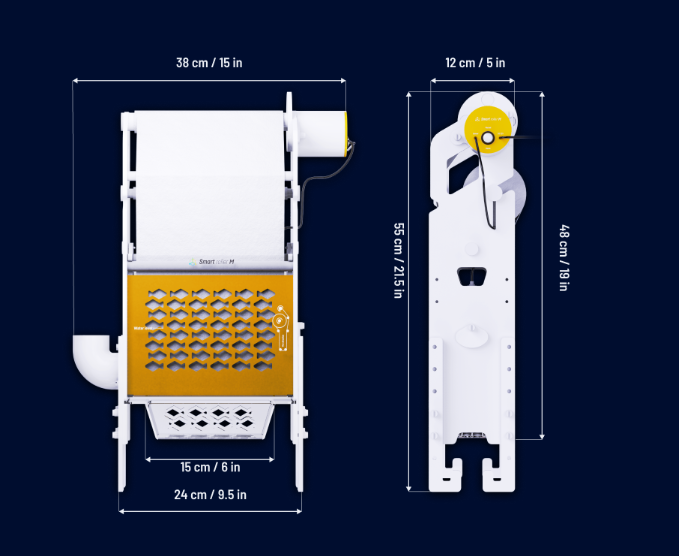
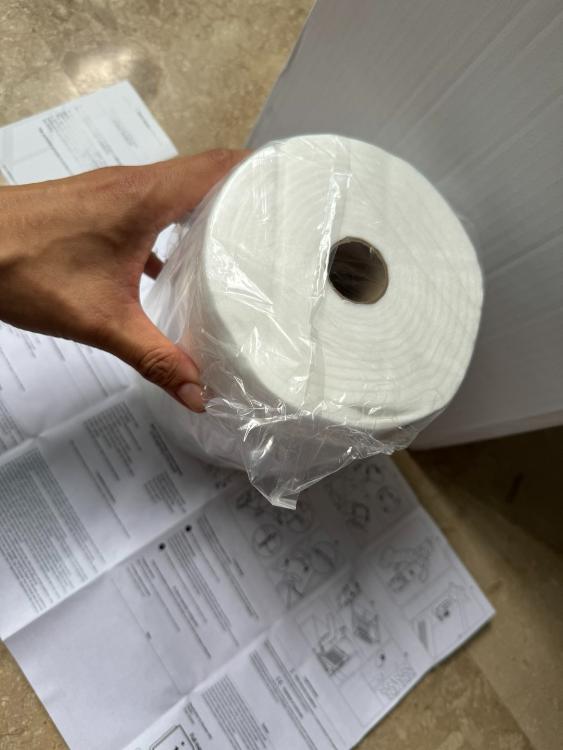
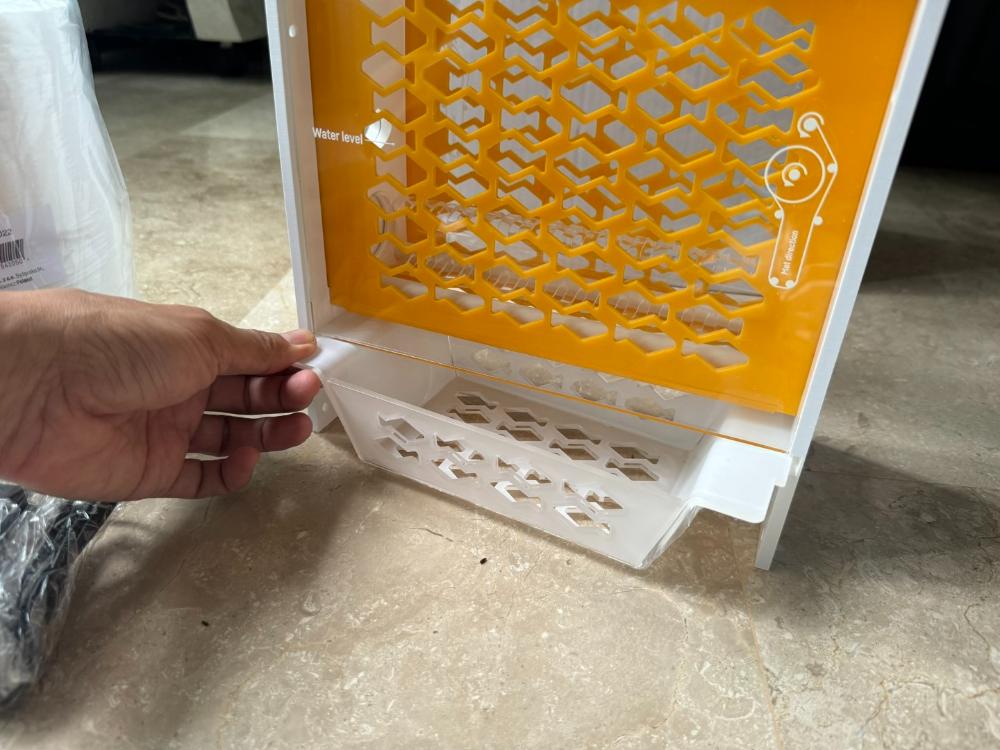
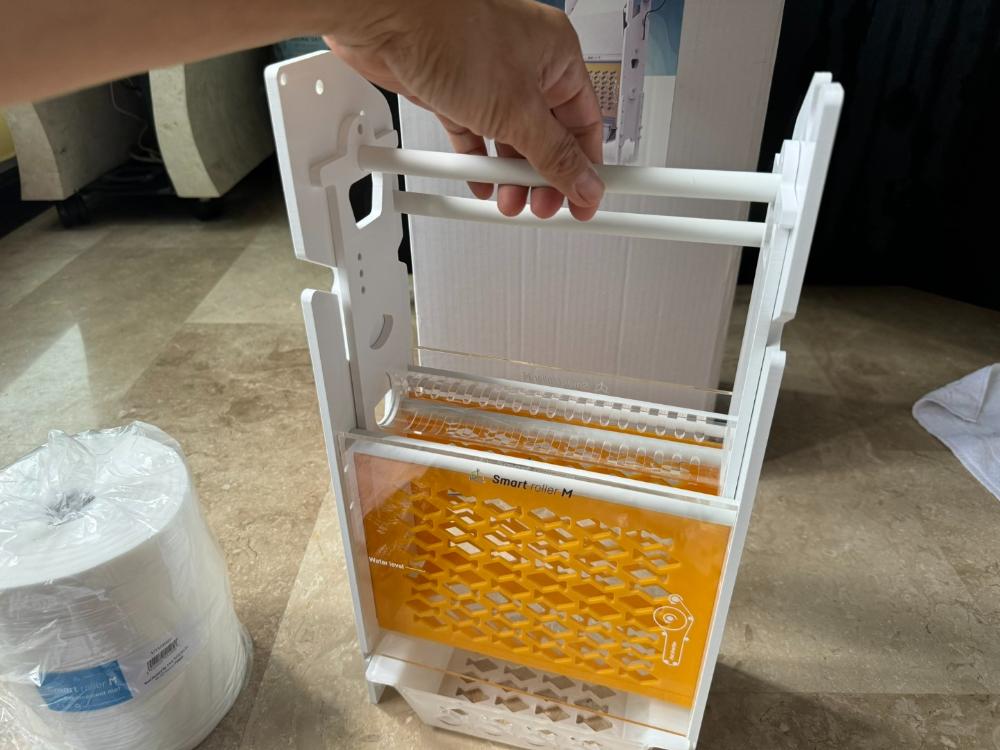
I have been looking forward to seeing more 'smart' devices available in the hobby in this era of IoT (Inernet of Things) with interconnected devices & available of data. This post is about the set up and usage review of the Reef Factory Smart Roller. After having used other roller filter for the past few years (can't reef without one now), I was glad to see one that could have more control & feedback. The key enabler here is the integration with the Smart Reef App - Feedback on the length of fleece used per day Notify if the roller jams Notify when its time to replace the roll Adjust the amount of fleece to advance each time. Able to set the time delay after the float switch is triggered before it winds the fleece. This is useful is say, your return pump goes into feed mode and the sump water level rises for a few minutes. You may not want the fleece to start winding like crazy but rather wait a while to 'confirm' before advancing I got the M sized unit which is rated for 300-1500L Footprint information : Comes in 3 sizes, Small, Medium & Large. Specs here : https://www.reeffactory.com/?state=productsSmartRollerOverview The fleece width is 20cm wide. 40m long. 50 microns non-woven filter. An "non woven filter" refers to a porous fabric comprising of random arragement of fibres and are excellent for filtration applications. There is a media basket under the unit. The unit is likely to be lifted above the sump floor. Always good to place some media in a high flow area (under it). Either use this basket or your own media bag/basket. Filled up with Siporax There is a targeted water level marking on the acrylic. The user manual explains that the bypass flap is at the 'water level' mark. If the filter sits higher up, any water that comes out if the flap is open will create a splashing sound. Mine is set up higher so there is more water pressure to push through the filter than water rising upwards towards the float switch (i.e. roll of fleece will last longer) There is a bypass flap in case you don't want all the water to pass through the filter. The "basket" assembly to route the fleece is removable. A nice feature for easy fleece change. A close up view of the water inlet pipe. Clear acrylic - you can see what's trapped & blocking the grooves (maybe a fish? Bubble algae?) There are facing both upwards & downwards to enable higher overall tank pump rate through the unit. Water inlet can be rotated to any angle. Nice to have this flexibility. Wire routing Routing the fleece is quite simple. Lay it flat across the unit Then insert the basket Tape the 'used' end then wind it 3 rounds All done! As always the Smart Reef is very easy to use. Some screenshots Choose what you are adding. Follow the screen instructions to scan the product QR code & input wifi password. Set it as "new roll" & it'll start tracking at a starting point of 40m Running it for a couple of days and very happy with it. So far, the fleece usage rate looks quite low Nice to see it track the usage per day and over time and be able to tell you how long the fleece will last. Or if the usage rate changes drastically, the it could point to something in the tank system to investigate.
-
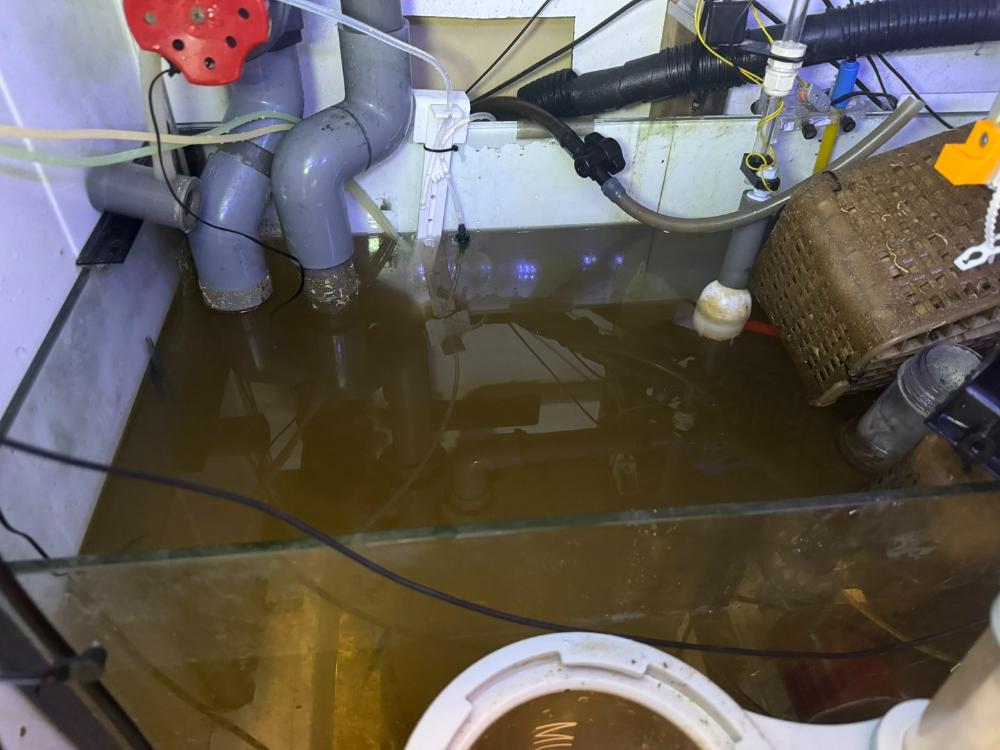
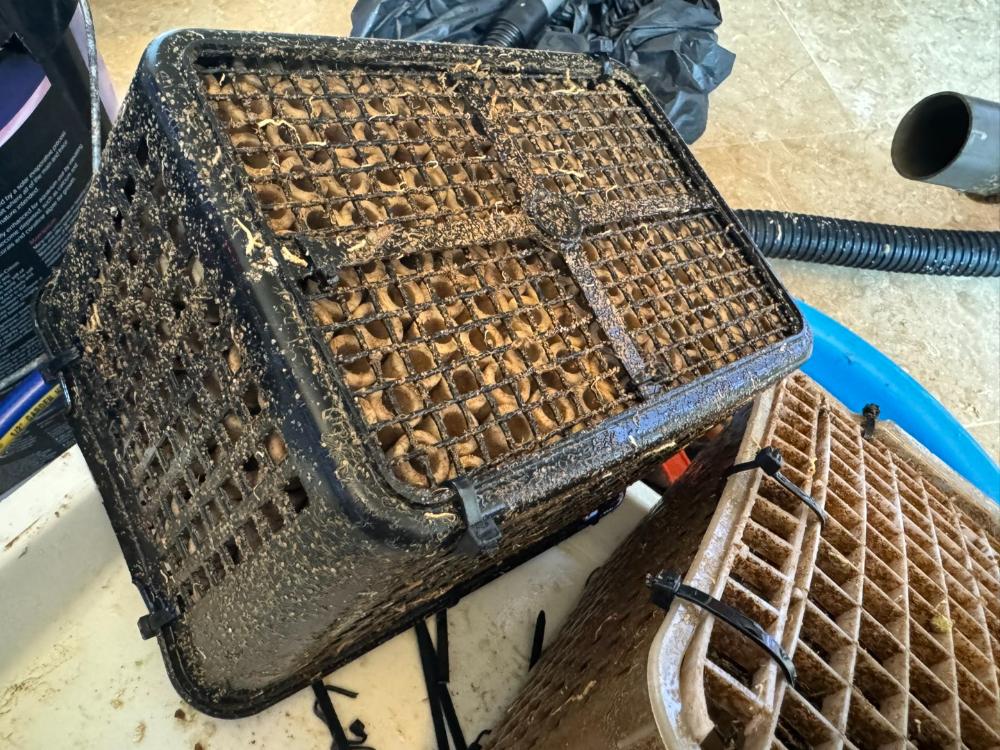
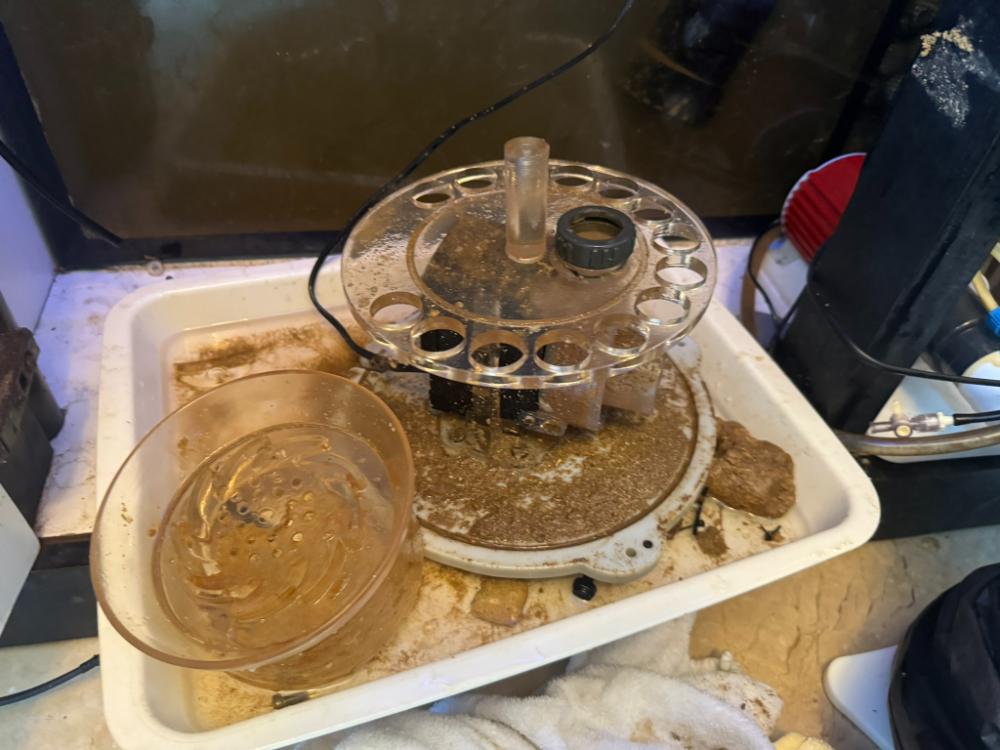
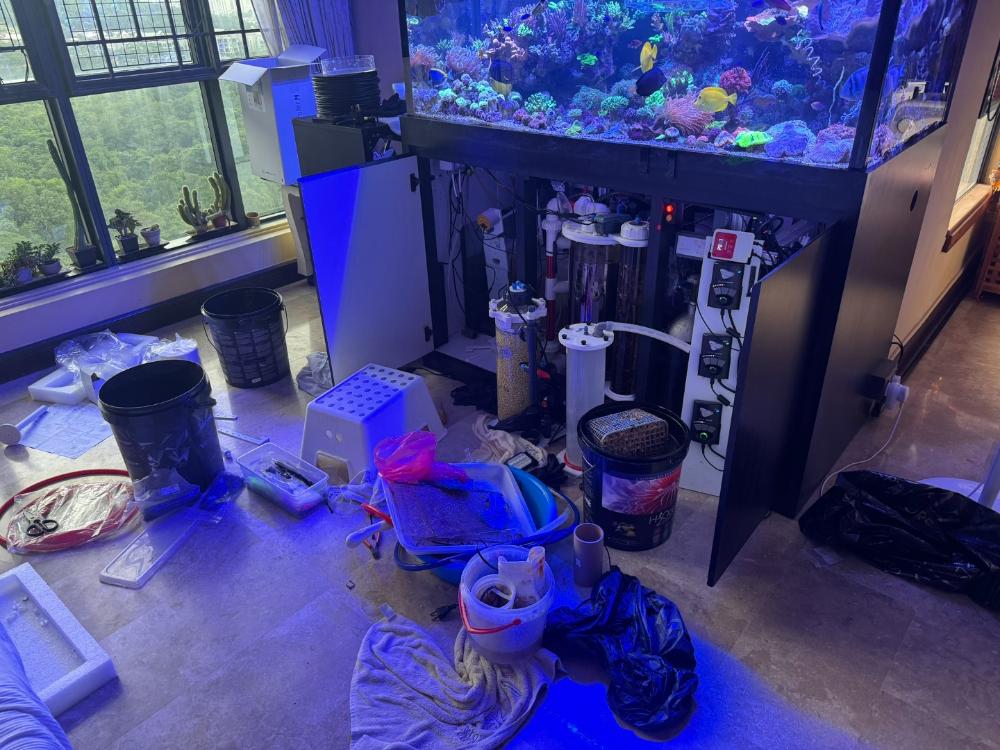
Did some major cleap up of the sump over the year end break. Cut out some panels of the sump to simplify the layout & to create a single large 1st section (for filter roller, bio media & skimmer). And also to use it as a space for fish to reside. A view during the tear down process. That's 7 years of sludge. Some sections under the basket of bio media had about 1cm of 'mud'. Next big challenge is how to clean up the water to resume the water flow. My blue drum for mixing fresh salt water is only ~ 120L and insufficient for the entire sump water volume. Process wise, I siphoned out the sludge. that was about 80L. And drew out about 2 buckets of water from display tank to rinse the bio media. Siporax. This was quite popular back then. Cleaned up the Nyos 220 skimmer as well. The wife complained about the mess on 1st Jan 2024. To clean up the rest of the water, I used a 5 micron filter sock. This worked incredibly well. It used to be so difficult and expensive to find 5 micron socks - which I previously used to capture the precipates from dosing lanthanum chloride. Now available from ReefmarketSG. Price is reasonable. Link here : https://www.reefmarketsg.com.sg/filter-sock-5-micron





.jpeg.deca518aecebb3bfb7f874a65fc602a8.jpeg)

.jpeg.ff47a014e2b4e37dabad5d8fa891ef0d.jpeg)
.jpeg.ea93833ba32d9daf137ed89f0ab2ad67.jpeg)
