mafacifa
SRC Member-
Posts
513 -
Joined
-
Last visited
-
Days Won
4
Content Type
Profiles
Forums
Gallery
Everything posted by mafacifa
-
@tunicate Thanks for the suggestion. I might also consider hanging the lights directly from the ceiling and make do without the top shelve. Another option that I'm considering is to have an aluminium flat bar custom made to arch over the top of the tank. Good thing is that the carpentry works are not placed yet. So I have time to do some mod. Awaiting my aluminium profiles for the base frames. Should reach this weekend.
-
Hi bro. Ur tank looks big. The water like solvent from dama I was told by the staff that it's not water proof. So I guess that must be the cause of leakage. I bought my weld-on from Highland. Weld-on 4 is recommended if u have bigger joint areas as it takes longer to cure. But when I went there, only left with weld-on 3 for the small bottle. So no choice, better than nothing. You might want to also get weld-on 16 for patching up leakages after using weld-on 3/4 if u have no acrifix 192. You can use the needle applicator and bottle for the weld-on 3/4. Here is their contact. http://www.highie.com/
-
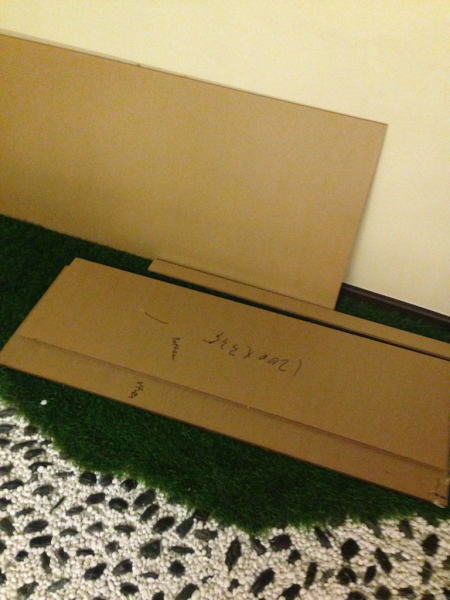
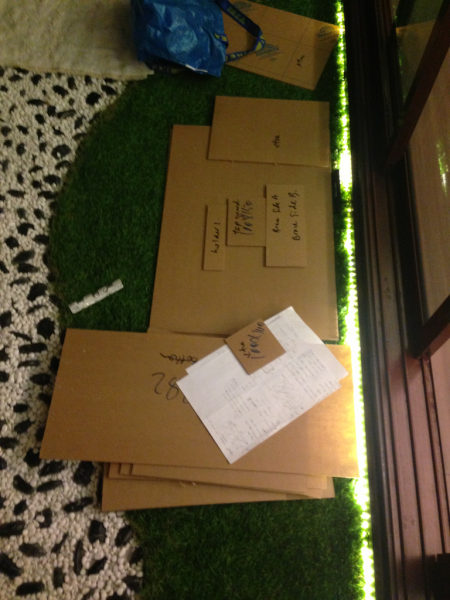
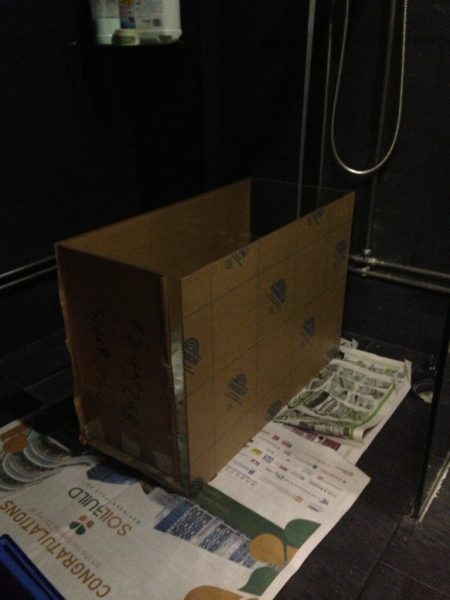
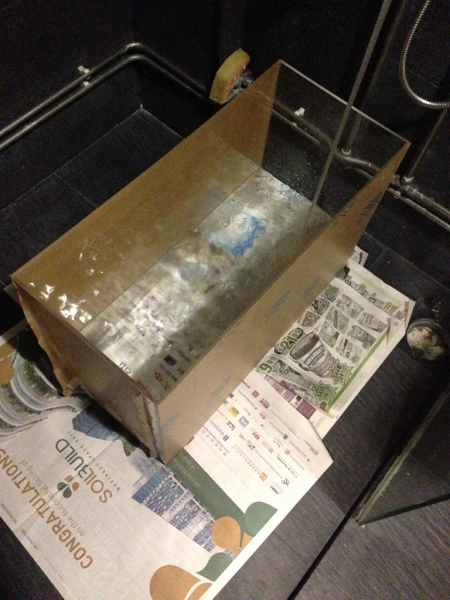
Alright, here is the post for the sump. The sump design was inspired by TriggerSystems sump. There too make acrylic sump and looking at online reviews and videos, I like their simple design and changed it accordingly to my requirements. Materials bought. My work area is currently at my balcony. Good as there is can be room ventilation as the glue smell can be very strong. 1. Started off my sanding the edges of the sheets with sandpaper grit 300 then by 400. My advice is to get a sanding plane where you could attach sandpaper to it. It will have better coverage and easier to sand back and forth. This step is necessary as the machine cut lines of the acrylic are not smooth at all. Just sand until but not to polish it. Around 3-5 mins each side. Can be messy with particles flying around. Ensure your area has no fan. Also, that extra N95 mask you got might be handy. 2. Wipe clean the edges with cloth. Micro fibre cloth is good to prevent scratching the acrylic. 3. I used Acryfix 192 for the glueing instead of Weld-on as I didn't have that when doing it and I'm anxious to start too. The Acryfix is not water like so I applied the edges together. So, I did not get a very nice bubble free finish. Also, use the f-clamps for keep it up straight. Acryfix takes about a day to dry and needs UV for that. So just leave it under sunlight should be fine. I took my time on this and did one side a day. I glue one side during evening after work and let it sun the next morning and continue for all sides. So I took around a week. Haha! You might want to watch these youtube videos on gluing, very useful (have 6 parts): So the end result for the sump tank can be seen here. Water test it. First time got leak so need to empty the tank and dry it before patch up with glue again. Please have buckets stand by so u can hold the water temporary till the next test. Minimal water waste and recycle later to wash toilet. Once there are no more leaks, I leave the water intact till the brim for two days. To see if it can withstand. As this sump is 8mm, the bowing on the longer side is noticeable. I have not installed the baffles so maybe thats why. Baffle installation has to wait since there are some custom cuts that I ordered somewhere. I don't have laser machine to cut inner holes or those teeth like design. So this part best to outsourced. Will update on baffles and rest of sump soon!
-
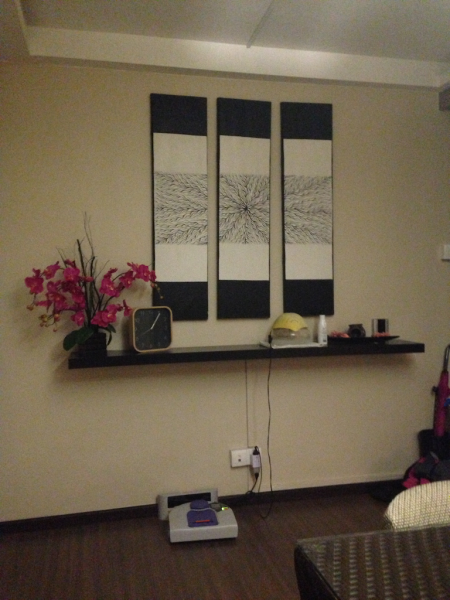
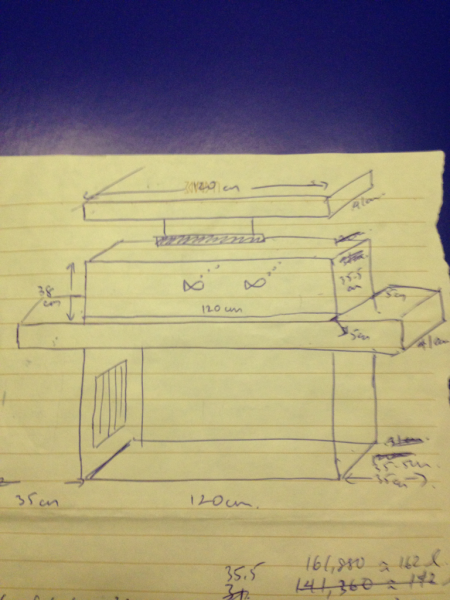
Hey fellow reefers After looking at so many DIY posts and kena poison by the nice tanks around, I decided to just take the plunge and start my own slightly bigger system by do it myself as much as possible. Did some research and ask around fellow DIY-ers to get the initial idea and planning. I choose acrylic as it is easy to deal with and I have done smaller acrylic projects before (not aquarium stuffs) and also last time D & T knowledge. Haha! My idea of a home tank system has to be something that must compliment my current home decor and theme. And personally, a standalone tank system in the middle of living or dining area might not fit that criteria. It is practical of course.. So here we go. This is the current area in my dining area. Paintings from Bali will be replaced with some mosaic tiles. Yes, I'm gonna put mosaic tiles here, unconventional as it is usually placed at kitchen or bathroom. We'll see. Here is a sketch of what it would look like. We will have two suspended shelves that will span across the bottom of the tank as a base and another above it from which the lights will hang from underneath it. A summary of the materials purchased for this project together with estimate costs: 1. Cast acrylic from Dama (10mm for main tank, 8mm for sump). I actually bought 4'x6' size for each thickness and have them cut to my dimensions. I do quite have quite a bit of extra which will for another planted tank project after this. Cost: < $255 2. Acryfix 192 tube form glue from Dama. Cost: ~ $14. 3. Weld-on 3, needle and bottle applicator. Cost: < $20. 4. Two L-clamps. Cost: $14 5. Electric hand-drill. Cost: $16 6. Novus 1,2,3 acrylic scratch remove. Cost: < $40 7. Buffing attachment for the hand-drill. Cost: < $15 8. A bundle of sandpaper having grit 300, 400, 1000, 2000. Cost: < $20 9. Hand-held blow torch: Already have used by my wife to torch her creme brule. So aside from the material costs, the equipment costs can be well distributed for future projects if this works out well. The process of DIY will include the following (for now): 1. Sump 2. Main display tank 3. Mosaic tiles. -> not reef related but just to document the entire build 4. Aluminium profile cabinet base
-
thanks for the responses. I've already started the DIY process. Got motivated after watching TANKED! Haha. Sure will provide updates soon either in DIY or new tank forum.
-
sold and collected. thanks!
-
currently reserved.
-
Up for the weekend. PM or sms 96396574 for quick deal
-
still in mint condition! Up for the weekend. Price negotiable. Serious buyers pls.
-
Price reduced to $130.
-
hi, you can take a look at sumps designed by trigger systems. Got good reviews of their sump and design over at youtube as well.
-
still available!
-
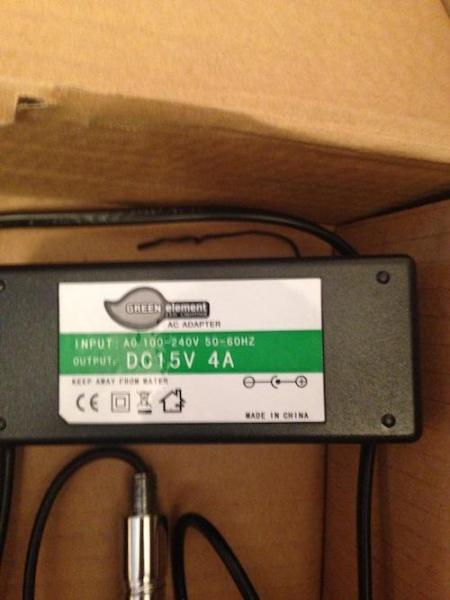
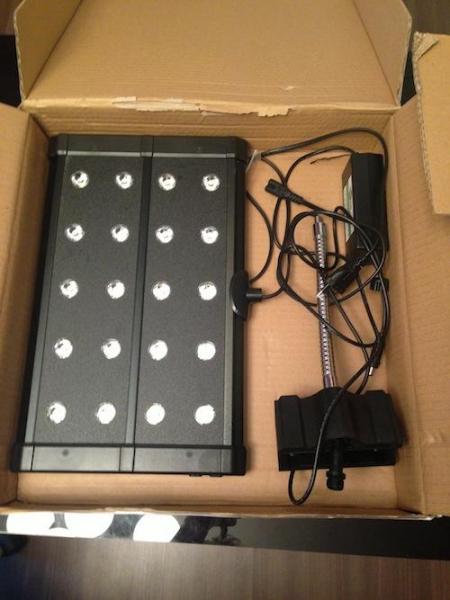
Model: MHX15 60W Clip-on series by Green Element. 3 watts x 20 LED - 12 pcs 10000k daylight, 8x actinic blue 460nm. Size: 370 x 221 x 31 mm This LED is very bright and low power consumption. Only use for 1 week only as its too big for my nano tank. More info from local supplier: http://www.aquaticquotient.com/forum/showthread.php/100618-MHX-LED-(replace-Metal-Halide-Lamp)-SUPER-BRIGHT! Price: $150. Can test first.
-
My newly upgraded 4.5 x 2 x 1.5 shallow tank
mafacifa replied to Mokyc's topic in Members Tank & Specs
haha! yeah. thanks for pointing that out. it looks really secure. -
My newly upgraded 4.5 x 2 x 1.5 shallow tank
mafacifa replied to Mokyc's topic in Members Tank & Specs
Wow awesome tank setup. Like the light stand. Is it from aluminium profile? Didn't know they can be bent like that -
Nice setup. Looking forward for updates! Now cycle cycle.
-
thanks! will check them out
-
mandarin, a very challenging fish to keep. need sustainable pod cultivation to survive unless u can train it eat pellet! have a great weekend!
-
looks good, then tang. how young is young? hehe
-
yes it is a good and silent pump. i used it for my freshwater koi pond externally.
-
Cool sump.
-
hi deron. nice shallow 4ft. care to share the dimensions? any challenges so far?
-
great looking sleek tank. do share its internal organs like pipings etc. hehe
-
hang on skimmer can be noisy as its outside. if you have sump, chances are it is in an enclosed cabinet. i would go for sump. and u dont really need a very expensive skimmer. those BM skimmer can be sufficient.
-
Bro, the overflow comb u cut it itself or dama did it?

