nicreef
SRC Member-
Posts
616 -
Joined
-
Last visited
-
Days Won
2
Content Type
Profiles
Forums
Gallery
Everything posted by nicreef
-
Nice equipment. How do u configure ur ai lights? I still too lazy to go to manual mode lol Post Pic of scape soon!
-
Yup u can get Hannah checker got ca n kh no mg I think not sure
-
what kinda pay you looking at i try asking around
-
bro why not get the di raisin? put in filter bag and 1 carbon bag place in front of wave maker like you did. 24 hour can should be able to bring tds down to less than 4. only problem is how you are going to shield the raisin from light. maybe a black box with hole? idk
-
nice cant wait to see it with rockscape.
-
i got a six line wrasse trap in my breeder box can pass u if u want. west side. but as per above agression issue....only bully my clown no problem with the rest like tang and mandarin.
-
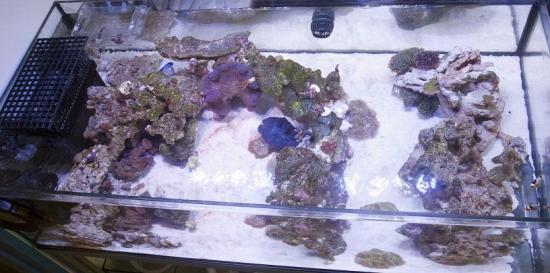
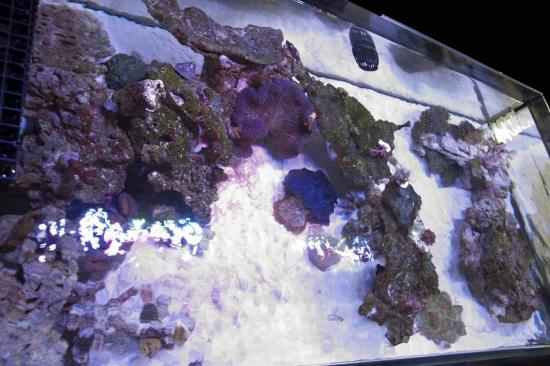
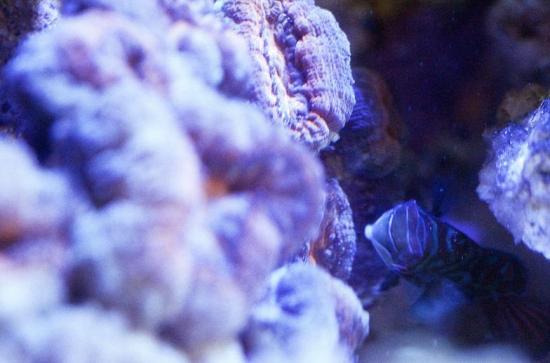
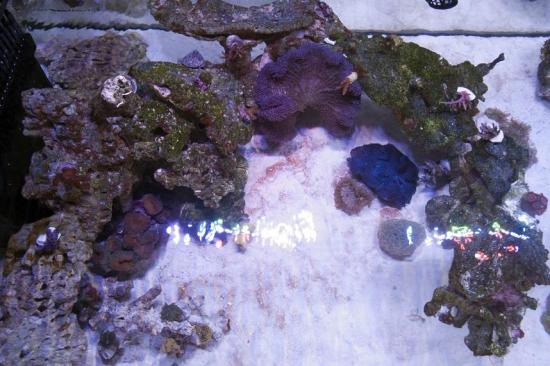
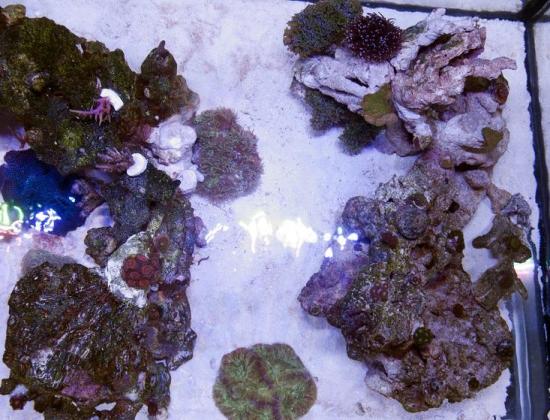
i love it too...if only it would stop moving up to the sps thx last update for sometime i think...recape tank and added after adding all the frag in.: fts from top fts from door view (ie: what i see every day when i enter the door - perks of a shallow tank): the rescaping done mainly to the right of the tank: Top left with minor rescape done to the rics area (added a lobo and blasto to the area) lobo with mandarin (my mandarin keeps hanging out around the lobo. probably becoz it came from a very matured tank so have lots of pods for him): btw are the green patches on the lift rocks cyno? my algae snails crawl through them and they tend to remain. growth is over where there was once white caroline algae
-
Hi, came back from lunch with my 6 line wrasse 9which has been bllying my clown) finally caught in the 100 plus btl trap but wondering if i should place it in refugium?? main concern is would it affect my pods safe haven below?
-
hehe many beautiful piece there....but this 1 really caught my attention. wish i have a deeper pocket to get the rest i like too =p
-
Golden Cloves for Bid ending 15/08/13, 2359H
nicreef replied to pokmingsheng's topic in Sell off/Pasar Malam Shop
Wag first bid 5 2nd bid 40 Liao fierce -
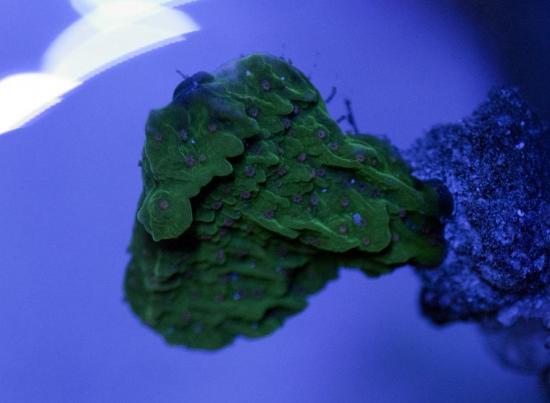
yup yup went to a snr reefer place for education end up got captivated by this......the purple in real life is darker at the tip thus the green is very striking.
-
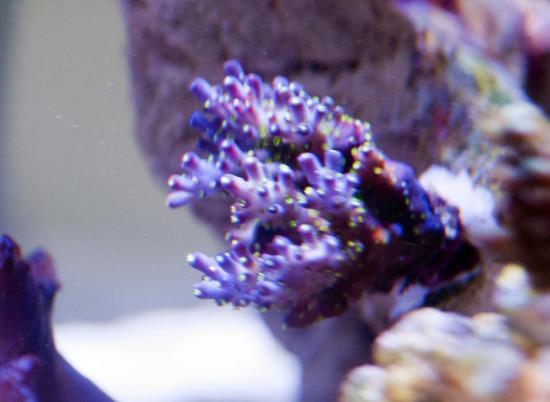
pmed Also just had to share this sps i absolutely love... couldnt help but keep staring at it the whole day in office (yes i made the trip from east to west on a sunday just to view and make sure it is doing well)....GARF Bonsai acropora:
-
My new tank 4 x 2 x 2 display with cabinet and sump
nicreef replied to kanegan's topic in Members Tank & Specs
got to becareful with the six line wrasse....mine bullying my clown fish end up got to catch them into breeder box while i wait for the wrasse to swim into the diy 100 plus btl trap. -
hehe got lucky and managed to see pink bn the colony in uncle mike tank ytd sibei swee
-
clown fish recovery after being out of water for 30mins minimum
nicreef replied to nicreef's topic in General Reefkeeping_
Koed in te end.. Not too sure if it becoz I let him swim in dt the current too strong for him. -
yeah it is but somehow the feel when the photo taken out seems different....maybe can try 10% white on next time.... hmm dint know got white balance cap...interesting... grey card i have been unsuccessful...but think it is because i am using it wrong.... thats y end up googling for info to change in photoshop instead lol
-
just KOED today.....darn....
-
ehh dont have grey card only tried finding something grey and place side of tank for fts but somehow dint work out for me haha.... 2 try n i gave up.... any tip on how to use it?
-
get those sealant used for your tank? i guess good enuf for tank should be good enuf for your container...prolly can get at c328 or other fish shop. would be crazy for a fish shop to sell sealant that harms our tank.
-
mmz not good at explaining haha. you can buy them from LFS such as irwana at $2 for 10l (i think). some people use distilled water which can be bought at ntuc etc (costly) or you can do your own by getting your own by purchasing the ro/di set or just get the di raisin from madpetz, put inside filter bag and leave it in high flow area + add carbon (which can also be bought at mad petz) put inside filter bag and leave in high flow area. imho best way to learn is visit a reefer place for live education =p i realized i learned more from 1 such trip =) or even a la kopi session can useful. since long weekend coming you can try asking around. but than this maybe me as i suck at studying...so forum and website reading is kinda slower learning process for me.
-
tank in pandan loop but i stay sengkang can count or not ?
-
-
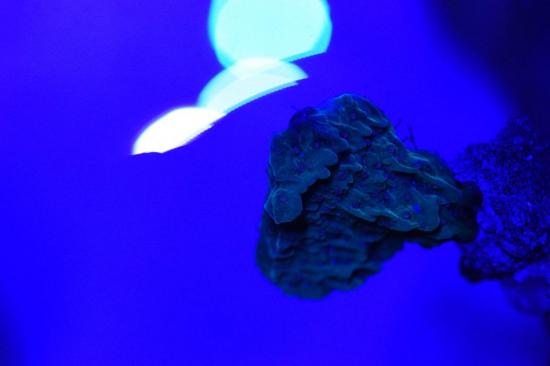
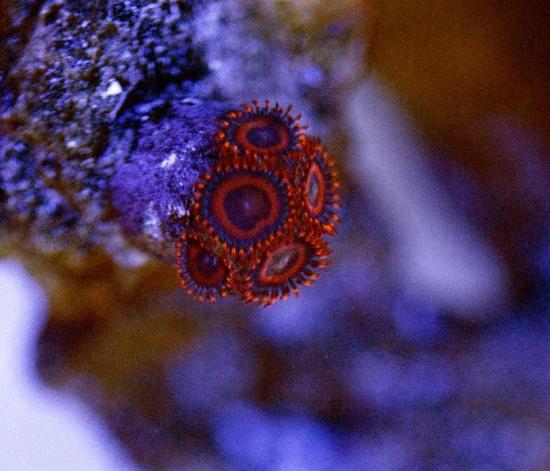
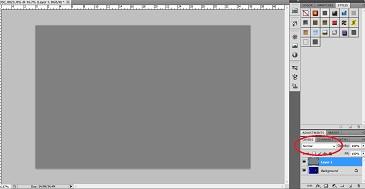
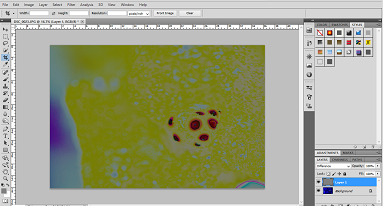
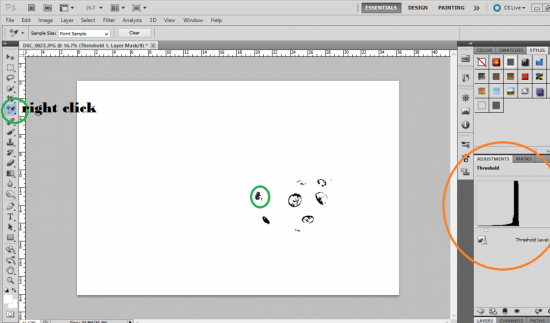
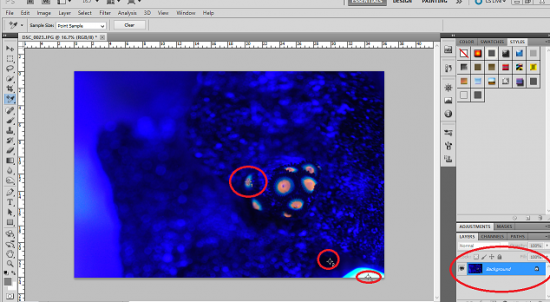
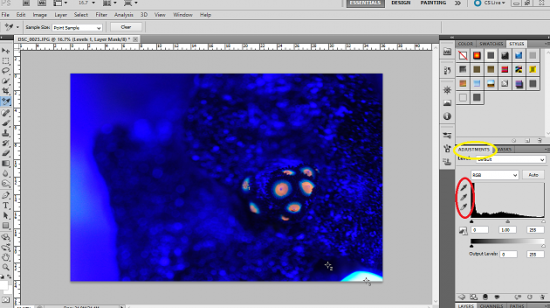
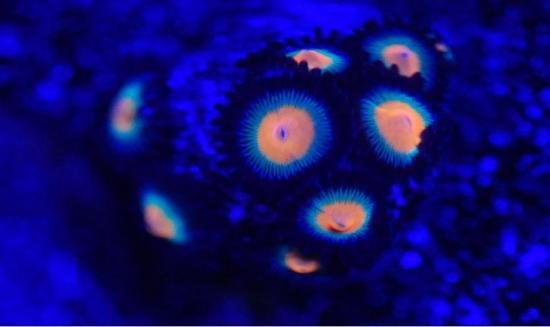
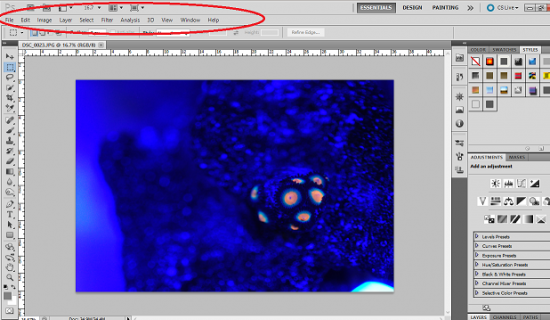
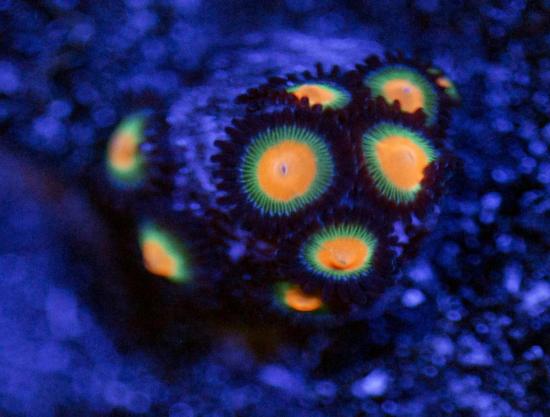
One of my biggest struggle when taking photo of my tank is my white balancing. Especially so when i am doing it under the blue lights of my LED. After searching the net for the last 1 week it seems like the following method is the best in terms of getting the correct colouring back to the picture but was wondering if any other reefers got better method. the method i am using now should be good for both dslr and iphone taken photos. For the colour to come out we need to set the GREY, WHITE and BLACK point of your photo. i tried using just white and black but the colour is still a bit off from what i see in the tank from top view. The hardest to set which i always set first is GREY. Below are the steps to do so: step 1 (create a new layer): layer>new>layer (or shift ctrl n): use default setting nothing to adjust (refer to picture if you are lost on where to find layer) step 2 (fill created layer with 50% grey): edit> fill (shift f5): use default settings here which is 50% grey step 3 (set grey from normal to difference) : on the lower right corner where you see all your layers (red circle) change from normal to difference once done picture should be as follows: step 4 (set threshold) : layer new>adjustment layer>threshold picture should turn black as follow after which click on adjustment( red circle ) you should see the orange circle below with the white arrow. slide the arrow all the way to the left (short cut: slide to the left side of hill will do) image should be as picture below. lot of white with some black. step 5 (mark the location you have identified as grey) : right click on the green circle and choose colour sample tool. go to the black area and left click on it. You should see the same as 2nd green circle above. a crosshair with number 1 on it. should you get your location wrong, you can always drag the cross hair to the location you want. step 6: once done, go back to layer (pic below) and delete the threshold 1 and layer 1 (simply left click press delete or right click delete) Setting of WHITE and BLACK To set white and black would be easy once you know how to set grey as such there is no photos here step 1: directly go to threshold. (no need to create extra layer) step 2: For black, slide slider to left (whole image is now white) slide right till you see some black spot. left click on black spot and you get crosshair with number 2 beside it (number 1 is grey). step 3: For white, slide slider to right (while image now black) slide till you see white spot. left click on white spot and you get crosshair with number 3 beside it. step 4: delete everything you created again leaving just background copy. ps: if there is no cross hair with number after left clicking, simply go to colour sample tool base on step 5 shown in setting GREY Now if you have completed the above steps your photo should look like this now (3 red circle showing 1 which is GREY, 2 which is BLACK and 3 which is WHITE): Setting the white balance: To do so go to layers, new adjustment layer > levels you should see this: notice the 3 droppers (not sure what you call them so i just created my own name haha) in the red box. From top to bottom, the first one is black, 2nd is grey 3rd is white. now left click on black dropper (top) and go to cross hair number 2 (which you have indicated earlier as the black of your picture). left click on it. Once done you will notice the entire image darkening. next click on the grey dropper (2nd from top) and go to cross hair number 1 (which you have indicated earlier as the grey of your picture). left click on it. Once done image should change colour sometimes to yellow. next click on the white (3rd from top) dropper and go to cross hair number 3. left click and the image should show a colour that you want as a final product. vs once the above is done you should see the difference as above. The original photo had most of its colour covered by the blue light taken by the camera. the "edited" ( i dont really consider it editing since i am just returning the original colour i see to the photo) shows the original colour of the zoas. This method should work on iphone taken photo too where my pics turn out totally blue.
