-
Posts
3,461 -
Joined
-
Last visited
-
Days Won
2
Content Type
Profiles
Forums
Gallery
Everything posted by Creetin
-
-
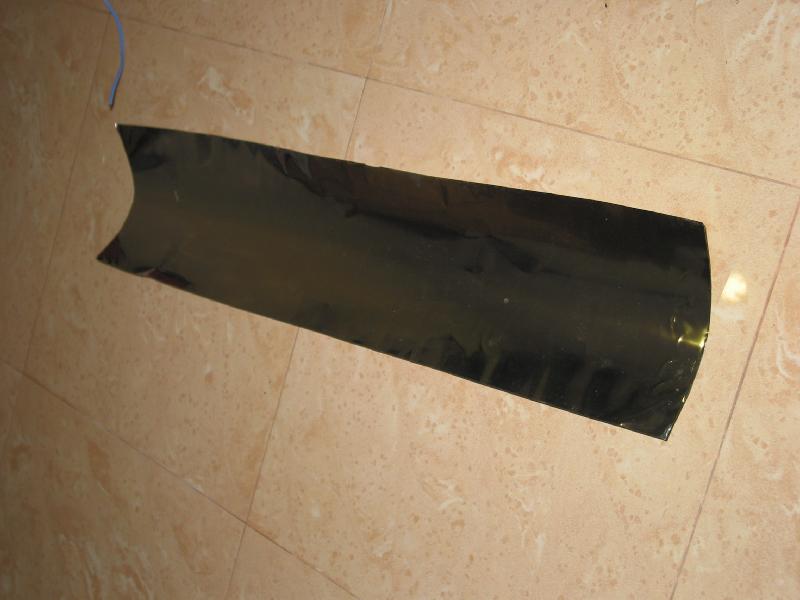
Time for the reflector. Went back to a shop I patronized for my previous light project. This is reflective stainless steel. The best in the shop for this application, even guaranteed by the shop owner who is a fish lover himself! Cost: $8 Where to get? Teck Leong Metals Pte Ltd Blk 28 Kelantan Road #01-127 S(2000028) Tel: 6398 0020 Email: sales@teckleongmetals.com
-
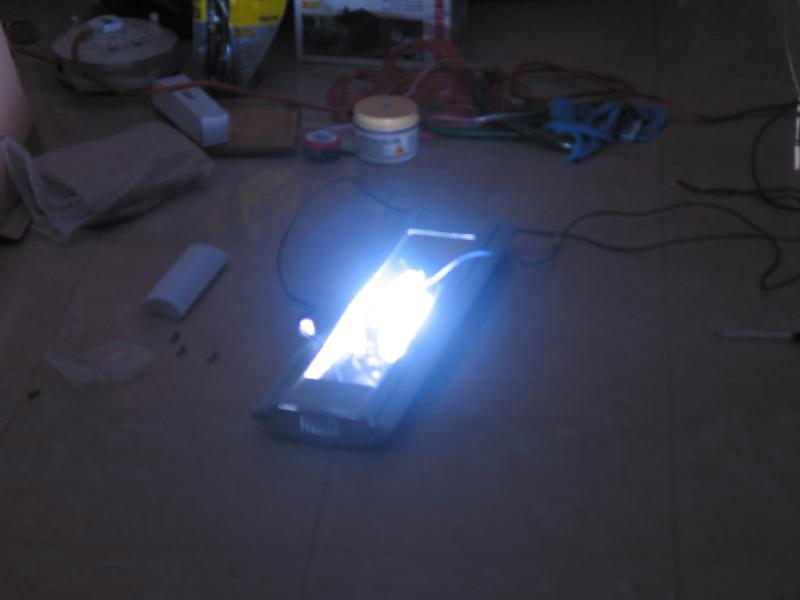
Testing 123… The bulb used is the 250W DE XM 10,000k MH bulb - got it from Eaquarist at $100. Great coloration if u ask me.
-
-
The black box is easily connected…. 1 side is the 3 core wire for the plug to the mains, and 1 side is the black wire to the bulb. The black wire is connected to the bulb either side..easy peasy, lemon squeasy.
-
250W DE MH parts: 1. 1 pair of 250W DE holder 2. 1 length of black wire 3. 1 length of 3 core wire 4. some plastic connectors 5. the ballast, capacitor, ignitor and wat-nots are all in that black box. Where to get it? THE LIGHT SHOP No. 73 Jalan Besar S 208817 Tel: 6295 8431 Email: thelightshop73@hotmail.com Cost: $150 (excluding the 3 core wire)
-
-
-
-
-
-
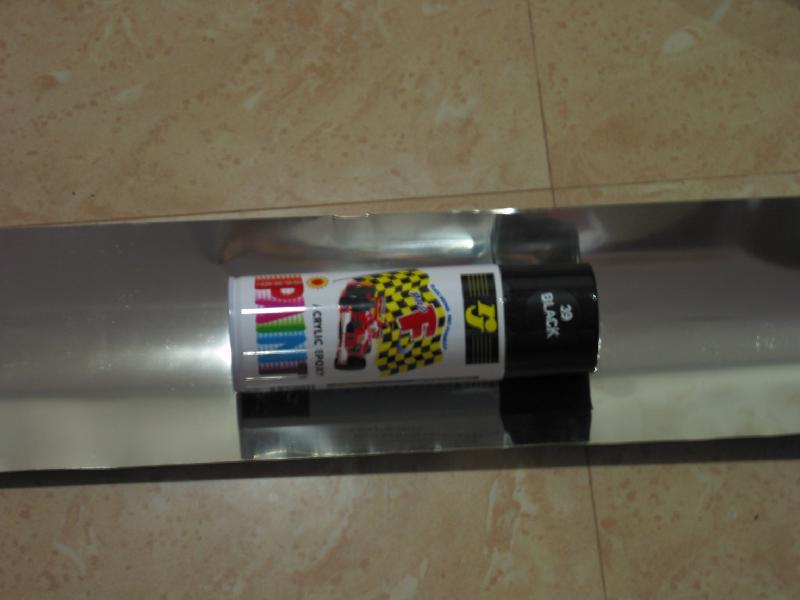
To ensure the paint sticks, I added a supposedly first primer coat…spray paints are readily available from your local hardware store. Typically costs $4 per can.
-
How to ensure the dust from all the sanding goes away from you? Just do the sanding in front of the staircase. Ahh…. Can see em’ going down the stairs already.
-
Also modified the bracing for the light casing. Picture shows the back. A raised platform is created by adding the 2 sides, plus a short strip at the back to prevent the glass shield from falling off, and a high front piece to shield anyone standing in front of the tank from the glare of the bulb.
-
This may look like I was trying to save money on a paintjob by setting fire to the hood but its not – turns out the veneer didn’t take to the spraypaint and had to be removed. The wood base beneath is much better to paint with.
-
-
With some holes around, there was a need to fill em up. I got this from the local hardware store, costs $4.50.
-
To cover the gaps, a thin piece of plywood/veneer was glued over the sides. Cost? Wood is free, but gluing is $5. Also done at Sungei Kadut.
-
-
-
Modified it for an additional $10 at a Sungei Kadut woodwork shop. The uncle only took 30 mins to cut and staple the pieces together. The height was lowered by simply cutting off 1 of the 3 pieces in each frame and the excess used to form the bracing on top to hold the light hood.
-
The even luckier part is, they join up perfectly to form the hood for my 2.5 x 1.5 x 1.5 ft tankie!!!
-
I just completed my DIY MH with wooden hood – here are the pics to help fellow reefers get the best bang for your buck - DIY! First off, construction of the wooden hood – I wanted to work with for pine (light and easy to work with) and so went to Ikea to get it. The lucky part is, these 3 pieces cost me only $17 altogether. ($5 each for the small piece, $7 for the big piece). Each shelf is formed with 3 pieces knocked into a frame. Sturdy but comes with gaps.


