-
Posts
1,601 -
Joined
-
Last visited
-
Days Won
13
Content Type
Profiles
Forums
Gallery
Everything posted by Firestarter
-
-
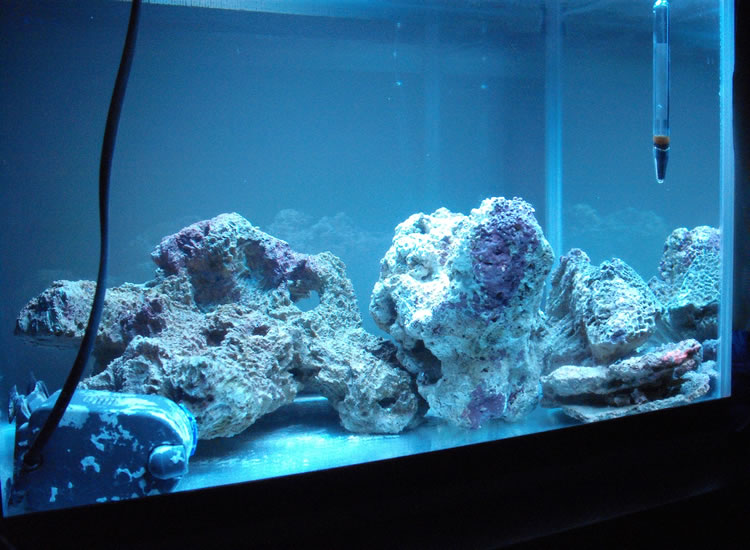
Woke up just now and spent less than 10 mins to achieve this scape. Can't help but think that the LR on the right is a dinosaur walking. What do you guys think? Appreciate any good or bad comments.
-
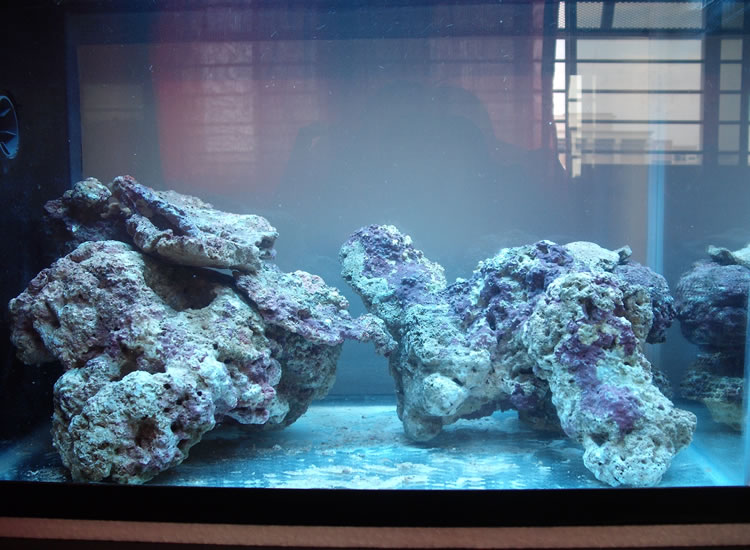
Here is a pic of the LR before rescape. Spent 2 hours at 3am this morning trying to scape but decided to give up.
-
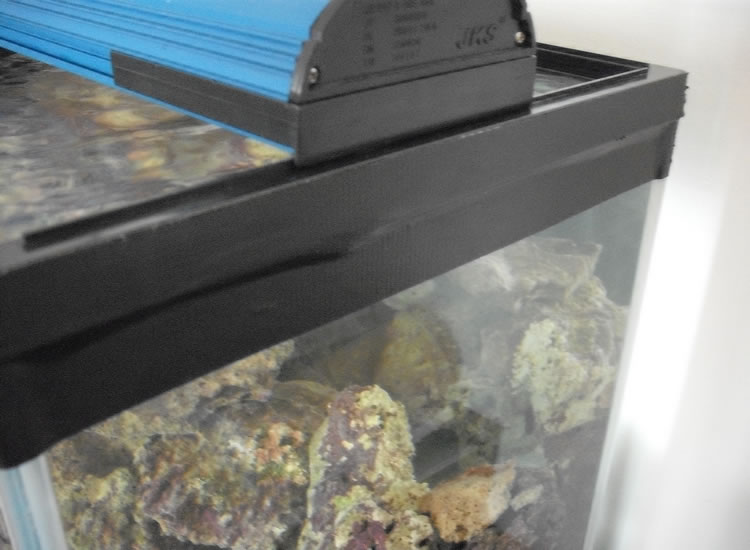
Once the all clear signal was sounded, its time to replace the tape. Note that its not as nice as before.
-
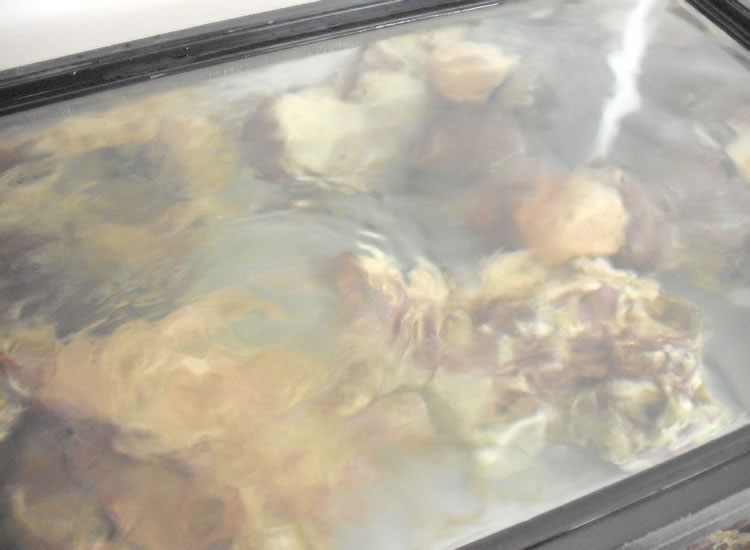
Woke up today and decided to see if the leak is still there. Filled up the tank with more LR until the correct height. Then waited.
-
After scaping unsuccessfully for 2 hours, I give up! Will probably do it tomorrow when I'm not so tired.
-
Hey peacemaker, which rock are you referring to that is grey? Looks normal to me. Maybe its because I just anyhow dump in the LR, some pieces are showing the bottom, thats why it seems grey? Just came back from work and supper with my friends. Will maybe scape my tank now after a shower. Can't wait to scape even though its 3.30am now and I'd been working since 10am. Really tired!!
-
Hi, haha to be honest I'm not really good at DIY. There are reefers here who can DIY their own tank stand from plywood, and those are the real DIY gurus! I intend to keep some simple corals like mushrooms and zoos first. I've thought of DIY a sump, but not at this point of time yet. Thanks!
-
-
-
Making the salt dissolve quicker this way. I didn't on the seio yet because the tank is not to its desired height yet. Letting the silicon to cure for 24hrs.
-
-
-
-
I siliconed the area immediately. If I'd known, I would have tore the black tape apart long time ago. Sigh. Opened up my bag of salt.
-
I left it for about 4 hours to cure, then just did a quick test to see if it was till leaking. IT WAS!!! In desperation I had no choice but to cut and tear open the black tape, something that I didn't want to do. Then I realised that the leak was not at the corner as I expected!!! :angry:
-
-
Today started with my being frustrated and I told myself enough is enough, I'd drain half the water and silicon the leak!
-

What brand of salt you use for your LPS???
Firestarter replied to angelfishlover's topic in LPS Coral forum
Why is that so? care to explain? -

My Virgin Rescape Nano Marine Tank
Firestarter replied to dnsfpl's topic in New to the Marine Aquaria Hobby
Looking good mate! -
Personally I've not used it yet, as my tank is still in the process of setting up.
-
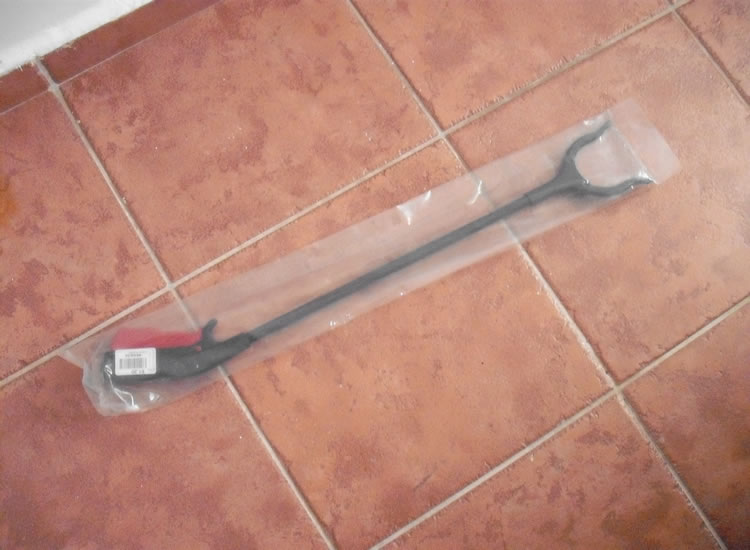
As requested, a picture of the rubbish picker. However, I've just found out that there's a gap just at the place where the claws move, and there is a metal spring inside. So I don't think its suitable for marine use. My bad.
-
Sadly to say the tank started leaking again. Just before I left for work, no time so just placed a towel there hopefully to absorb and minimize the flood. Came back from work to see the towel soaked, but it wasn't that bad. Will have to remove half of the water and silicon the leak. Well at least the leak is at the top of the tank, not the bottom.
-

White 'batch' on the yellow tail damsel?
Firestarter replied to reaper78's topic in New to the Marine Aquaria Hobby
I have the same experience as you before. At certain angles, you will see the white patch. I think its some slime or fungal infection. Anyway it didn't have any problems besides that so I just left them alone. -


