Leaderboard
Popular Content
Showing content with the highest reputation on 06/16/2020 in all areas
-
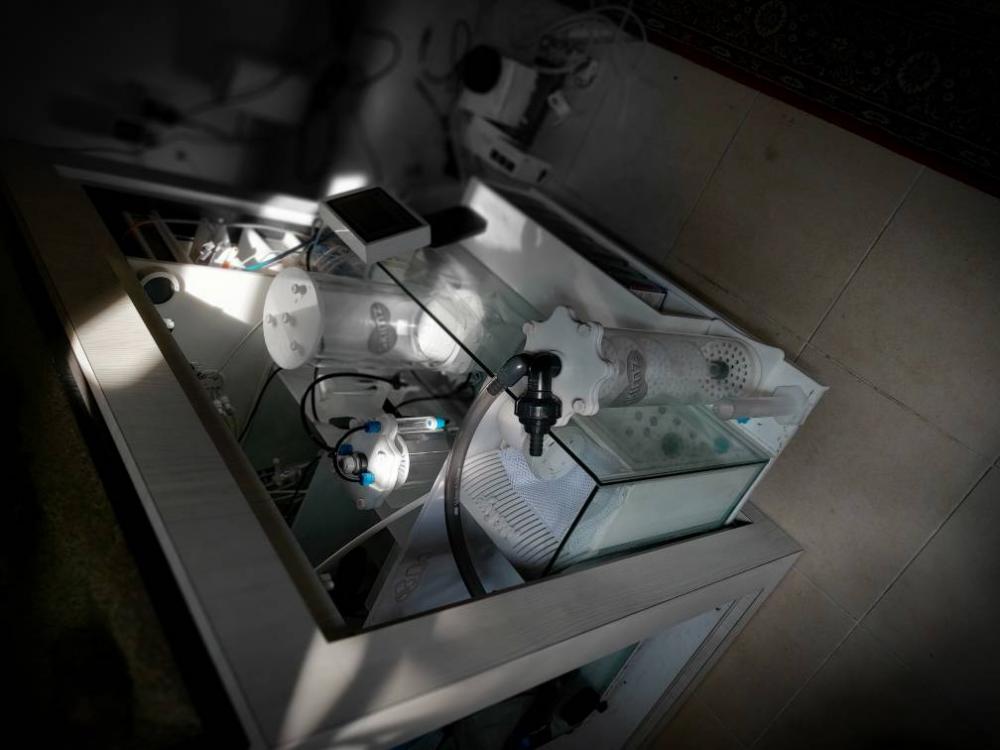
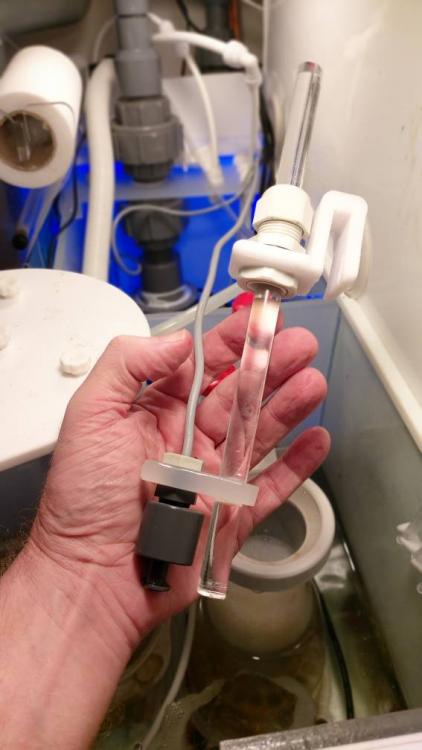
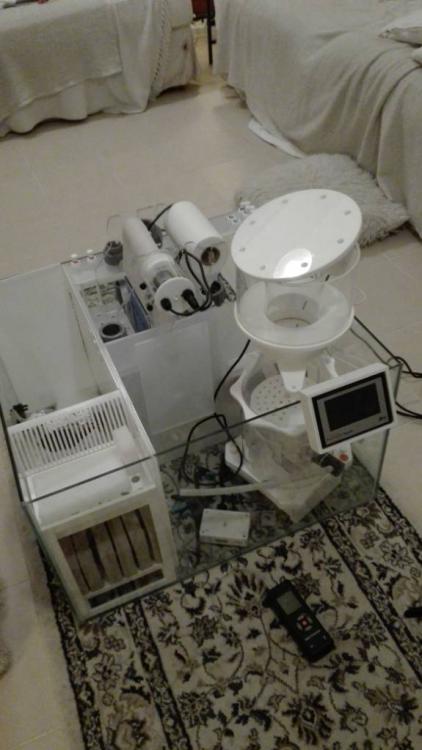
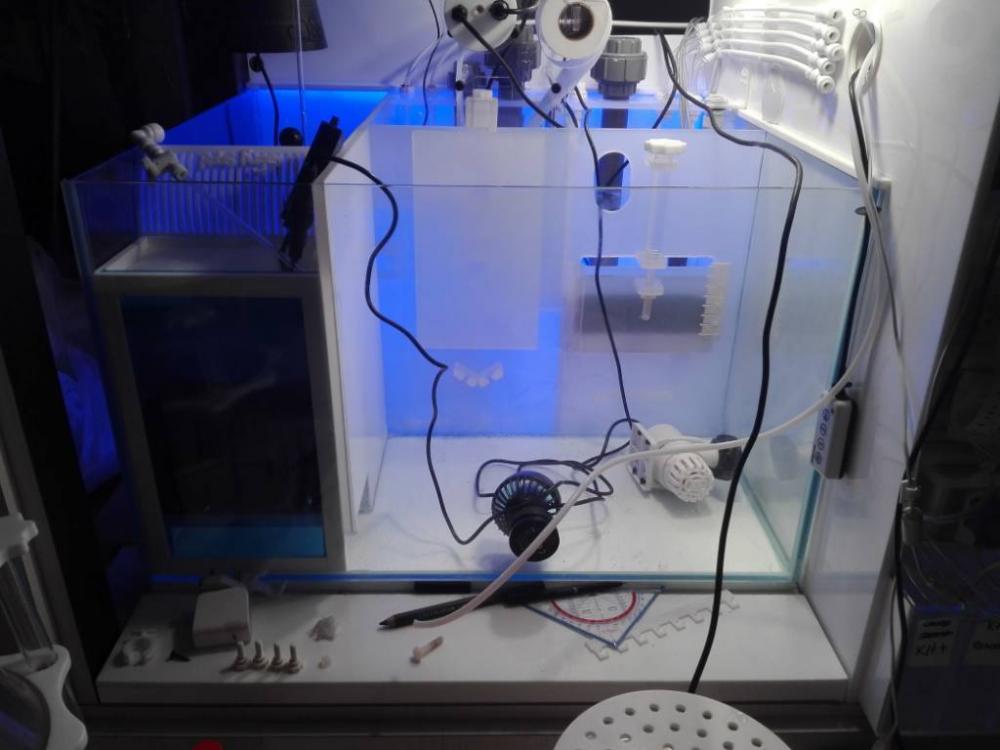
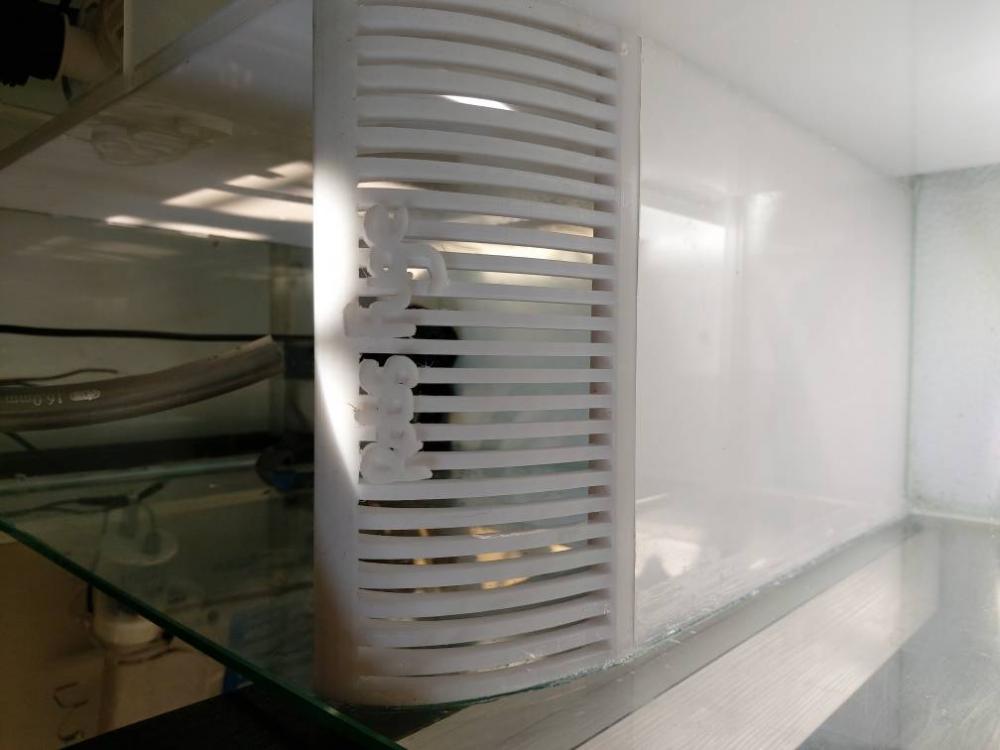
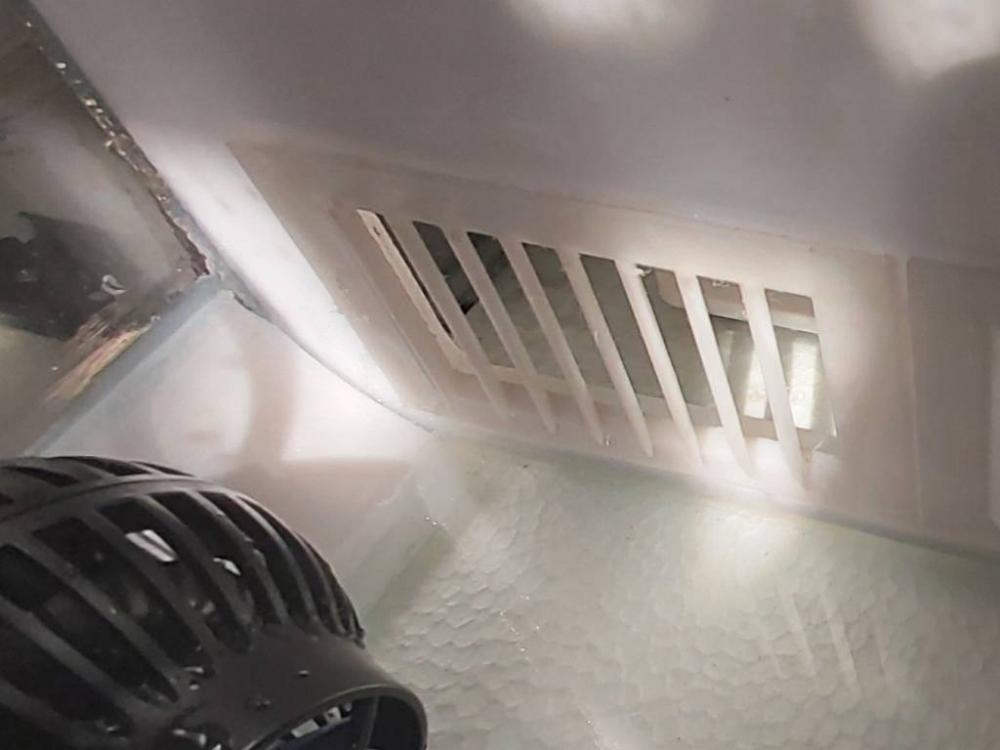
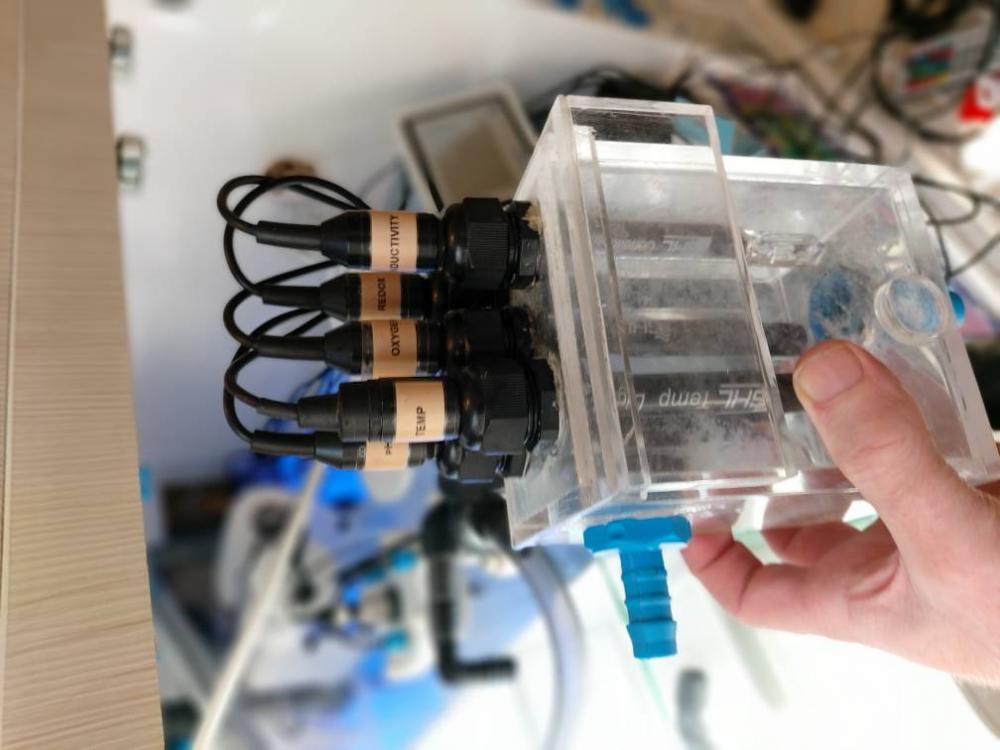
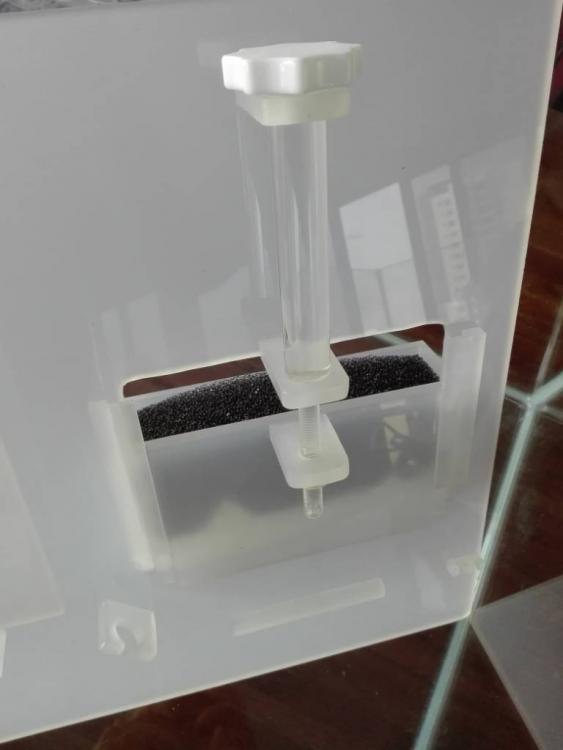
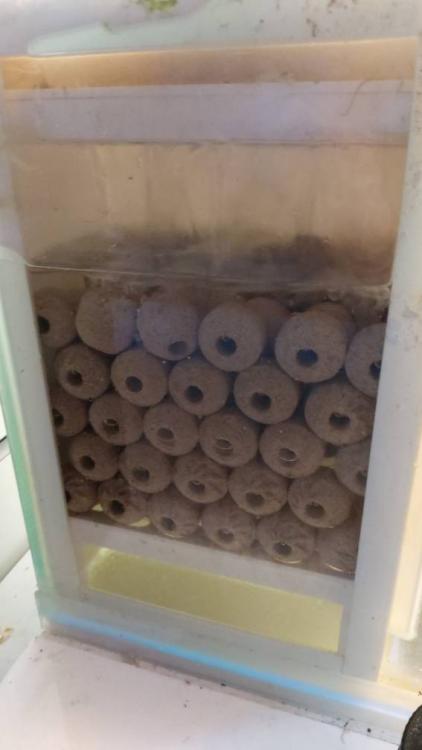
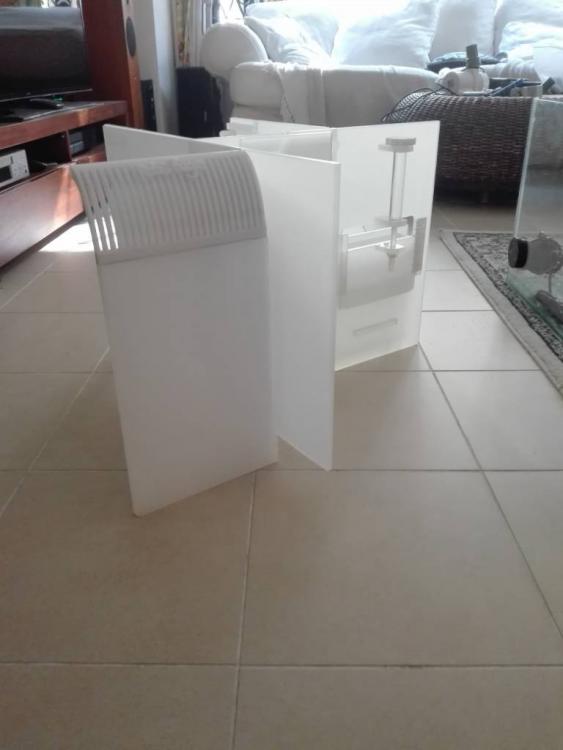
To carry on my build thread. Let's look what is going on under the hood, namely THE SUMP. (Be warned this is a rather long post even by my standards as I try explain why everything is placed where it is.. hopefully its helpful advice) Do you need a sump for a successful reef tank? Nope, but it certainly makes life easier and it allows you to scale up the quality of your filtration. So when setting up my new tank I decided to make my own sump put of a 67x60cm 6mm glass tank and some 8mm semi transparent acrylic. Key considerations were: 1) Installation of an automated Roller Filter 2) Refugium (Have mechanisms to promote rotation of Cheato. A method to ensure no stray chaeto escapes into next chamber. 3) Biomedia section (ensure doesn't become a detritus trap 4) Skimmer and reactor chamber (with capability to amend water height) 5) Dual return pumps (for redundancy and flow control) 6) Adjustable float switches 7) Probe holder 8) I also have limited space 70cm by 70cm. As I wanted a seperate section for electronics. So with these needs/constraints in mind... this is what I came up with.... Water drains from the DT into the Roller Filter. I played around with different plumbing methods, but discovered the stock flexible tubing is best. At one point it was hard plumbed with a union and a custom made adaptor, but it was really difficult to unplug for maintence, so I went back to the plumbing the roller filter originally came with. Now, whilst the Bubble Magus roller filter can hang on the side walls I decided to build some little shelves for it to stand on within the drainage section of the sump. There are two shelves, one towards the bottom of the chamber on which the roller filter sits, and another placed at water level that catches the roller filter lip, evening out the load. That said it's amazing how strong 8mm acrylic is even when acrylic welded in place. Probes: After a slight misadventure building a probe holding box (works really well but difficult to clean thus I wanted a maintenance free method) I decided to drill some holes in the shelves holding the roller filter in order to secure the probes. (I have five probes currently). This way the top of each probe would always stay out of the water for longer life, whilst ensuring the probe head is always in a consistent water level. By placing the probes in this first chamber I was hoping to get a more accurate reading of tank conditions. I think alot of sump designs mean that most people place their probes directly in the return section. This is where the water is the cleanest and least representative of what is actually happening in your tank. So without placing the probes directly into the main display, placing them just after the roller filter, and before any dosing occurred felt like the right thing to do. I did some tests on probe placement and it's amazing how they can change depending on where they are placed (will write that up in a future post) My Second Return Pump: Within the first chamber I have a return pump (skimz QP12.0 running at 30w) which powers a manifold covering my carbon reactor, UV and chiller before going back into the DT. I decided to place the second return pump here for a few reasons. Firstly I have arranged my plumbing sp that either return pump can feed my chiller and go to the DT, so if one broke down then the essentials were covered. Secondly I thought it doesn't make sense to power the manifold from the main return line once the water has been polished already. It made more sense to take the more 'dirty' water - which has only gone through the 20micron roller filter to remove the larger detritus And then feed that water through the carbon filter and the UV. I suppose it may make my carbon deplete quicker but it seems ok. The chamber also has a wave maker installed (a Jebao SW15) which helps keep the water churning away, making sure detritus doesn't settle. It switches on for 10-15 mins each hour. The SW15 is big enough to really move the water at a reasonable cost. Water exits the first chamber via some directional outlet holes that I placed in the bottom of the wall adjoining the refugium. I 3D printed them and thought this was a great idea to have fins move the water in a set direction, thus, promoting rhe macroalgea to rotate. Honestly I am not sure if they are very effective. I placed bubbles into the chamber and the flow was rather dismal, so I decided to add a wavemaker. I found that positioning the wavemaker near the top and pointing it downwars towards the rear wall works best (as the cheato doesn't get tangled in the blades). To help the wavemaker along I also 3D printed some curved wedges which sit either side of the refugium at the bottom, these do a good job of directing the water rotationally. Note the Refugium is/was lit by a Kessil H380 providing amble light (which stopped working... #verysad). Talking of lighting I am tempted (given the refugium is positioned towards the very end of the sump) to also light the refugium from the side. This way I won't suffer from the Cheato acting as a light barrier as it forms into a tight ball preventing the light getting into the middle (risking die off). Thinking out aloud, by simply placing a mirror on inside of the stand to bounce light into the side of the refugium could work as I could attack the cheato from both angles with just one light. hmmmm still pondering that idea, Let me know what you think? Water builds up in the refugium (which is about 40L in Capacity) before it is eventually skimed off and cascades through a custom 3D printed filter comb into the biomedia chamber. As the water comes through the comb, it pours onto a polyester filter pad, which catches all the detritus from the refugium. I change this pad about once every week. One bonus is that the water is aerated (degassing co2) as it falls silently on to the bio media. Note that the bio media water level is same as the skimmer section. The media is made up of 2kg of stacked maxspect biospheres. Whilst the chamber is walled it actually houses a removable acrylic box, very similar to the media caddies you get in back of IOS tanks, just a little larger. This was done to aid maintenance although I think I made it fit a little too snug as it's a fight to get it out (ooops). The box has a removable shelf at the top where the filter pad sits. It also has a removable viewing window towards the front, which not only makes sure all the water flows down through the structure but mainly is there to stop the media falling out when you remove the box. Water then proceeds out the bottom of this box, through a hole in the bottom of the chamber wall and into the main skimmer compartment. This third chamber is where I keep my zeovit reactor, carbon reactor (fed by overhead manifold) and Skimmer. Again I have another SW15 wavemaker in the skimmer section which is used for water flow. By placing the wavemaker directly opposite of the exit from the bio chamber (all be it on the other side of the compartment, I can create some backpresure and produce a little swell within the biomedia chamber, effectively cleaning the biomedia. It acts just like a zeovit reactor, pumping water in raises and lowers the water level removing any detritus / mulm. It is great to watch the water rise up and down in the biomedia chamber knowing it is giving the media a good wash. (FYI I have the wavemakers set on random flow, at about 80% capacity and they are controlled by my GHL system, which will switch then on for 10-15mins each hour) ...Thinking of it maybe i didn't need the zeovit reactor afterall. I could just have placed the zeovit in this section instead dialed up the wavemaker to 100% and made myself a mini reactor. That said I can control flow far better with the Skimz reactor... plus the skimz zeovit reactor is so awesome I wouldn't go without it! The water now enters the main reactor/skimmer section, my main concern was being able to get the correct water height. To control this I built my own control gate. The gate can be lowered or raised accordingly in super fine increments. Here I can set from a min 7inch height through to a max 9.75 inches, this gives me loads of control (it is currently set at arlund 8.1 inches). In order to build this I got a replacement skimz threaded handle from one of their skimmers and used it along with a glued in threaded nut as the main means of adjustment. (Hopefully the pic allows you to see how this works) Water flows over the adjustable gate into a bubble trap, which again uses the polyester filter pad to catch any detritus. Water goes into the bubble trap and is forced first down onto the filter pad (removing any more detritus) then it flows under a baffle before flowing up over another removable baffle. By changing water direction you remove micro bubbles. (To be fair getting correctly sized skimmer will help reduce your chances of getting micro bubbles). The water is now within the main return section. Within the return section I have an old Jebao 6000 return pump, along with a Rossmont mover wavemaker and a maxspect bio brick I also built some adjustable water level sensor holders. Here I have three sensors that sit attached to an acrylic rod. One sensor is used to control low water, this switches off the return pump and creates an alarm. Just above this is the second sensor that drives the ATO (which feeds into this chamber). Above this is the third high level water sensor, which switches off the skimmer (Used when you switch off the return). These were fairly easy to make and super easy to adjust. Having both low and high water sensors will allow me to use GHL's auto water change functionality (once I update the firmware ... a future project I have planned). As we are at the return section I thought I would mention about the return pump. As mentioned I have water flow sensors (placed just before the return nozzles at the back of the DT). I was amazed that my Jebao 6000Lhr pump gives me just 1000L out of the return nozzle. So maybe in the future I will get something a little stronger (anybody have an Abyzz 200 they dont want? Haha). So one consideration is making sure your sump has sufficient water flow through each section to cope with a bigger pump. #Fail: So despite my efforts my sump still sucks in several ways.... Firstly because my tank is fairly deep (back to front) my sump is also reasonably deep (around 70cm), and because of all the chambers I put in, getting my hands into the back chamber is really really very hard. And unless I disconnect the return and drainage lines and pull the sump out (it does fit on rails afterall) it is only with alot of sweat and bad language that am I able to maintain those sections. It is the price you have to pay I guess. I also have had a flood, as I didn't reconnect my return to the union correctly. As mentioned (and as from the photos) my sump pulls out from the stand. So in order for this to happen the union have to sit above the height of the sump, any leak then fell onto the skirting of the sump and dripped onto the subfloor where it spread everywhere, eek!! So whilst it seemed a good idea at the time. Unions may not be the best idea. Oh well lessons learnt for the future dream build. Anyway hope that helps. (Next time I will get into my electrics section) Sent from Singapore Reef Club mobile app1 point
-
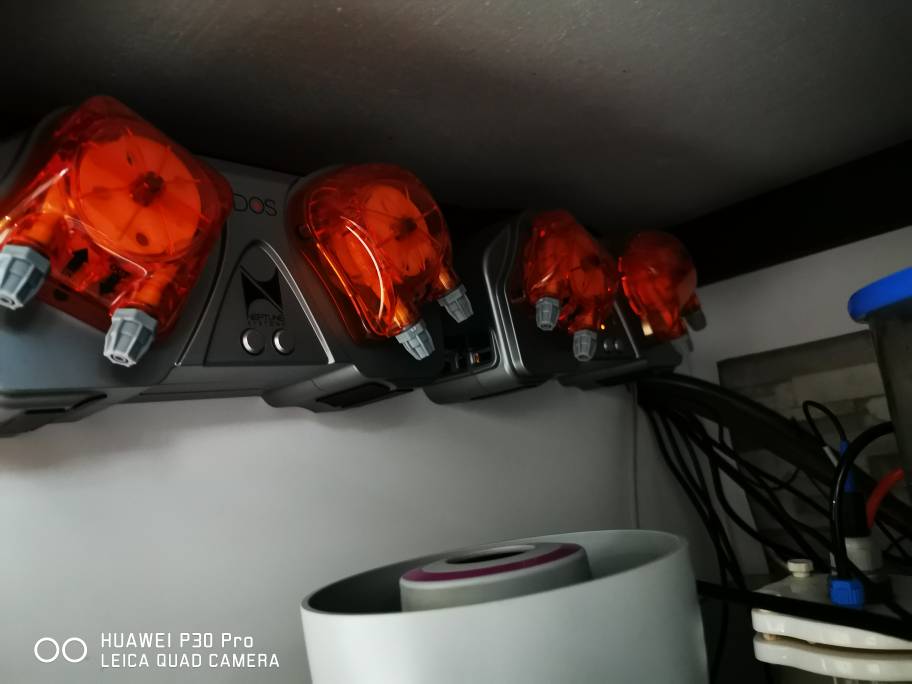
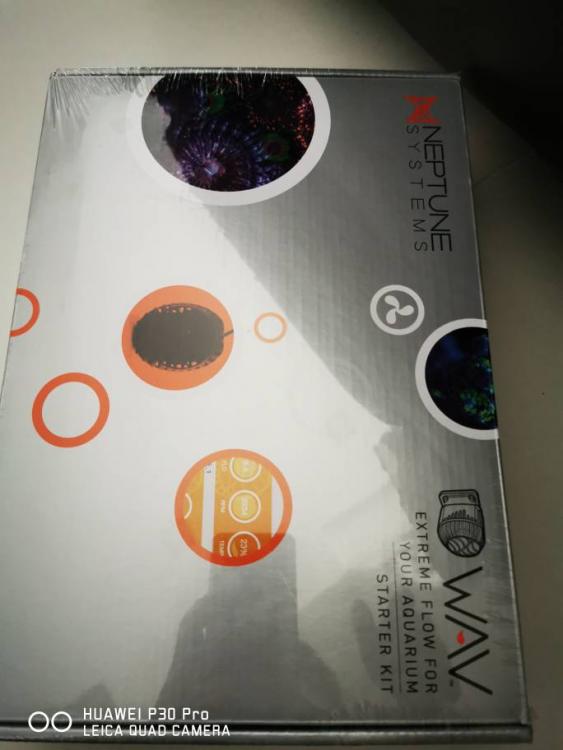
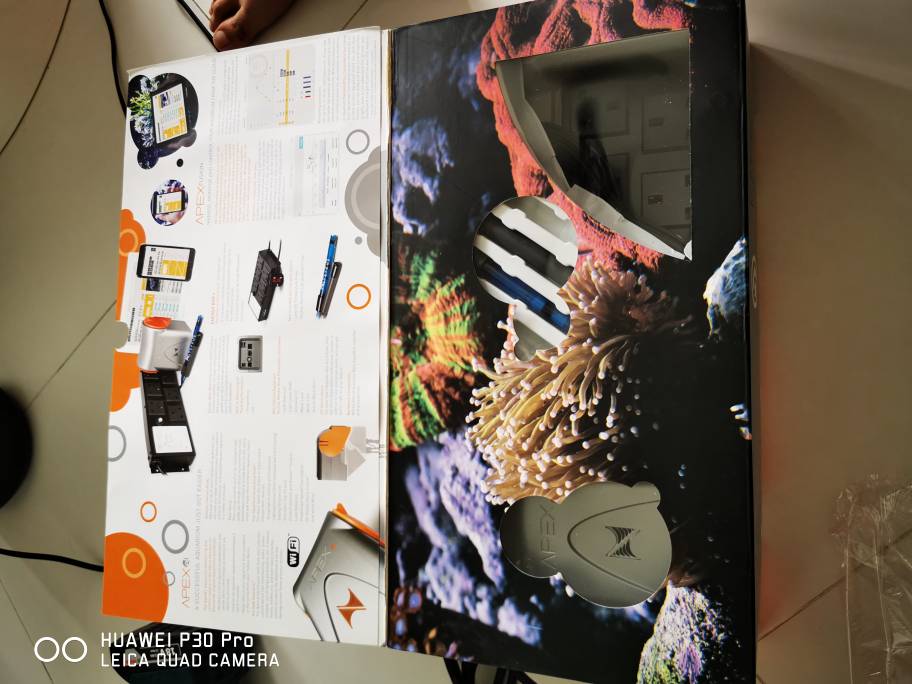
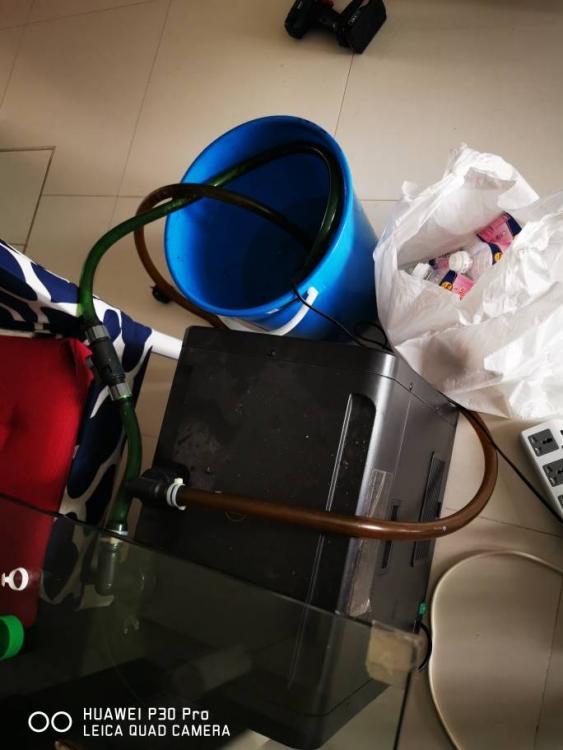
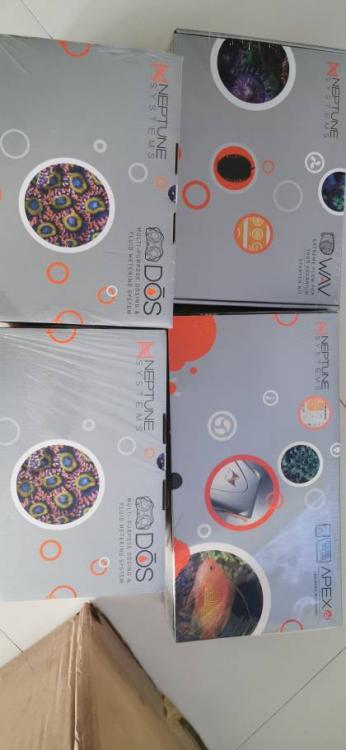
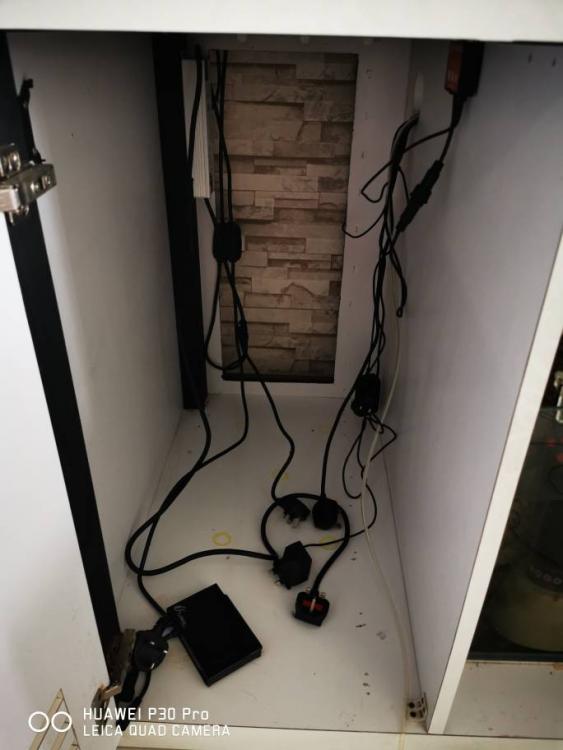
12 June 2020... A milestone of my tank.... Decided to bite the bullet and install Apex to my tank! Swapped out some of my equips 1. Maxspect gyre for Apex Wav 2. Jebao wifi doser for Apex Dos 3. Ph controller for Apex ph controller to control my CR directly. Took my return pump, chiller pump and chiller out for a vinegar bathe. Set up of Apex was a horrible experience as I was using my android phone to do it. It is a lot more apple friendly but once it is set up and linked up, it works the same. Redid all my wiring and also Swapped out my extension plugs to wifi plugs for those equipment tat does not need to be monitored by apex but yet want some ability to control haha! After 3 days of using Apex I can say if you are looking just for a controller dun bother, but a monitor and controller and a mentor... Go for Apex... Definitely worth the investment...the amount of pre programmed task, how you can log your results of test kits of any major brand and they convert it to the results u nid and plot graphs, the notification they give via emails haha just make me forget abt second guessing my tank. The last piece of the jigsaw will be when trident is here and it will link up with Dos to control my dosing automatically haha! Sent from Singapore Reef Club mobile app1 point
-
Will update on the prizes collection details shortly after short out with the sponsors. Sent from Singapore Reef Club mobile app1 point
-
Congratulation to all the winners ! Prizes by Value ( Highest to Lowest ) 1) AI 64 HD LED x 1 2) Clarisea SK5000 roller filter x 1 3) SPS Mystery pack ( 5 frags Worth $500 ) 4) Zoas Mystery pack (5 frags Worth $500) 5 ) Fauna Marin Balling set x 1 6) HARDCOREREEFER magnetic frag station petite x 1 7) Coral RX Industrial x 1 8) Coral RX Pro x 1 9 to 11 ) Vitalis Mini Marine Glazer 110g 12 to 16 ) Viatlis Algae pellet XS 60g 17 to 26) Coral RX Single Shot coral Dip 27 to 36 ) DD Coral Glass 37 to 42 ) Glue Onz coral Glue Winning List ( First to Last after removing duplicated name list ) 1) Darren Sim 2) soggycookies 3) RayTCZ 4) SubzeroLT 5) LittleNat1 6) MarCal 7) danano 8) victorchantm 9) Law88 10) Teck pang 11) Admiraltian 12) nuclear_fibre 13) R0B 14) Nick Ang 15) David 16) ZmasonJ 17) SaltySpivia 18) Clement Chen 19) yakh0o 20) Snoopyhamburger 21) Sherilyn91 22) brannonong 23) C.ZhengXi 24) jem 25) Patrick 26) Chronos 27) titustitus 28) josephwzr 29) chocolate98 30) pcw 31) reefercoral 32) zander 33) Daniel Poh Yang Zheng 34) milu_kaka 35) noobzpro 36) nico 37) nec 38) clementesia 39) CarnivorousGhecko 40) acodestny 41) teck4300 42) alvarogr1 point
-
1 point




.thumb.jpg.e6111bec4c0ed5e4cd53802fca523575.jpg)
.thumb.jpg.23164e0fbdc93a4db13daab2b98d18c8.jpg)
.thumb.jpg.b3ea7bbcd33a3c95565f9fe27acb9496.jpg)
.thumb.jpg.e3e5706b2c0fba3f14ee7f9084f04837.jpg)
.thumb.jpg.42724751d3fe5b32b4242b10261746e6.jpg)
.thumb.jpg.df1b5b8120ab02bb012197ff6fcc5162.jpg)