Leaderboard
Popular Content
Showing content with the highest reputation on 05/17/2020 in all areas
-
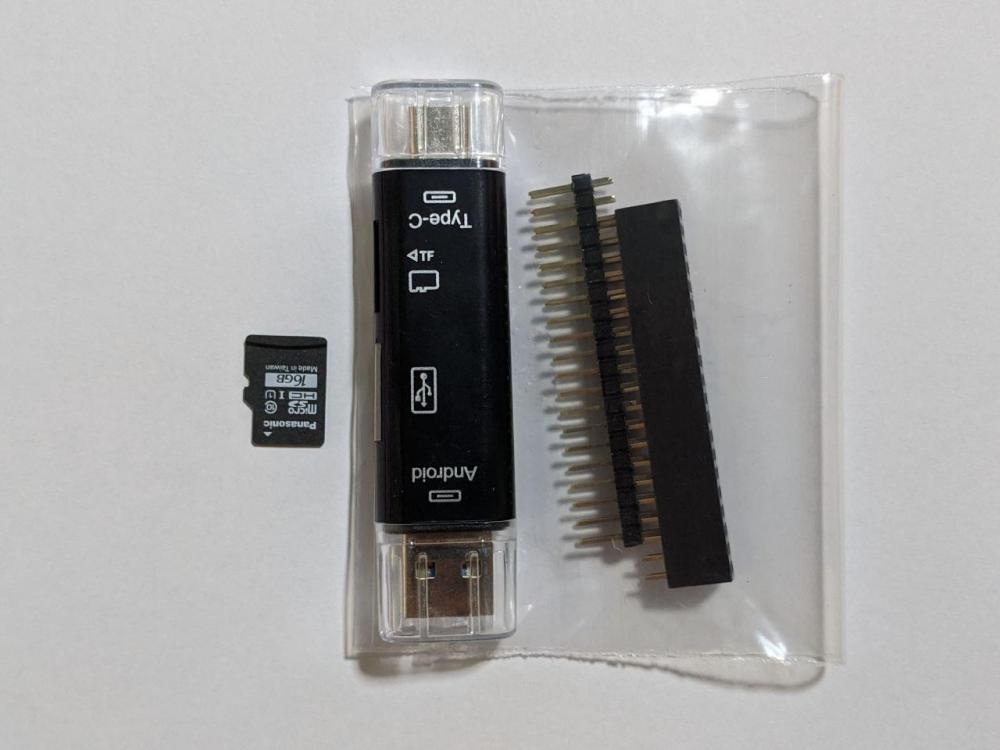
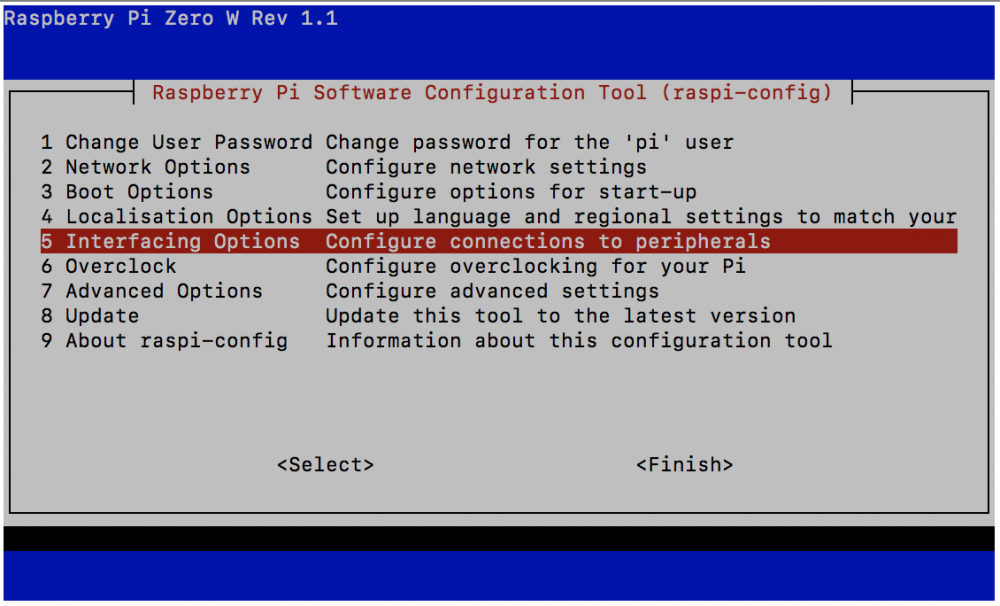
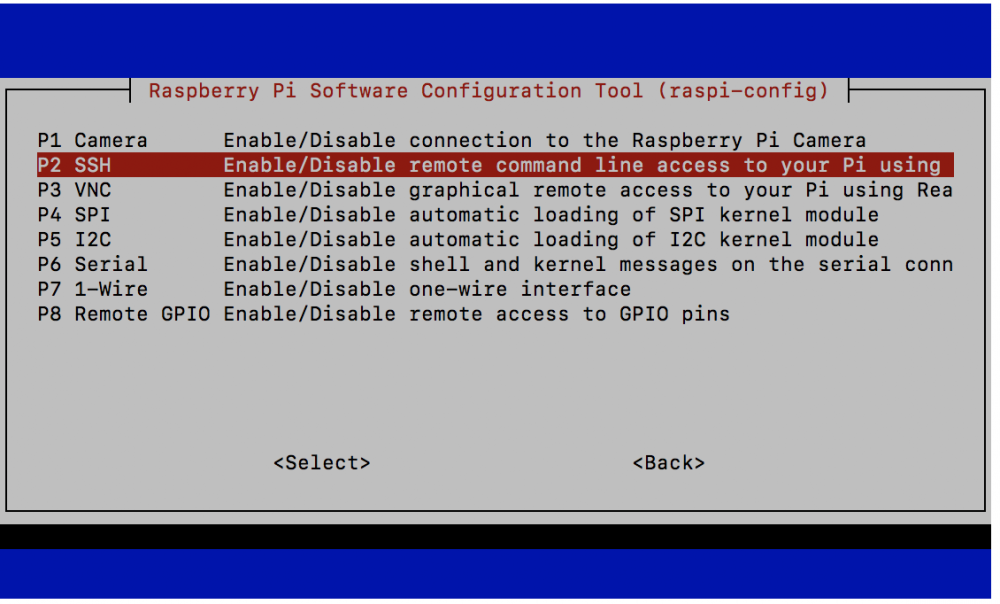
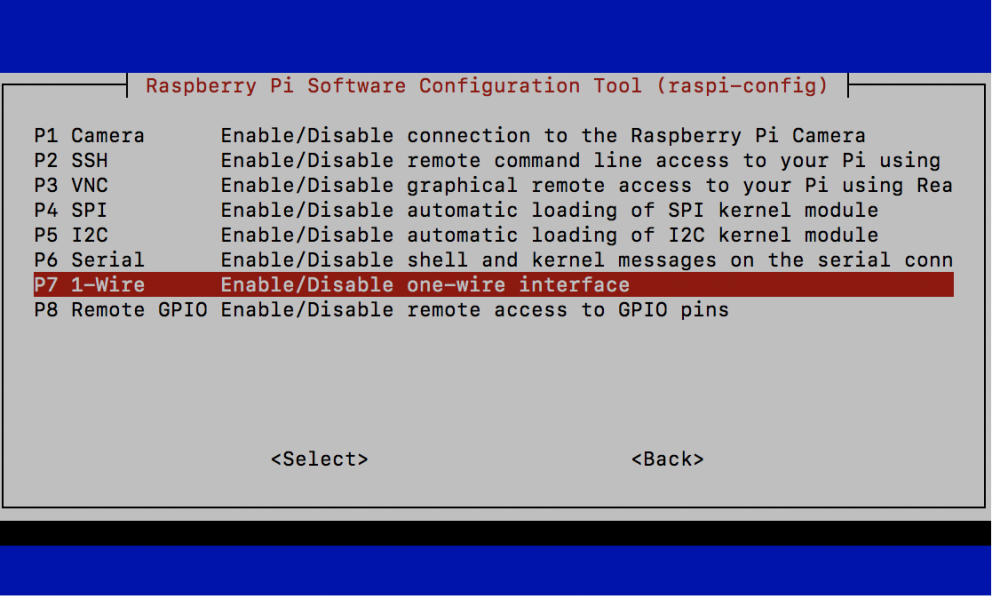
I've been wanting to start a reef related project that I'll be able to learn things about in another area. So what I picked, is to start on the reef pi project (you can Google more about this too). I'm completely new to programming and know next to nothing about electronics and circuitry beyond the basic stuff taught in schools. Hopefully, I can get some guidance from members here too. What this project is about, is to create an aquarium controller (with whatever bells and whistles you want) using the Raspberry Pi. I've chosen the Raspberry Pi Zero W to start off with since that is relatively inexpensive and that is what most guides use. Plus, having a wireless function definitely helps, although the Zero W is only connected via 2.4 GHz. Just sharing what I've done here so please use your own discretion in deciding whether you want to attempt this or not. Below is a summary of what I've learnt from other guides, of which I am grateful for those creators for having explained the steps. To the more experienced reefers, please let me know if I left out anything. Many thanks in advance. Equipment For this first post, I'll just share what I've started off with so far. Raspberry Pi Zero W Others a. MicroSD card (I'm using a 16GB card, but the minimum recommended capacity is 8GB) b. MicroSD card reader c. GPIO pin strips d. DC power adaptor (5.1V, 2.5A output) (not in picture) e. A computer to connect to the Pi Setting up the Pi 1. Connect your MicroSD card to your computer. Download the Raspberry Pi Imager (search this on Google) and choose the correct OS that your computer is running on. Follow the steps to write the OS on your MicroSD card. 2. Download two files for the Pi set-up off the internet (wpa_supplicant.conf and ssh). Copy these files onto your MicroSD card. 3. Open the copy of "wpa_supplicant.conf" on your MicroSD card and key in the network details you want to connect to, replacing "your_wifi_network_name" and "your_wifi_network_password". Save the file. Remember that you have to connect to a 2.4GHz network for the Zero W. 4. Eject the MicroSD and plug it into your Pi. 5. Plug your Pi into your power source and it should automatically connect to your network. 6. Now you'll need to connect your computer to the network that you connected your Pi to. Once you're connected, open the Command Prompt (Windows) or Terminal (Mac) and run the line "ping raspberrypi.local". You should see Command Prompt or Terminal giving you data about your Pi's connection. To stop the command, enter ^C. 7. Connect your computer to your Pi by running "ssh pi@raspberrypi.local". You'll be prompted with a password. By default, the password is "raspberry". Please remember to change this later. Once you've entered the password correctly, you'll be connected to your Pi via the 2.4GHz network. 8. Enable SSH. To do so, run "sudo raspi-config" on Terminal. Select "5 Interfacing Options", "P2 SSH" and enable SSH. 9. Reboot your Pi. 10. Connect to your Pi again (you may have to restart Terminal) and run the following: "sudo apt-get update -y", "sudo apt-get upgrade -y", "sudo systemctl start systemd-timesyncd", "sudo systemctl enable systemd-timesyncd" 11. Edit config.txt by running "sudo nano /boot/config.txt". Scroll to the bottom and type "dtoverlay=pwm-2chan". Reboot your Pi. 12. Run "sudo raspi-config". Select "5 Interfacing Options" and "P7 1-Wire". Enable one-wire interface. While you're at it, you can disable SPI too. 13. Reboot your Pi and install reef pi. Do a Google search to find the latest code to use to download the latest version of reef pi. Remember to select the correct code you're using because these are written specific to different versions of the Raspberry Pi. 14. Connect to your Pi again, and run "ping raspberrypi.local". Copy the IP address of your Pi and enter it into your browser. This will take you to the login page for reef pi. The default username and password are both "reef-pi". Key those in, and sign in. Next I've already set up my Pi as detailed above. I've recently placed orders for the other things I would need for: a. 8 channel relay b. PH meter c. Temperature meter These are the first three things I'll be trying to do, but for now I'm still waiting for parts to arrive.3 points
-
Haha. Looking forward to it! I really like the effect you created with the encrusting monti carpeting the base of the tank.1 point
-
Took this CB period to scape my tank too. Using Alteco Epoxy and finish off with stone fix. Spent the whole day doing my rockscape. *Tired Nonetheless it’s quite satisfying to see a decent rockscape. Sneak preview below. Stay tune for the finalise rockscape in my tank. Sent from my iPhone using Tapatalk1 point
-
1 point
-
1 point
-
1 point
-
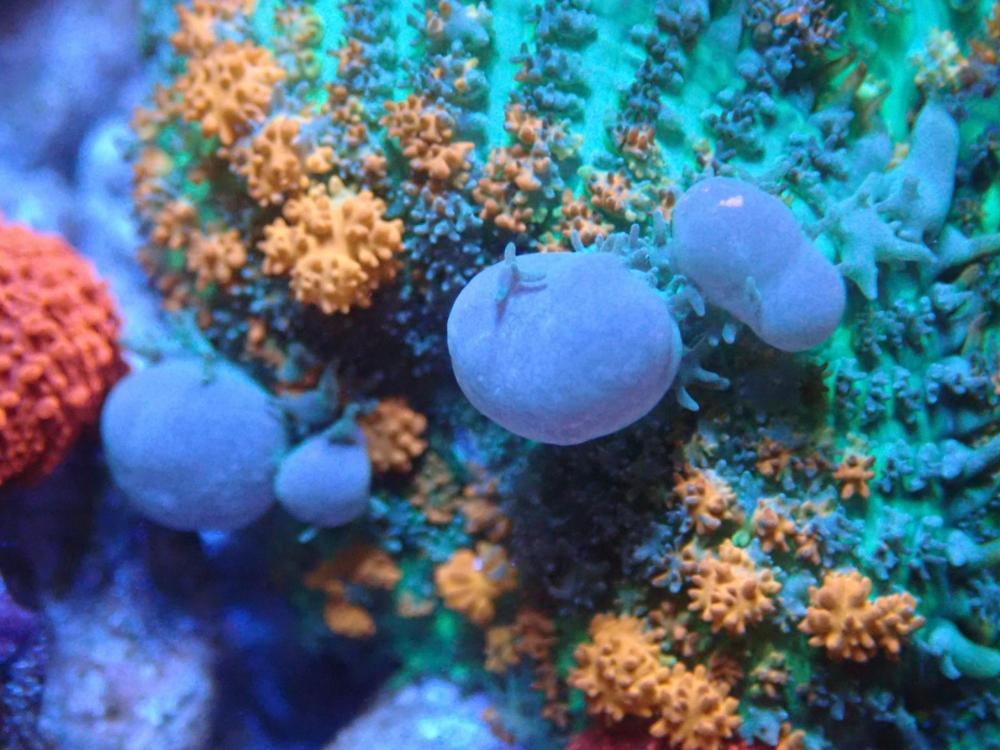
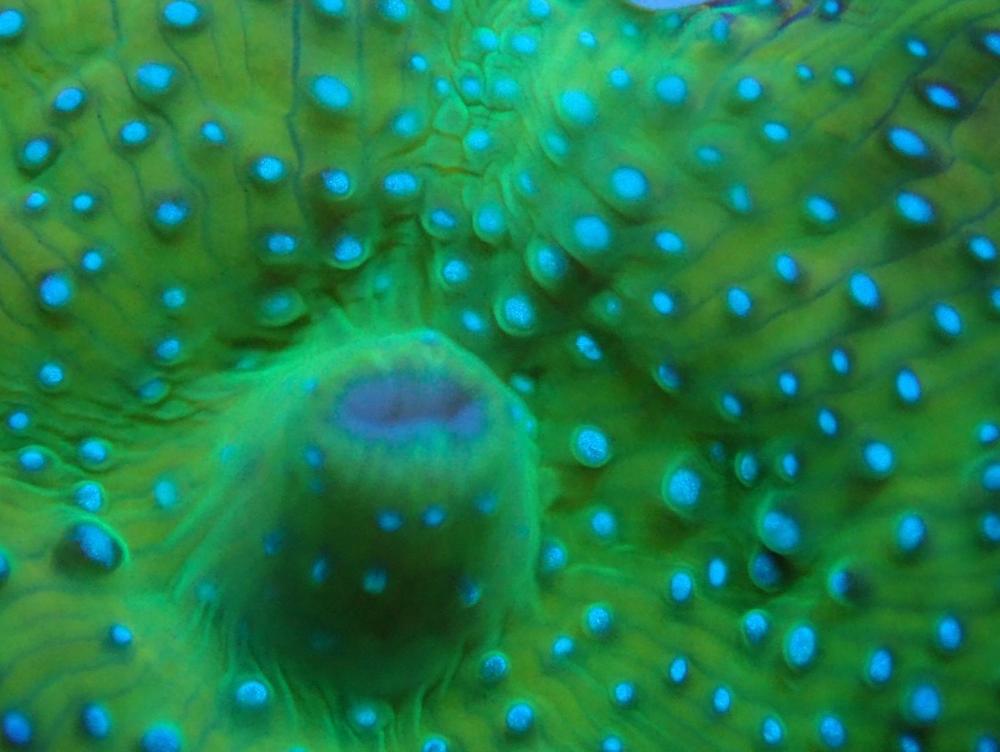
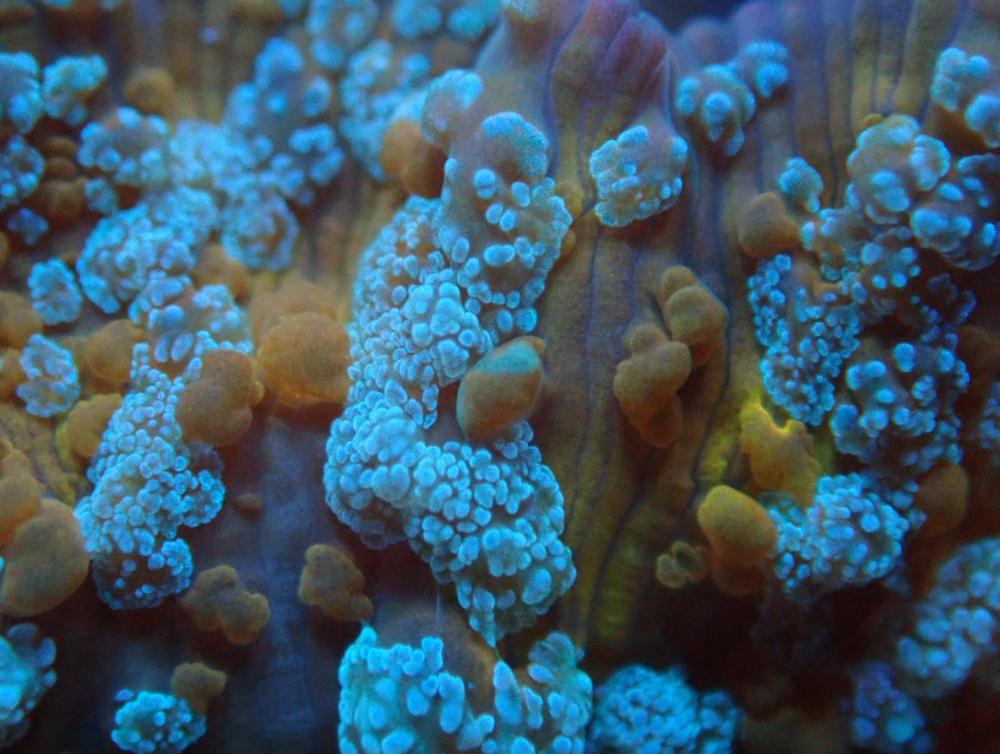
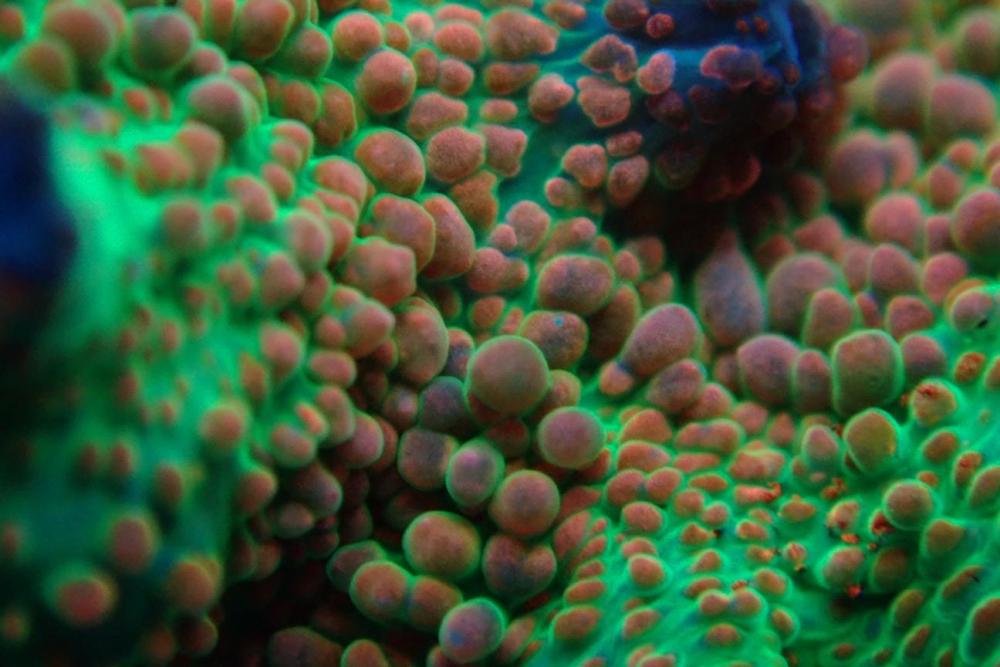
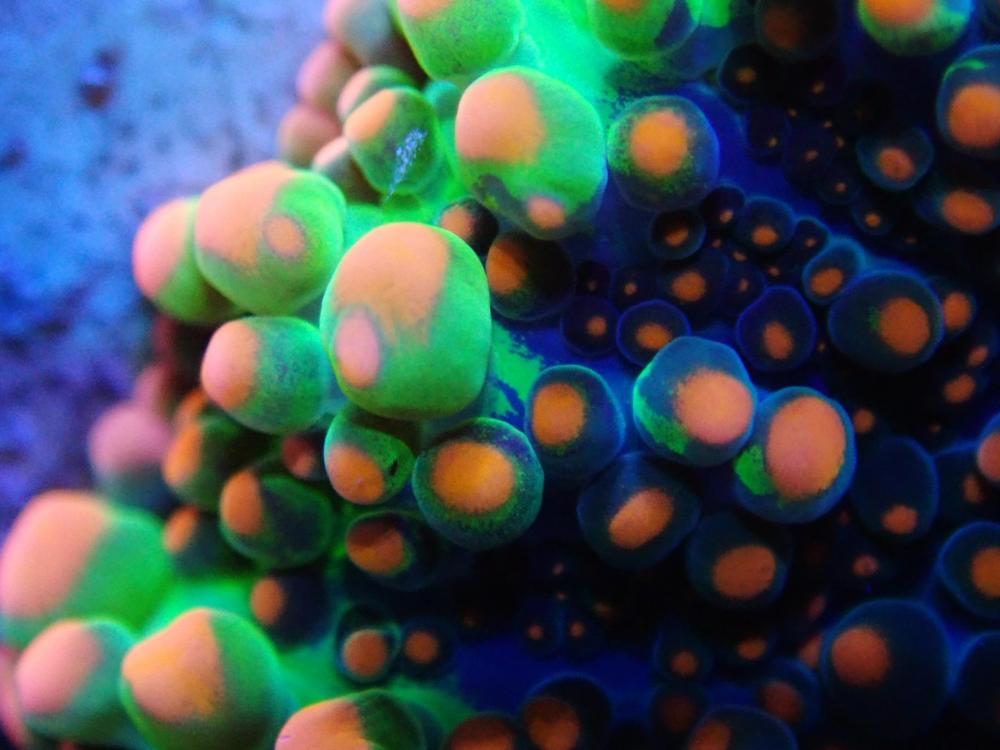
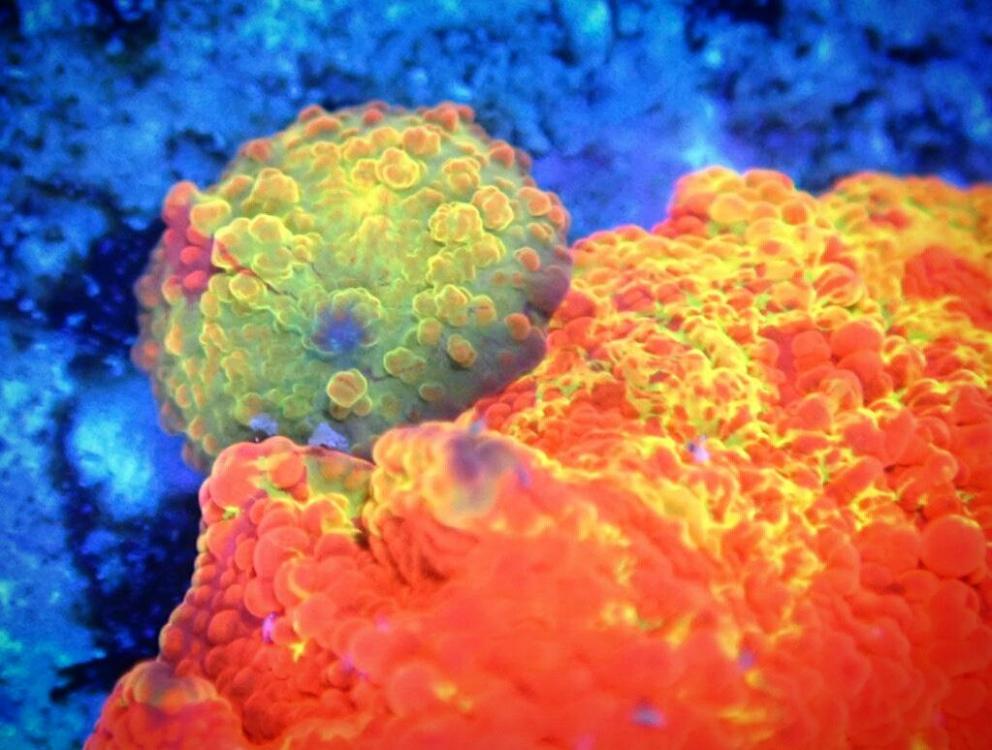
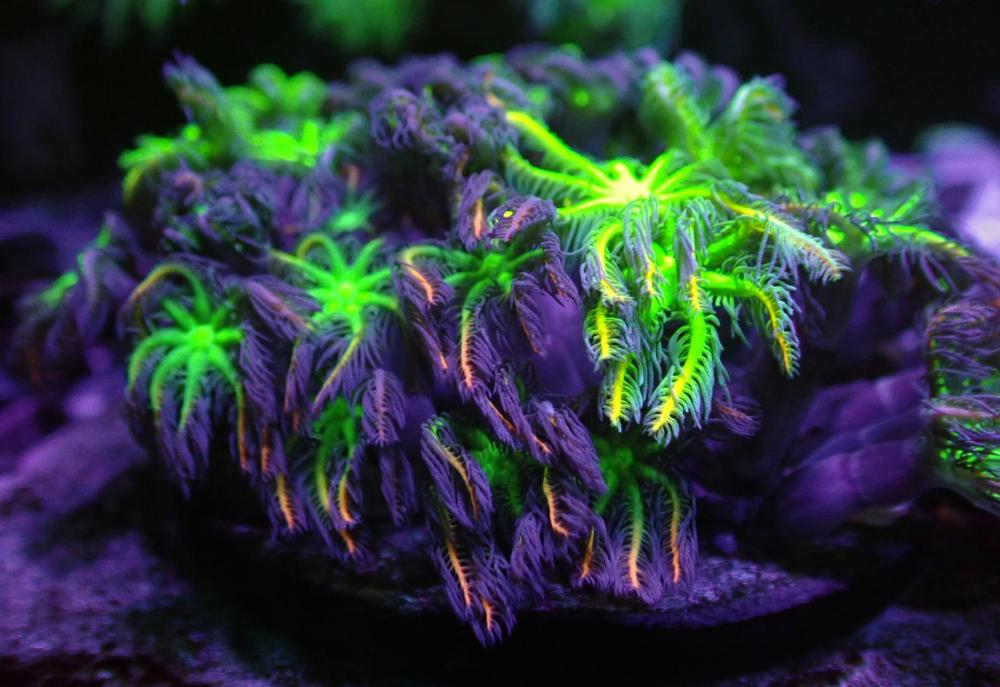
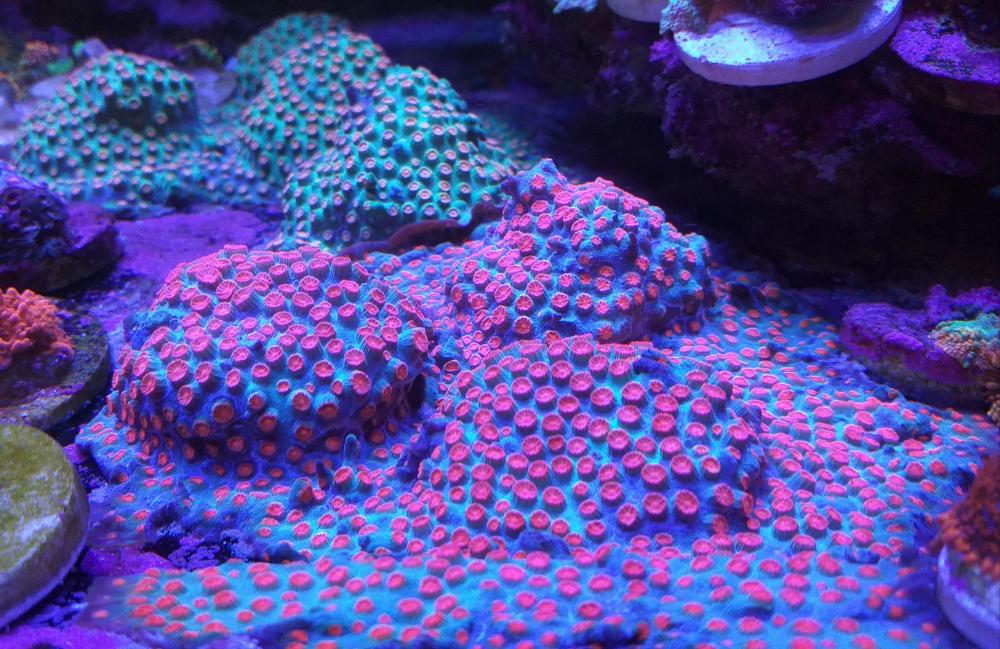
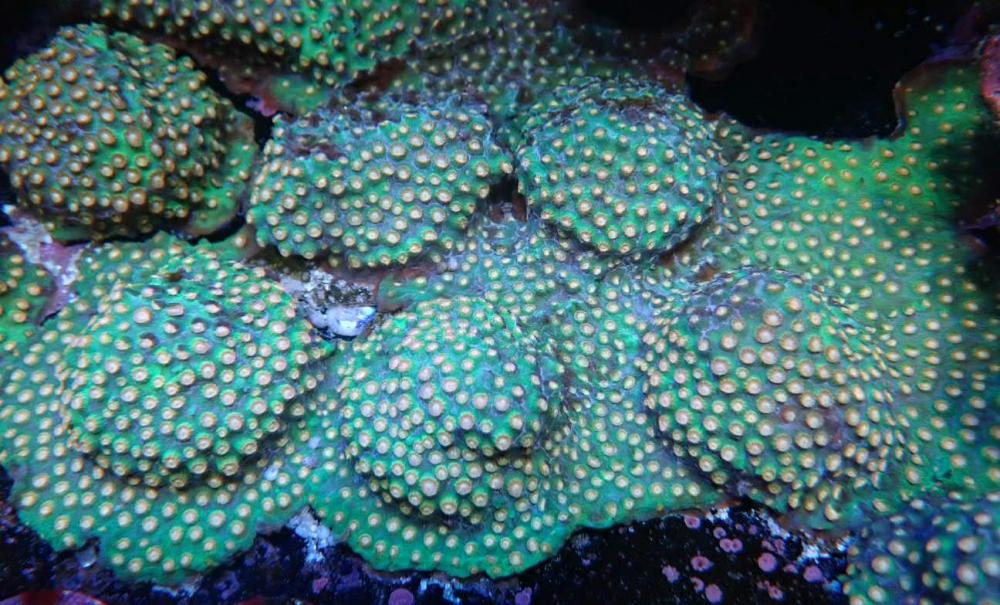
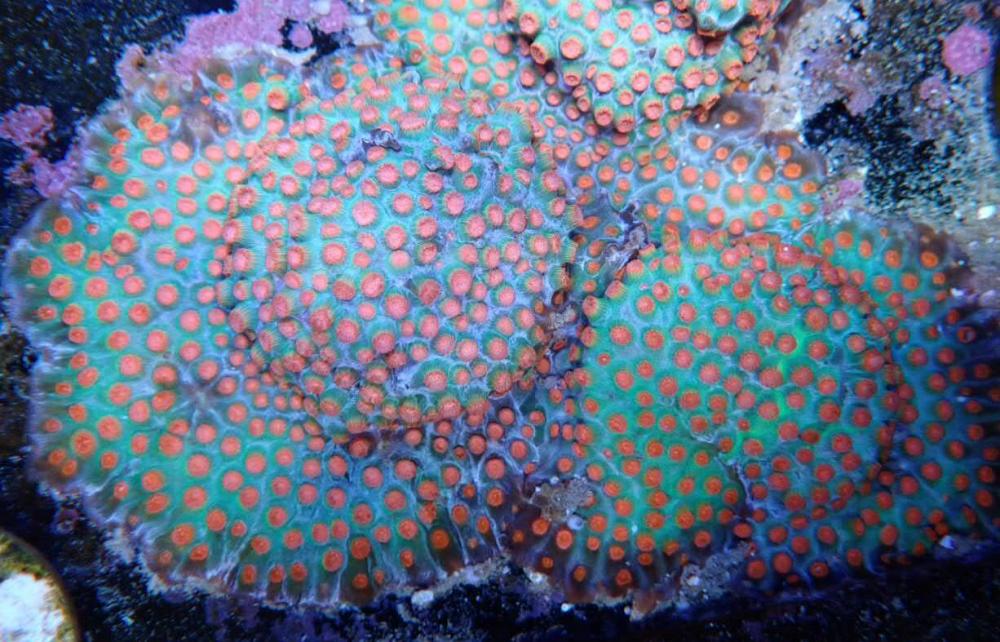
Always been a fan for a coral encrusted bed rather than a sandbed so now short-listing suitable specimens in terms of colors, growth form/rate for the next build. So far, these are the specimens that I'm planning to work with. Always loved the look of these beautiful mini petal shaped Tubipora musica or commonly known Pipe organ coral. Planning to "fit in" pockets here and there among the other encrusting candidates. Some bright white/green splashes of colors should brighten up the reef scene. Clavularia sp. Forest fire cloves will be another softie specimen selected for their unique petal shaped look and growth rate. A section at the back portion reef base carpeted with these, with extended polyps waving to pulsating flow would be a sight to behold. Rhodactis sp. Sunkist Bounce Corallimorphs. Looking at these grown to at least 3 cm sized specimens for foreground carpenting effect. The effect that I'm hoping to see will be a section of the base with numerous large waving vesicles or "orange bubbles". Favites pentagona War coral will be one of the encrusting LPS specimen selected for the foreground too. Will be seeking out other encrusting bright colored LPS/SPS specimens to complement this specimen. Do let me know if you have any coral recommendations that will be a nice fit to the above specimens as I'm currently still in the selection process. Thanks in advance.1 point
-
1 point
-
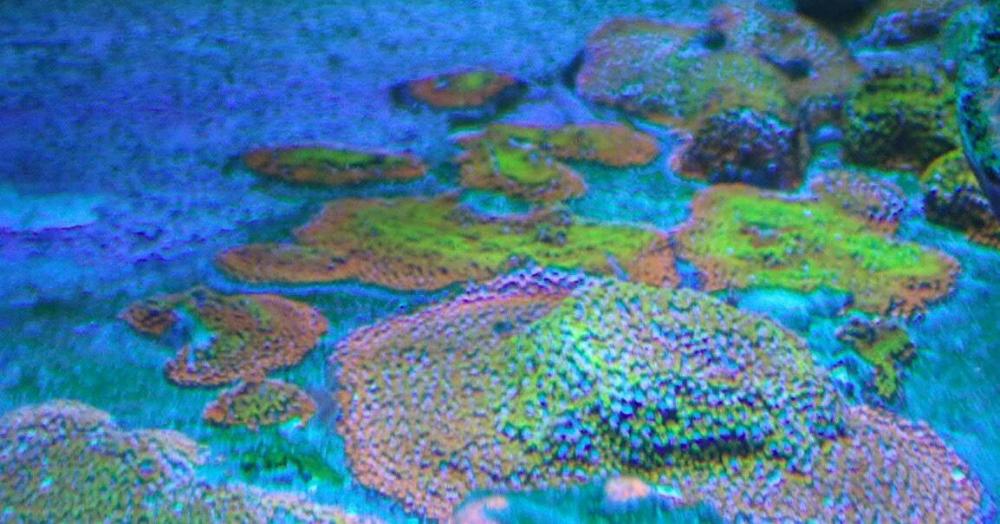
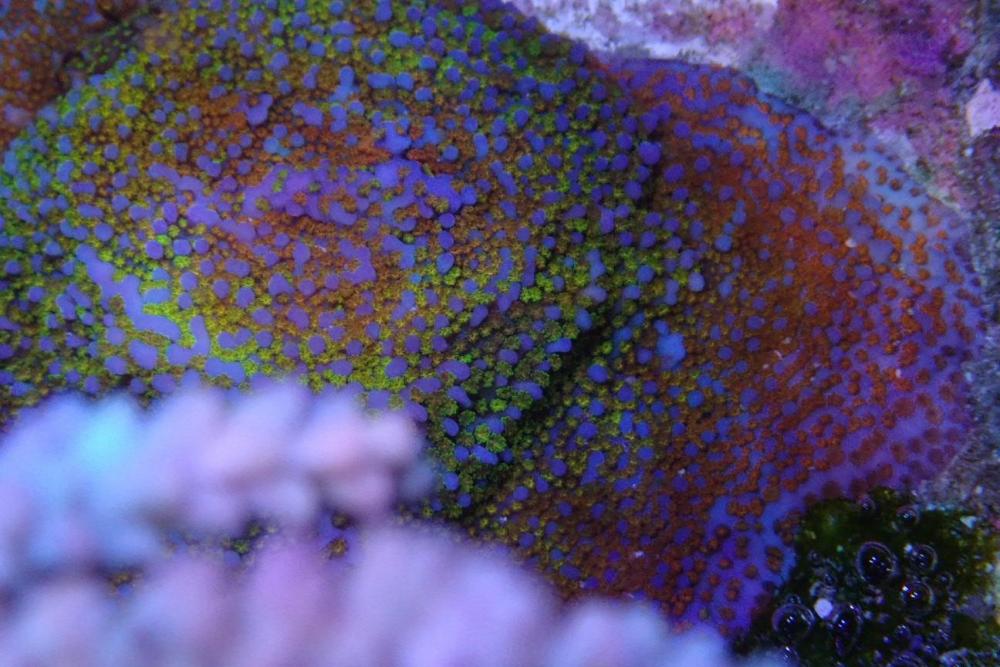
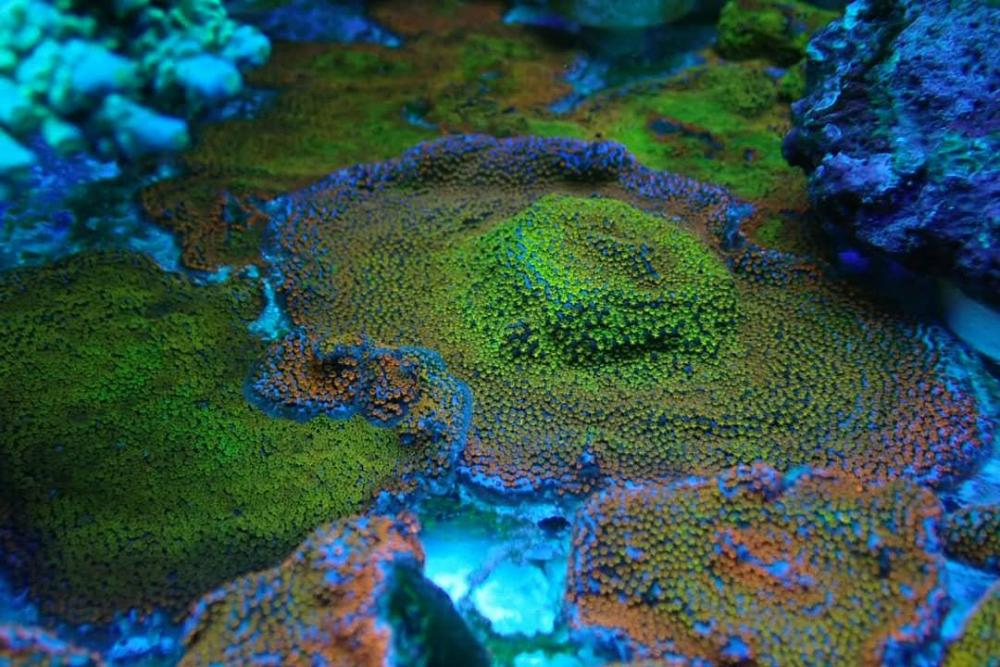
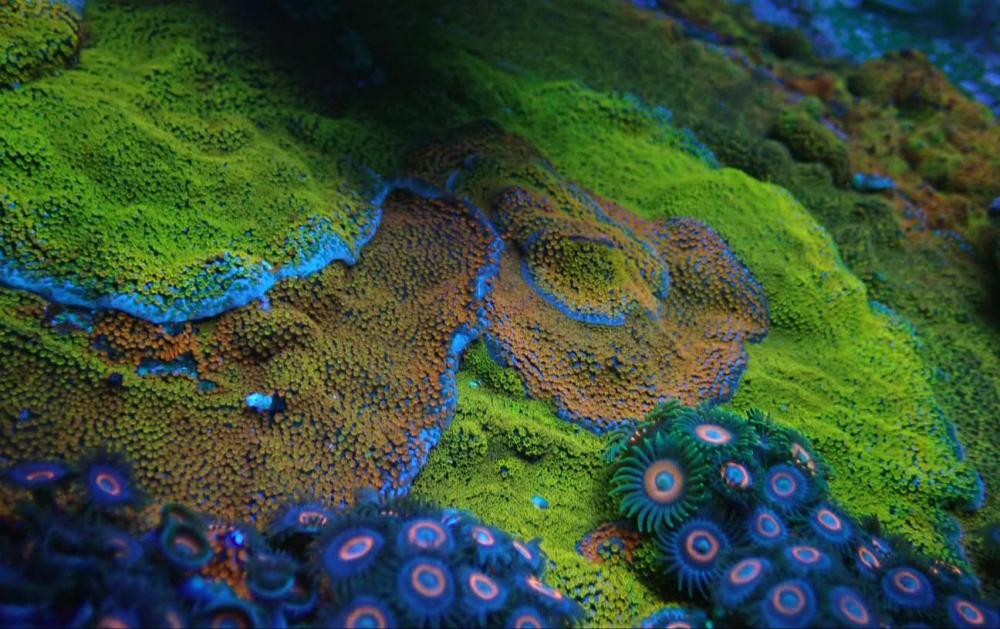
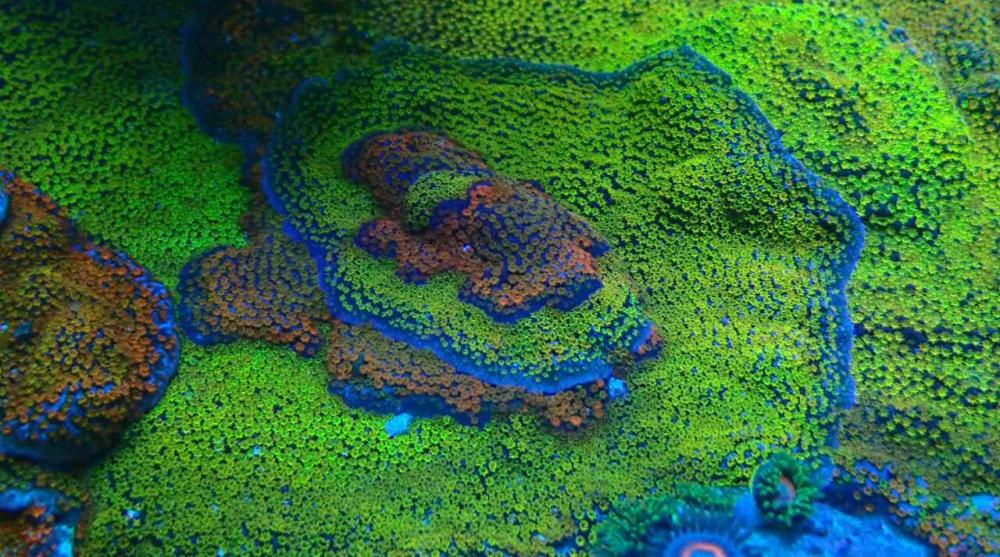
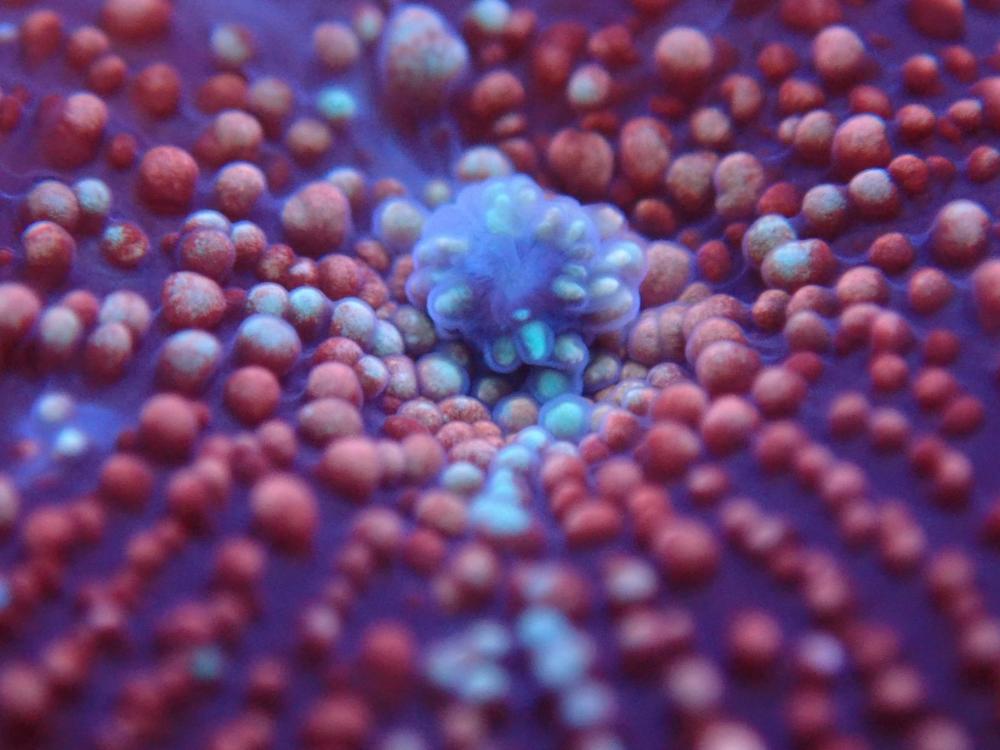
One of the "projects" for the previous reef was to grow encrusting corals on bare bottoms. Here's some pictures of such a attempt using Montipora danae. Closeup shot of one of the initial frag laid on the glass base. Group shot Merging as these grow...... And grow..... Till these almost covering up a major portion of the reef base.1 point
-
1 point
-
1 point
-
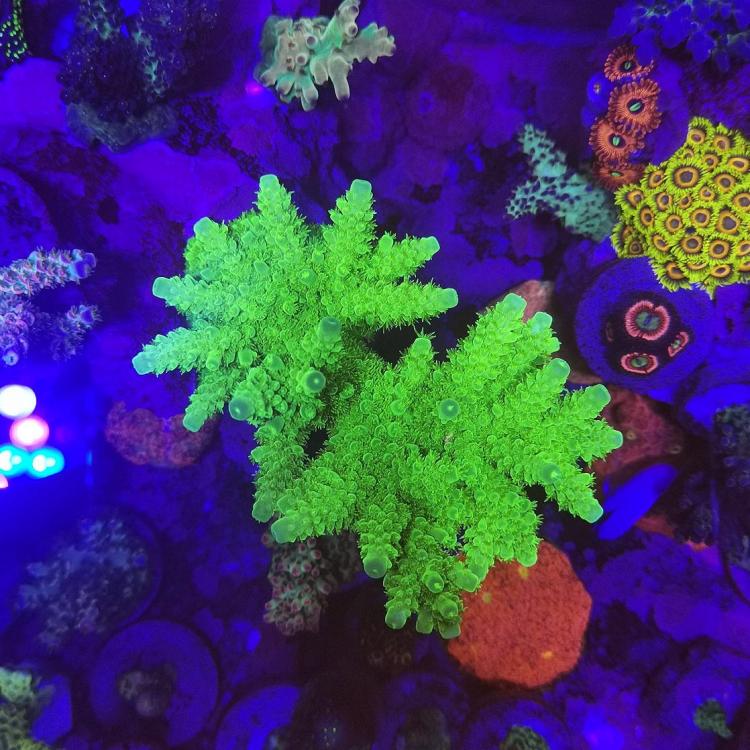
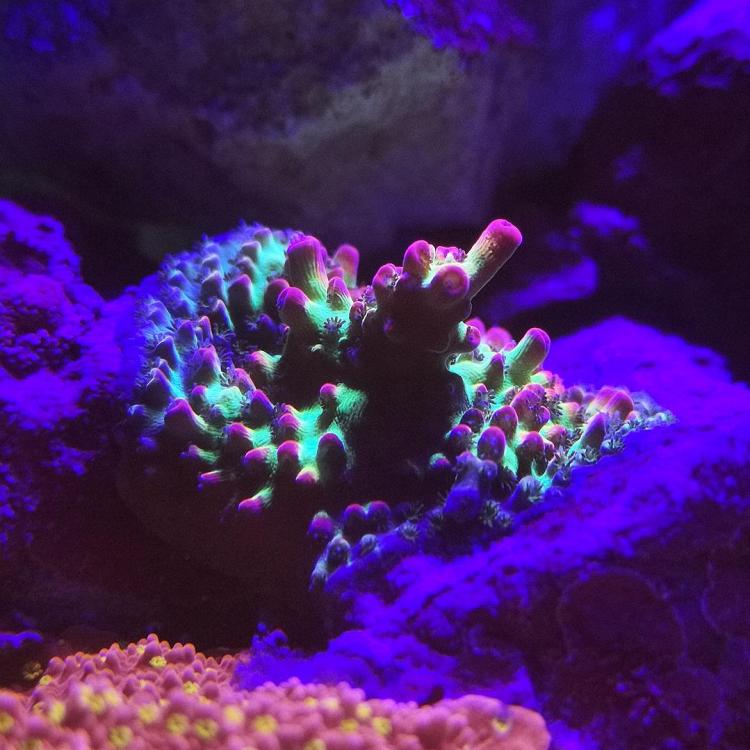
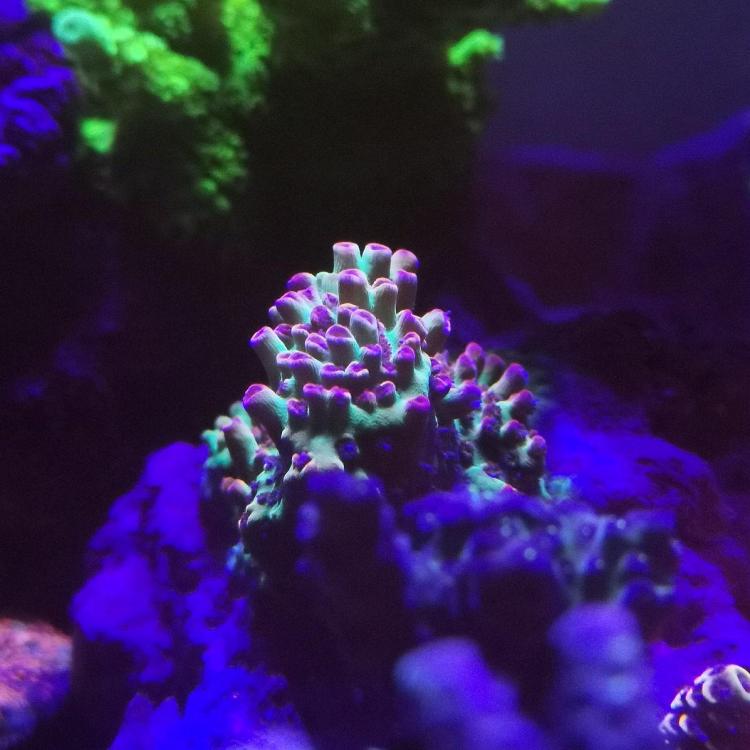
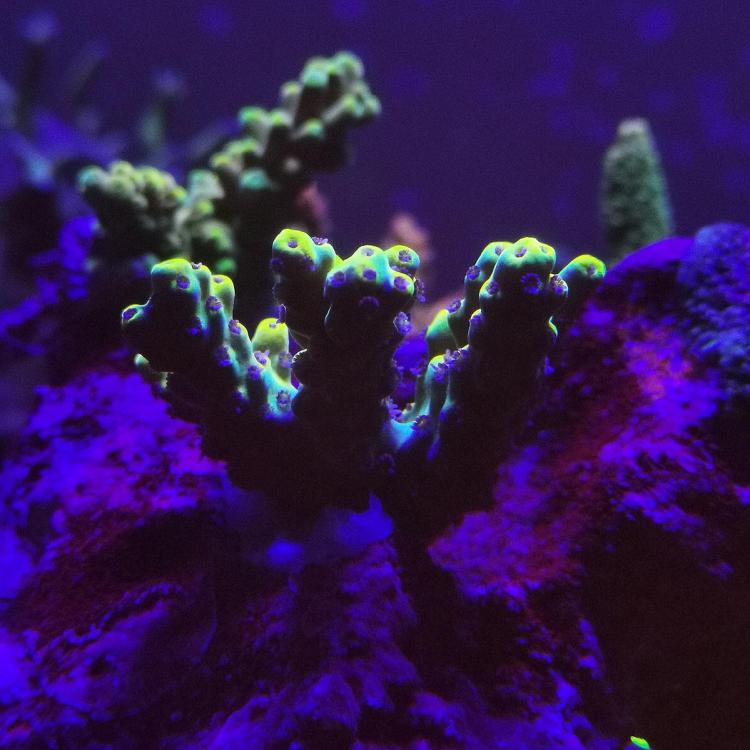
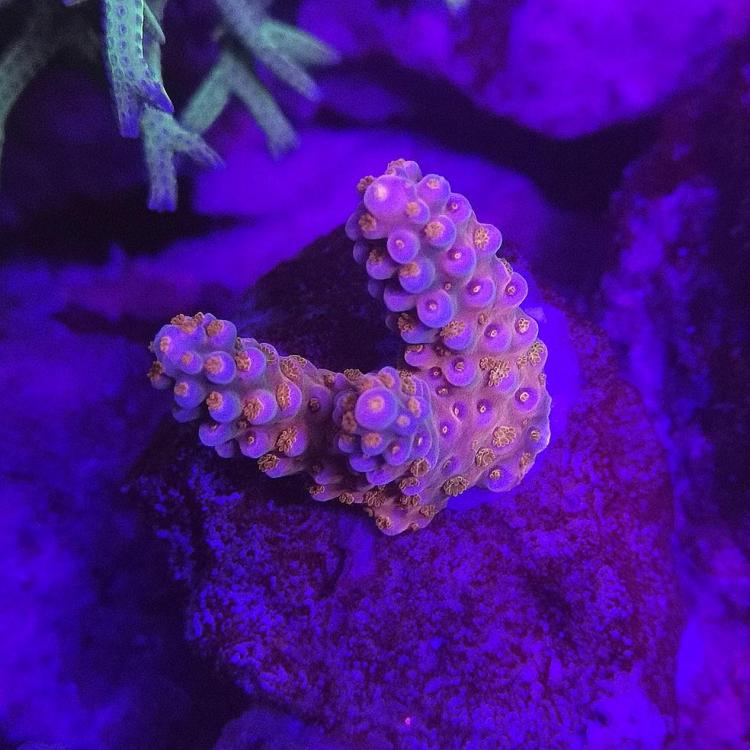
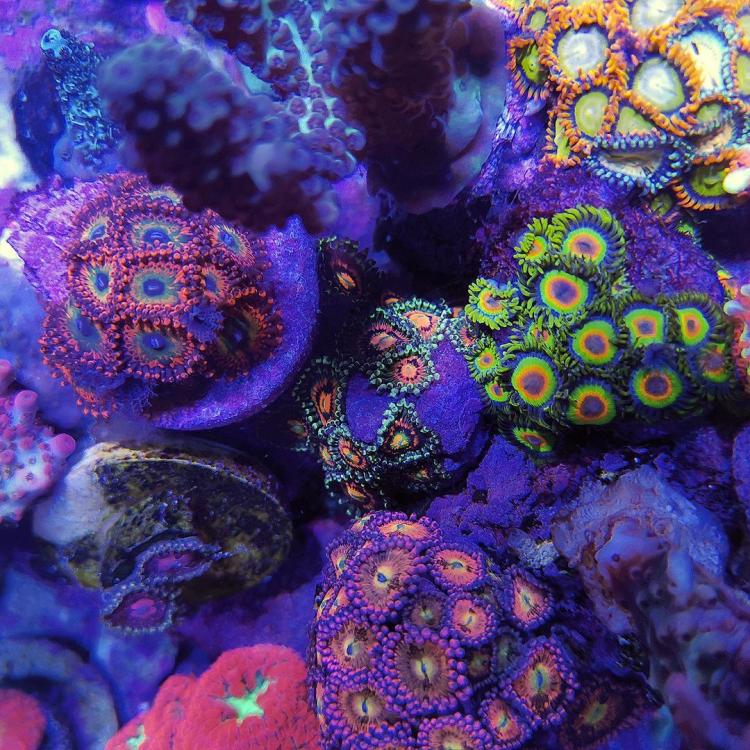
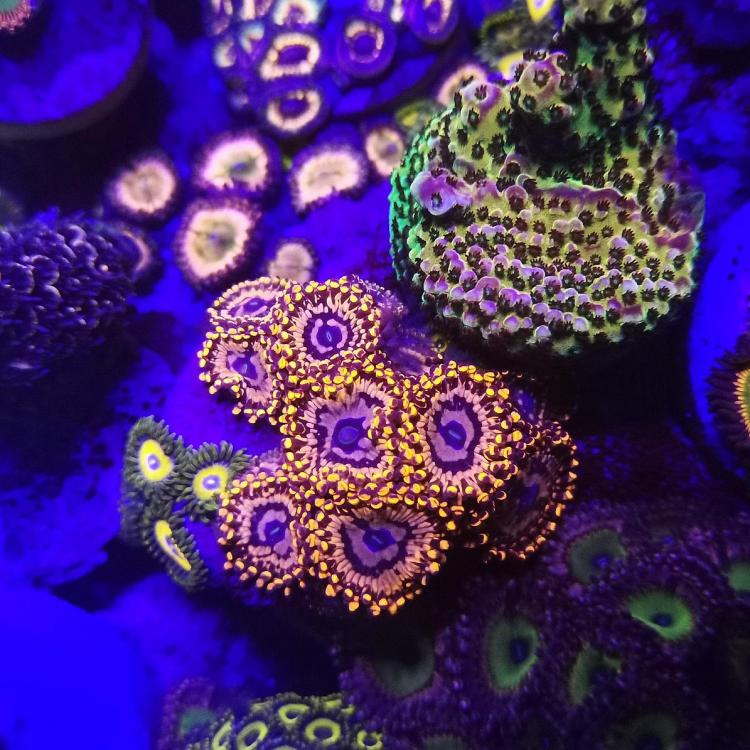
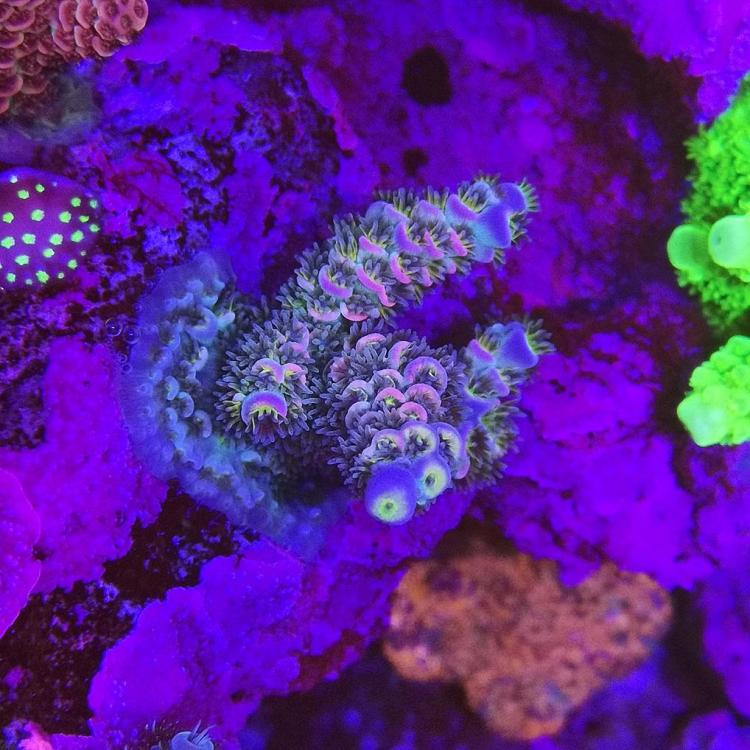
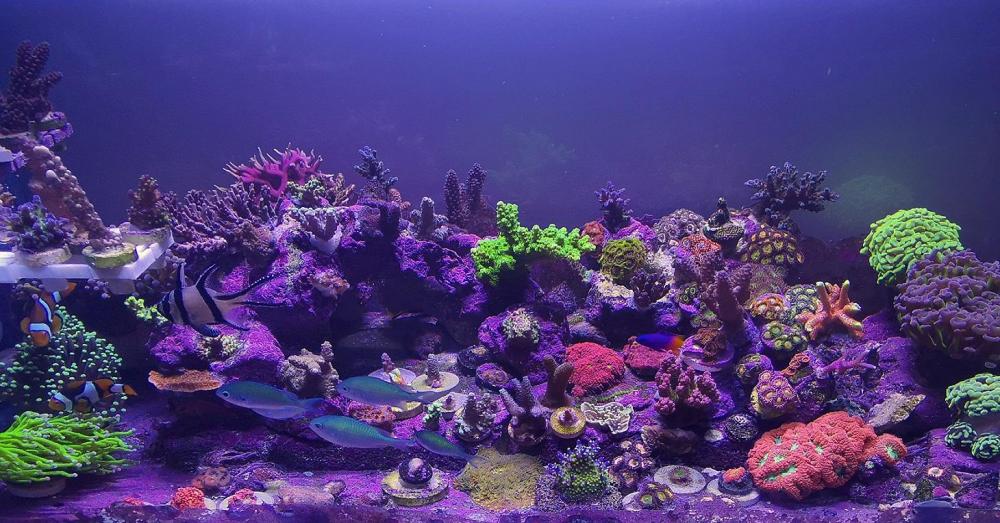
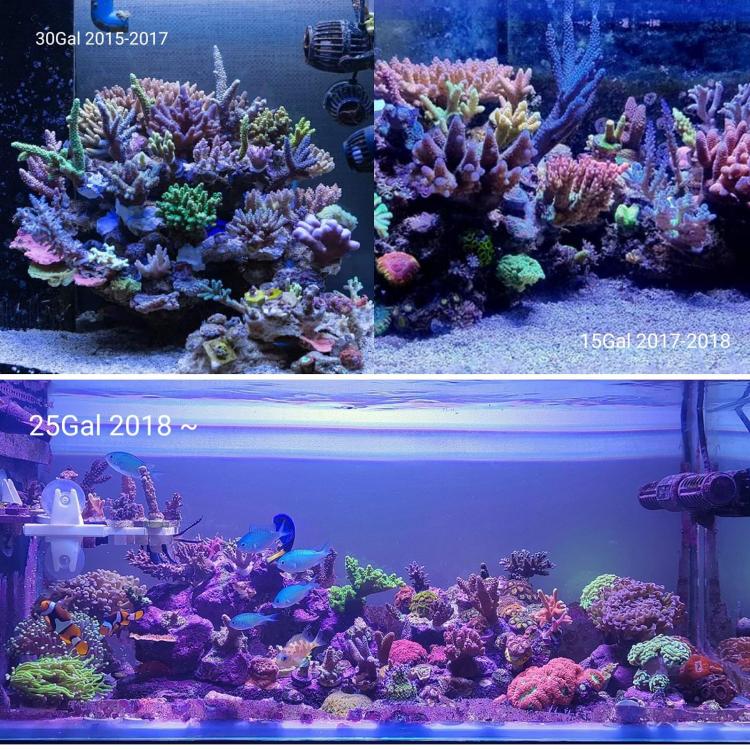
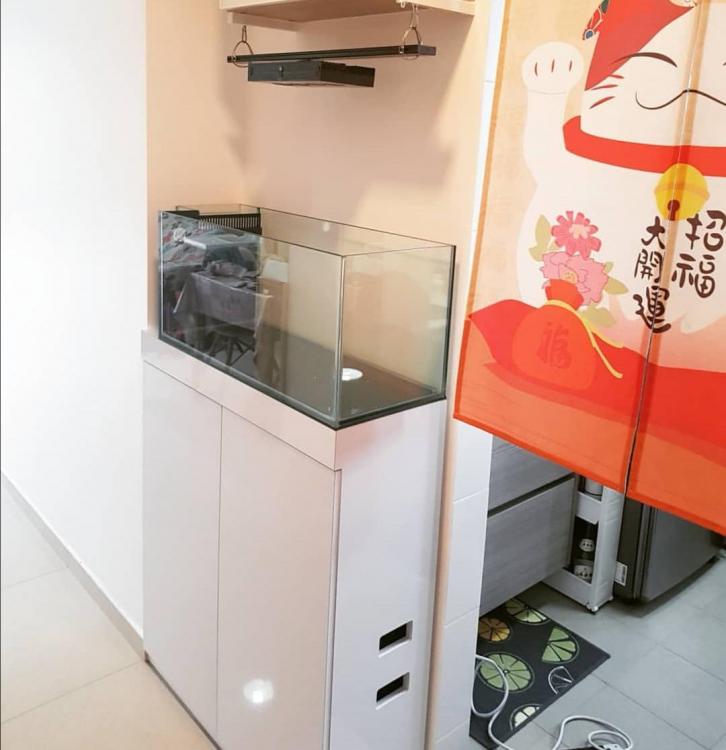
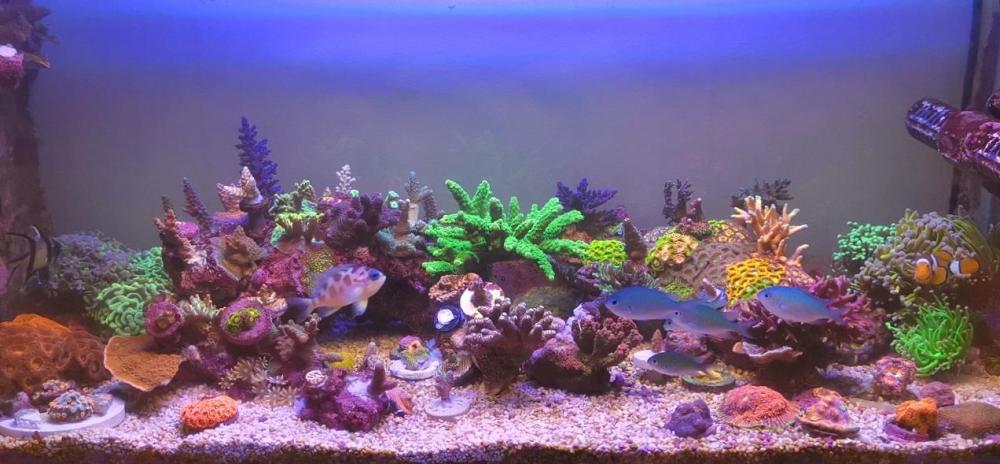
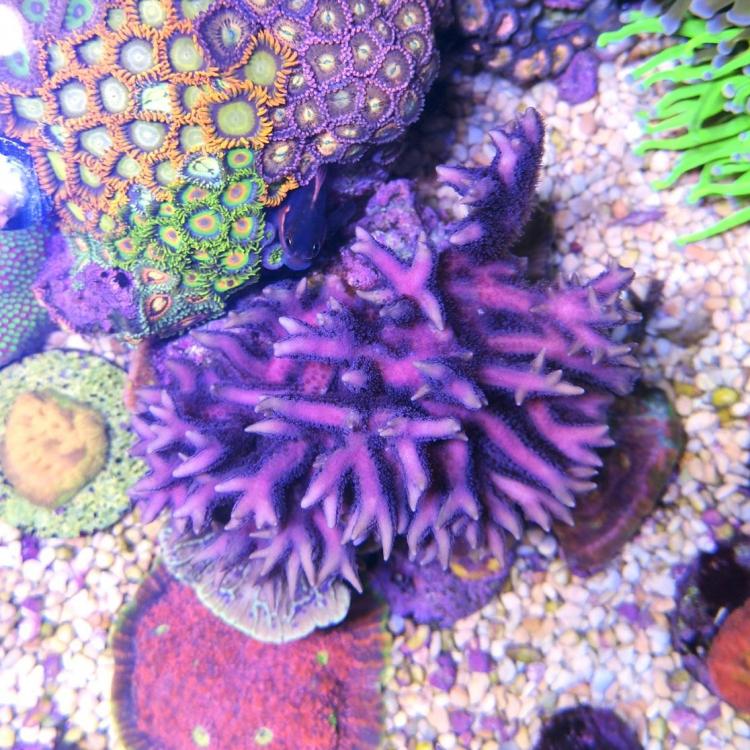
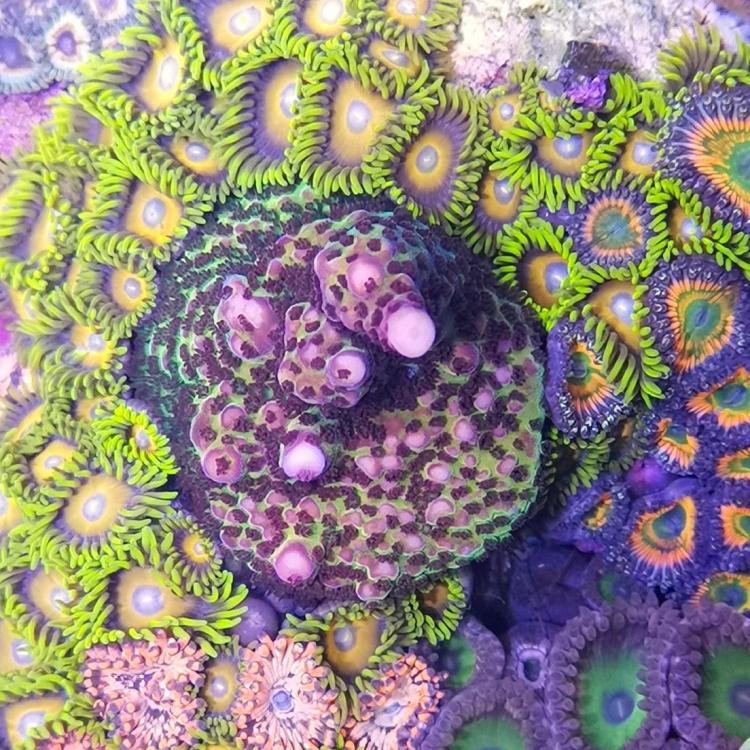
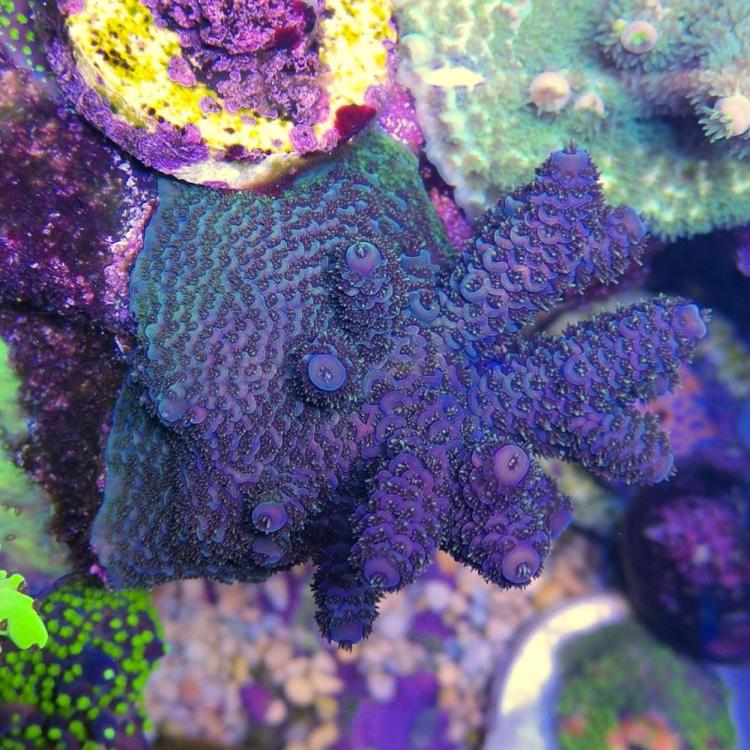
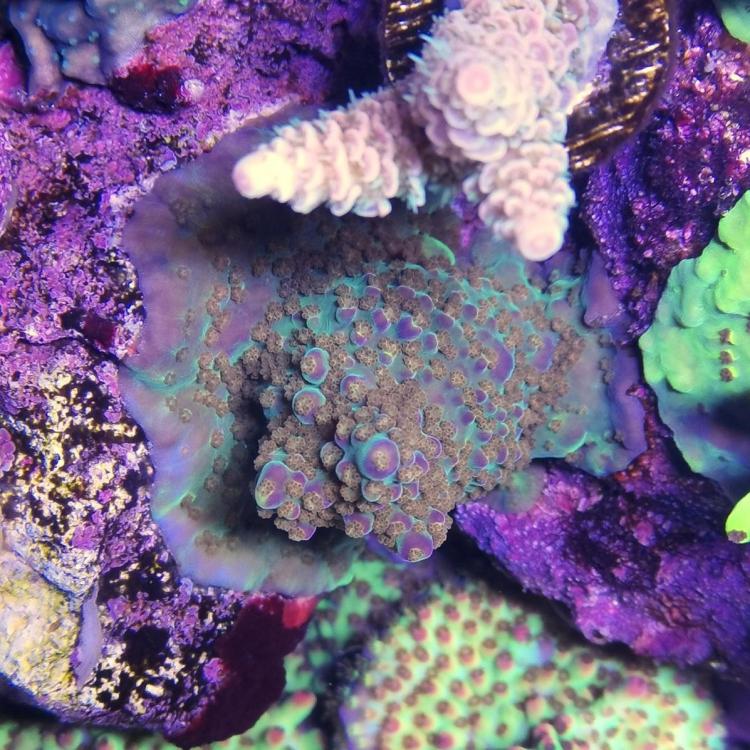
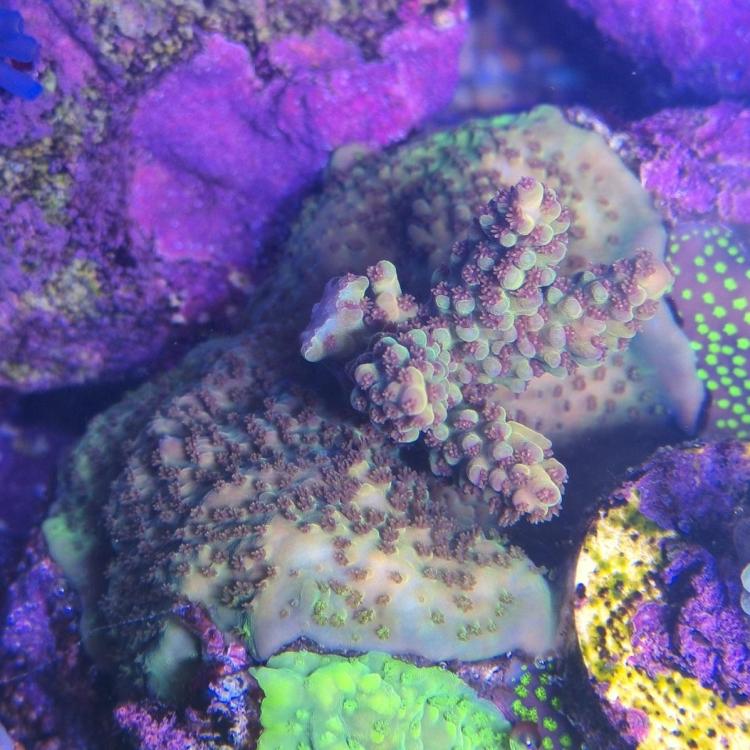
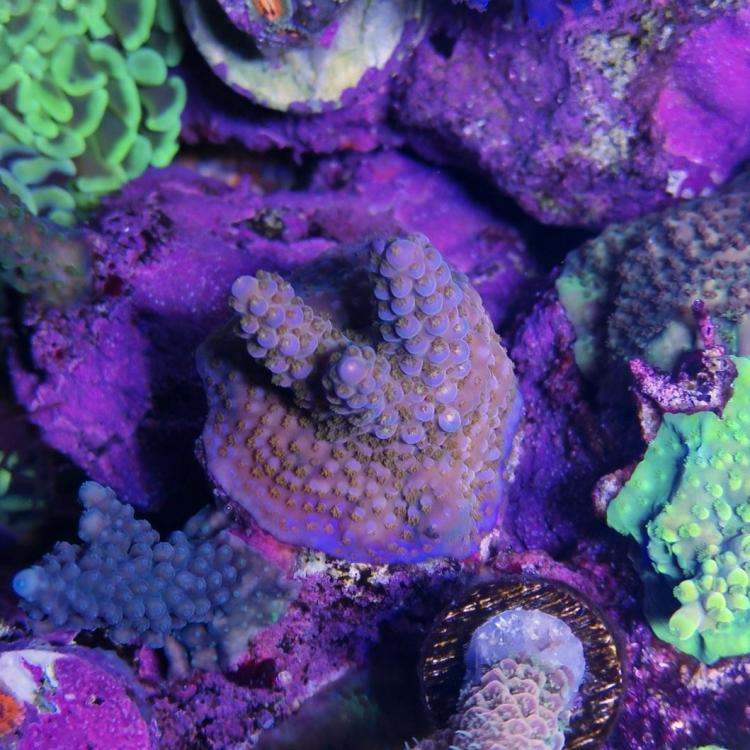
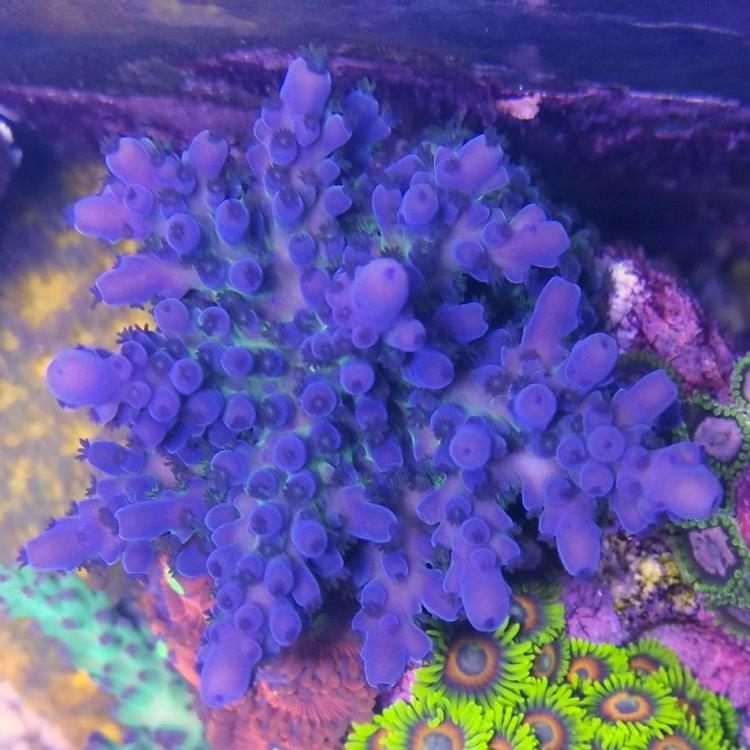
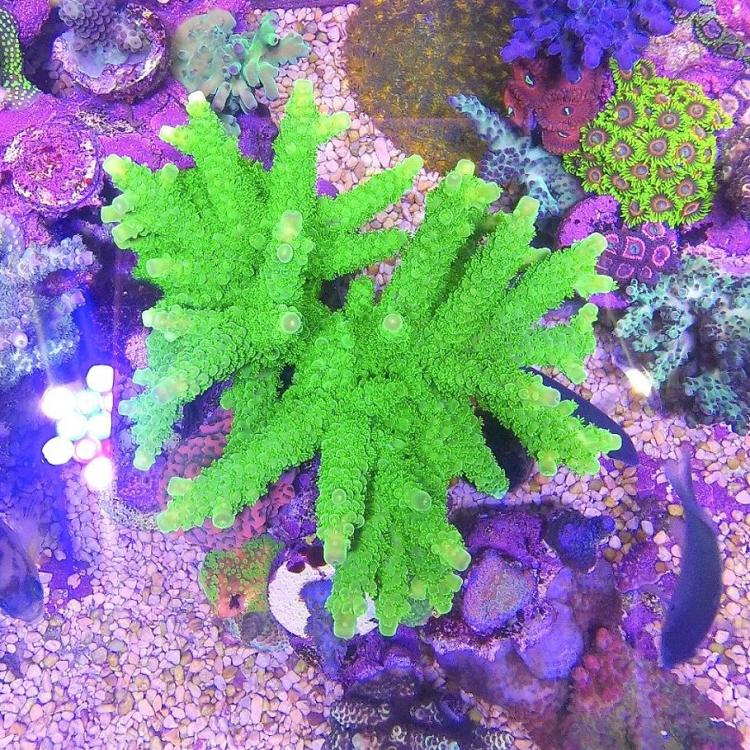
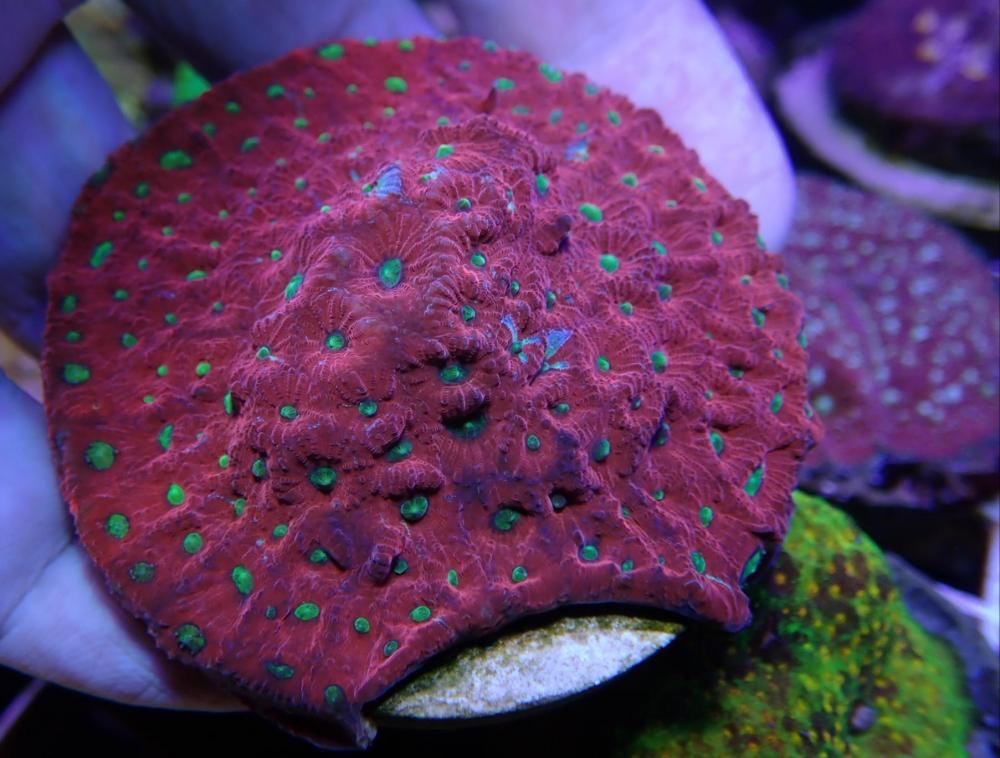
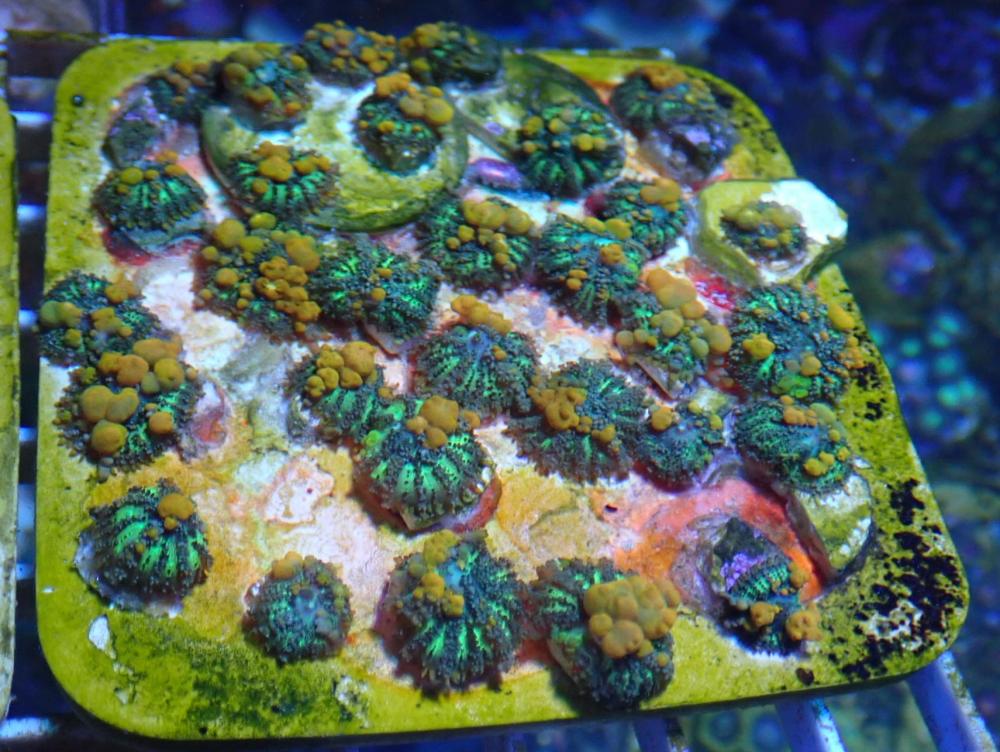
Hello reefer , sharing my new 25Gal tank as the previous tank was decom to take a break as I am too busy with newborn. Started this tank in mid 2018. Slowly encounter different kind of algae Bryopsis > BA > GHA > Cyano and finally Dino for the first year. Tank seems to be quite stable and clean now for about 5mths after using chaeto. The first two tank I am always chasing for ULNS and I feel its abit too high risk so I am going for slightly higher nutrients tank this time with chaeto for export. Tank dimension : 2.5ft x 1ft x 1ft Started with mostly zoas but ended up going for more SPS but nothing special, almost all are frags. Seeing the frags grow just abit feel so satisfying.1 point


.thumb.jpg.925f69253b41c49fa108822ae1c697f8.jpg)


.thumb.jpg.eabea25260ee7ba65b1efe09d6ba9fc7.jpg)
.thumb.jpg.21c51769cd8143a5d95405ca9880d1f7.jpg)
.thumb.jpg.5b7c3796b7c1082194d9857f7d94d0f6.jpg)
.thumb.jpg.7630f5df49381c4f4442d8aa39127bca.jpg)
.thumb.jpg.3b7fda0b7eb79698b37d2eeebd6057ab.jpg)
.thumb.jpg.72a842ece32152b2e26caf667b43b4a9.jpg)
