Leaderboard
Popular Content
Showing content with the highest reputation on 05/16/2020 in all areas
-
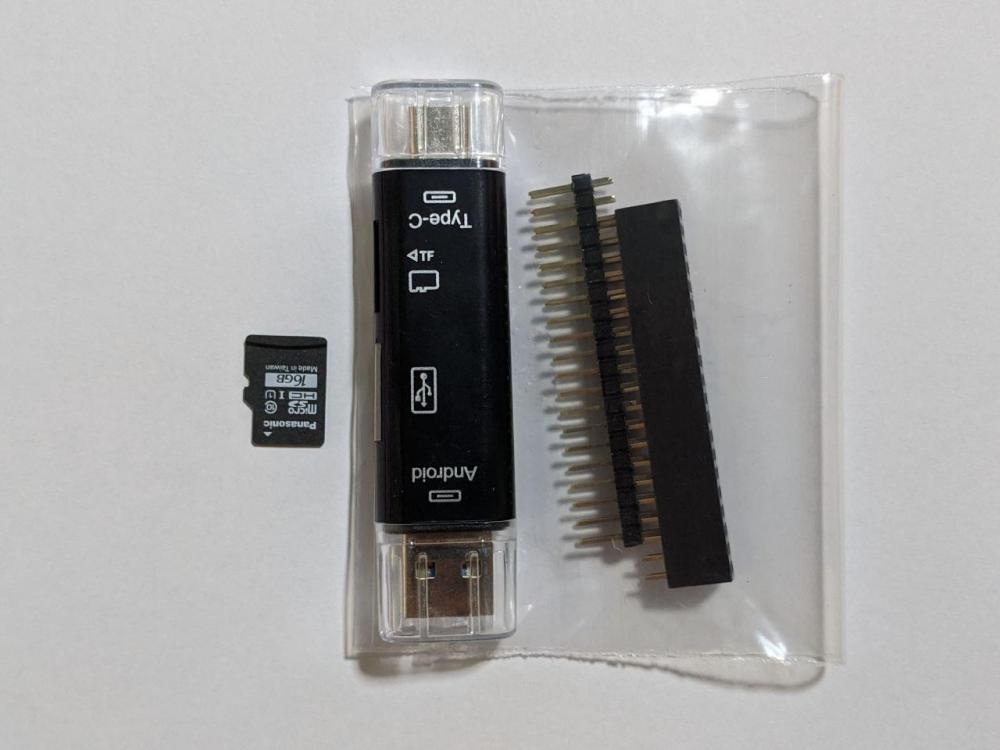
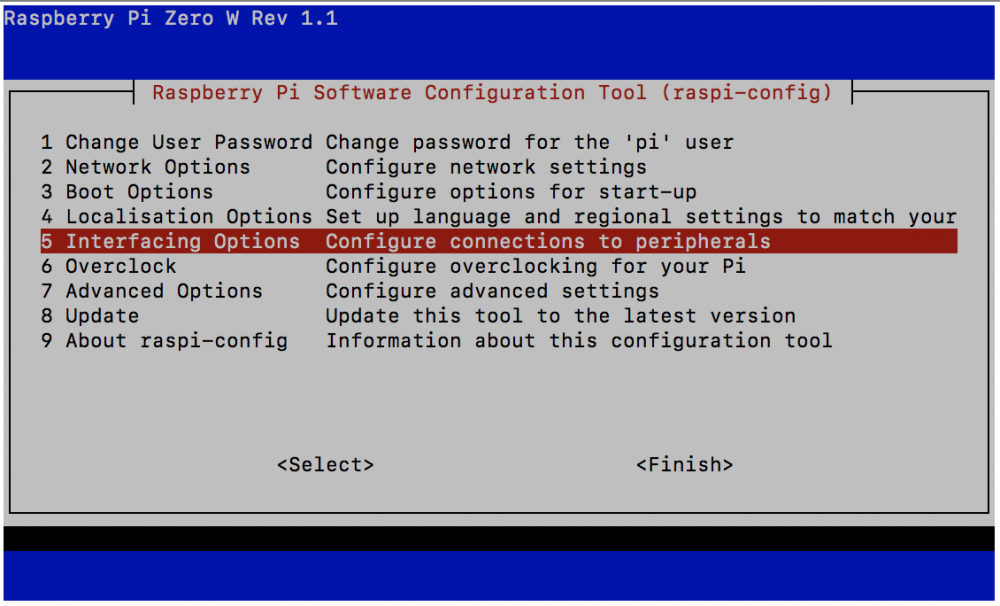
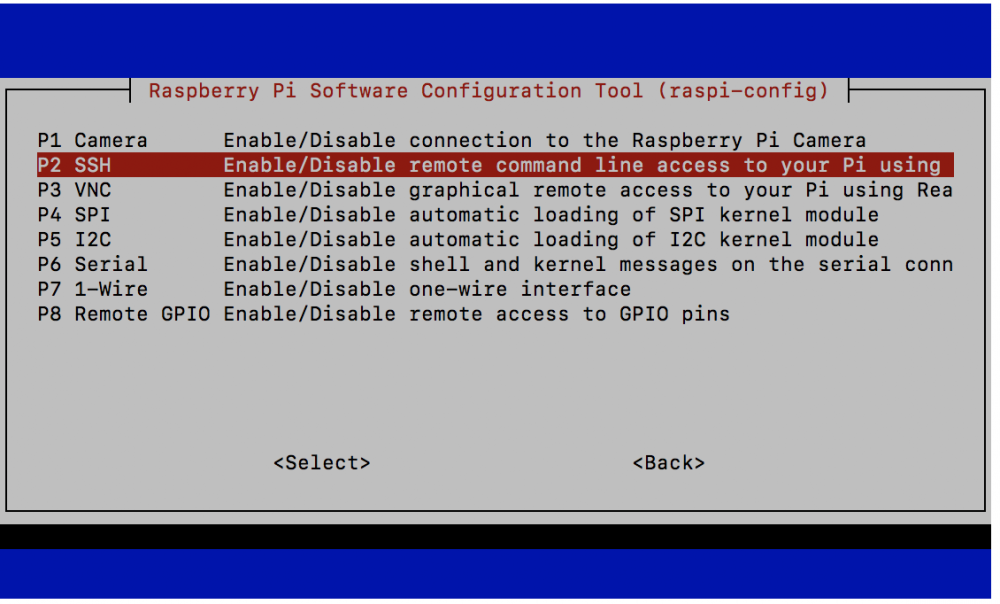
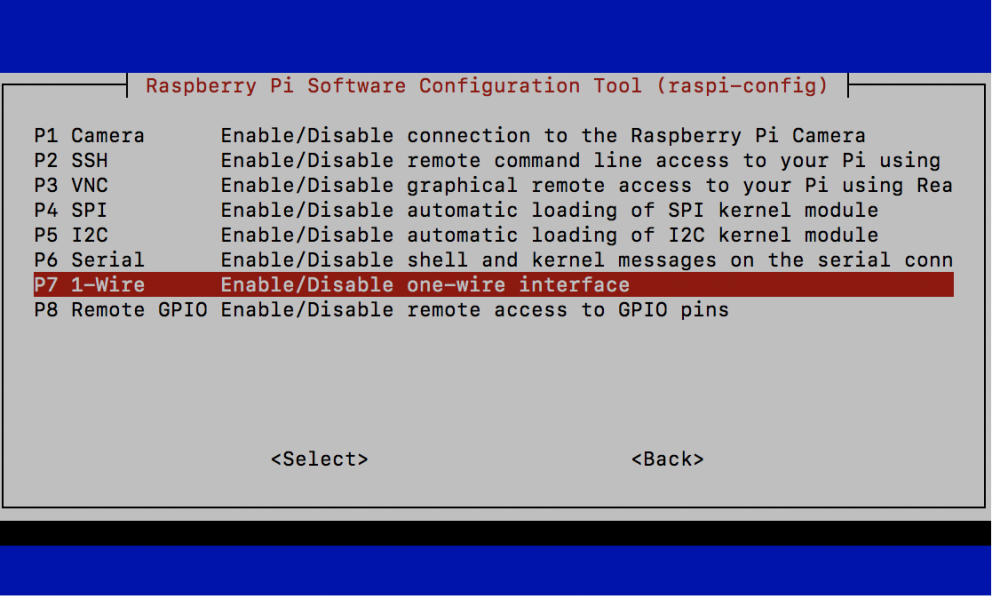
I've been wanting to start a reef related project that I'll be able to learn things about in another area. So what I picked, is to start on the reef pi project (you can Google more about this too). I'm completely new to programming and know next to nothing about electronics and circuitry beyond the basic stuff taught in schools. Hopefully, I can get some guidance from members here too. What this project is about, is to create an aquarium controller (with whatever bells and whistles you want) using the Raspberry Pi. I've chosen the Raspberry Pi Zero W to start off with since that is relatively inexpensive and that is what most guides use. Plus, having a wireless function definitely helps, although the Zero W is only connected via 2.4 GHz. Just sharing what I've done here so please use your own discretion in deciding whether you want to attempt this or not. Below is a summary of what I've learnt from other guides, of which I am grateful for those creators for having explained the steps. To the more experienced reefers, please let me know if I left out anything. Many thanks in advance. Equipment For this first post, I'll just share what I've started off with so far. Raspberry Pi Zero W Others a. MicroSD card (I'm using a 16GB card, but the minimum recommended capacity is 8GB) b. MicroSD card reader c. GPIO pin strips d. DC power adaptor (5.1V, 2.5A output) (not in picture) e. A computer to connect to the Pi Setting up the Pi 1. Connect your MicroSD card to your computer. Download the Raspberry Pi Imager (search this on Google) and choose the correct OS that your computer is running on. Follow the steps to write the OS on your MicroSD card. 2. Download two files for the Pi set-up off the internet (wpa_supplicant.conf and ssh). Copy these files onto your MicroSD card. 3. Open the copy of "wpa_supplicant.conf" on your MicroSD card and key in the network details you want to connect to, replacing "your_wifi_network_name" and "your_wifi_network_password". Save the file. Remember that you have to connect to a 2.4GHz network for the Zero W. 4. Eject the MicroSD and plug it into your Pi. 5. Plug your Pi into your power source and it should automatically connect to your network. 6. Now you'll need to connect your computer to the network that you connected your Pi to. Once you're connected, open the Command Prompt (Windows) or Terminal (Mac) and run the line "ping raspberrypi.local". You should see Command Prompt or Terminal giving you data about your Pi's connection. To stop the command, enter ^C. 7. Connect your computer to your Pi by running "ssh pi@raspberrypi.local". You'll be prompted with a password. By default, the password is "raspberry". Please remember to change this later. Once you've entered the password correctly, you'll be connected to your Pi via the 2.4GHz network. 8. Enable SSH. To do so, run "sudo raspi-config" on Terminal. Select "5 Interfacing Options", "P2 SSH" and enable SSH. 9. Reboot your Pi. 10. Connect to your Pi again (you may have to restart Terminal) and run the following: "sudo apt-get update -y", "sudo apt-get upgrade -y", "sudo systemctl start systemd-timesyncd", "sudo systemctl enable systemd-timesyncd" 11. Edit config.txt by running "sudo nano /boot/config.txt". Scroll to the bottom and type "dtoverlay=pwm-2chan". Reboot your Pi. 12. Run "sudo raspi-config". Select "5 Interfacing Options" and "P7 1-Wire". Enable one-wire interface. While you're at it, you can disable SPI too. 13. Reboot your Pi and install reef pi. Do a Google search to find the latest code to use to download the latest version of reef pi. Remember to select the correct code you're using because these are written specific to different versions of the Raspberry Pi. 14. Connect to your Pi again, and run "ping raspberrypi.local". Copy the IP address of your Pi and enter it into your browser. This will take you to the login page for reef pi. The default username and password are both "reef-pi". Key those in, and sign in. Next I've already set up my Pi as detailed above. I've recently placed orders for the other things I would need for: a. 8 channel relay b. PH meter c. Temperature meter These are the first three things I'll be trying to do, but for now I'm still waiting for parts to arrive.1 point
-
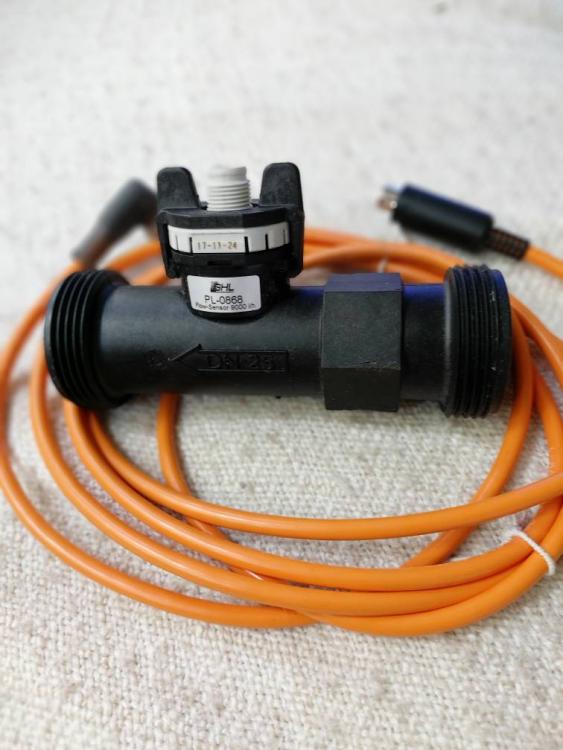
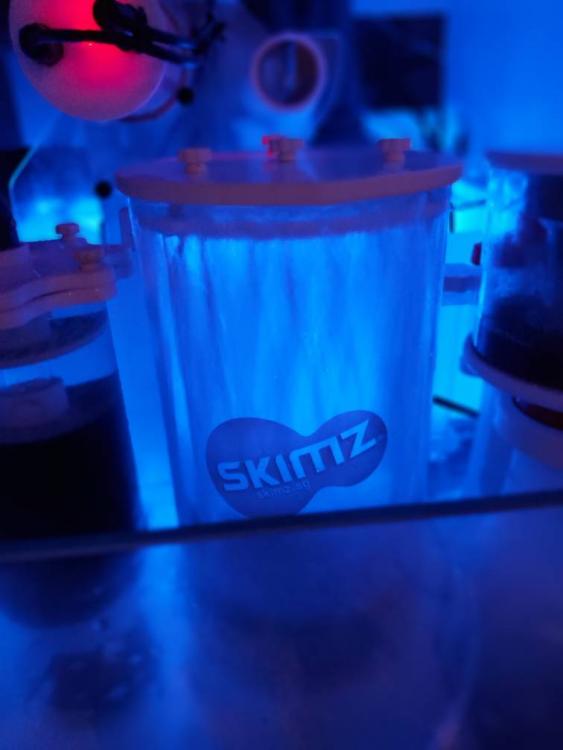
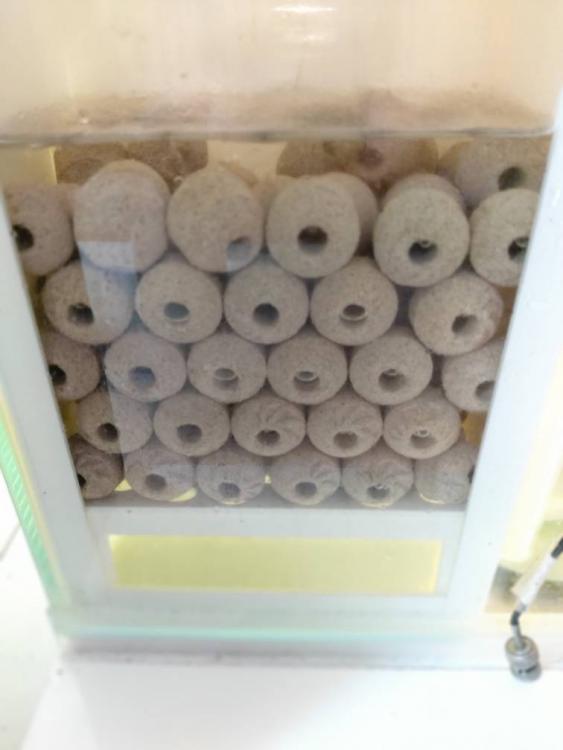
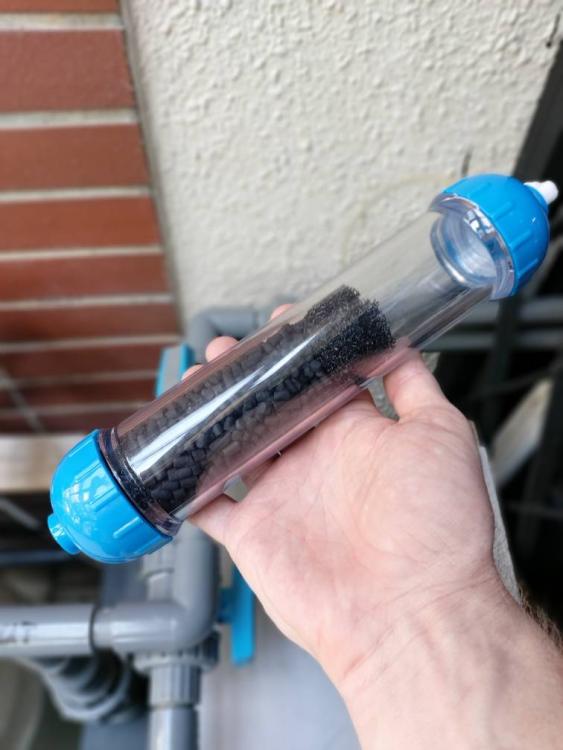
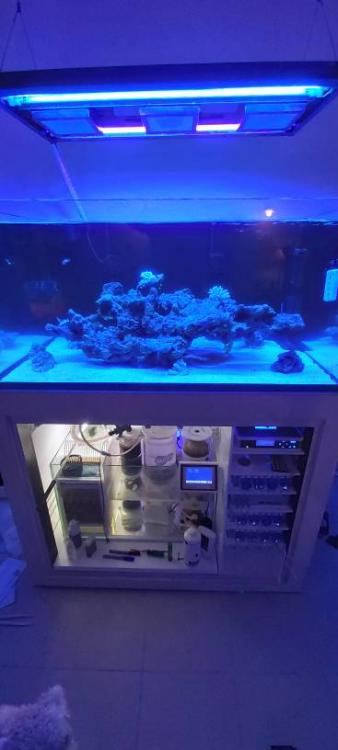
Objective 4: Ultra Low Nutrients (part 2) 5. FLOW: in my view one of the most important parts of a low nutrient system. I plan on having a lot of flow in the right place. Consistent flow into the tank is achieved via two return pumps that are connected to flow meters. The flow meters allow you to see not only the volume but also to detect any slowing over time. Is amazing that my old 6000 L/Hr pump on full blast only gives me 1020 L/HR at the return nozzle! Head pressure and restrictions are clearly something you need to consider when you buy a pump for your tank. The flow meters are great tools, as they allow me to monitor any reduction in flow overtime, thus, indicating when I need to maintain the pump. I simply place alarms on the system to indicate if the flow is too low. The GHL flow meters have no moving parts unlike their Apex equivalent so they don't deteriorate overtime, nor need their own maintenance to ensure accurate measurement. The plan is to get the control system to make adjustments to the pumps automatically to maintain flow (however I don't think I can do that with the pumps I have.... hmmmm maybe time to get a M3 when it comes out hehehe). I also flush the lines into the tank, simply by switching off the return on a regular basis. The backward pressure helps keeps the return lines clearer. The flow I have is aimed at maintaining a 4x turnover in the sump and 100x flow within the tank. The Tank flow is served by 2x MP40s on each side of the tank, along with 2xSLW20's which are placed on the back wall (which I will move to MP10's in the future... I here there are new MP's coming out soon!). I will also add a Gyre shortly, most likely to the back wall aswell given the depth of the tank, and as such I am thinking about the new Red Sea 45 simply as they are easy to maintain. 6. ZEOVIT REACTOR: The skimz zeovit reactor has auto flushing capability making it ideal for my low maintenance objectives. Use smaller model as it covers the flow rate needed upto 900L tank. Love this little toy. 7. BIO MEDIA: Installing bio media is beneficial, however it needs to be placed in flow areas that allows for the water to be in contact with beneficial bacteria. Placing the media in low flow areas is doing little more than producing a nitrate magnet. As I built a section of the sump to house the media (as well as having bio bricks in other areas) 8. SKIMMER: You may wonder why this is lower down on my list of essential tools for combating nitrites. Well, on my system this is because of the roller mat, refugium and ATS. Given the bioload actually reaching the skimmer there was not enough organics for the bubbles to properly hold their form, as such i had loads of micro-bubbles and hardly any skimmate irrespective of how I control the air flow, water input and water height. The skimmer I had was rated for a tank upto 1500L so much bigger then my system, reducing it down to a skimmer that is rated for my system has improved the skimmers performance. One of the only cases in the hobby where bigger equipment is worse haha. I currently have a tiny Curve 5, which I have to say that it is cracking good skimmer. It has a air hose leading outside to a carbon filter. The filter is made out of a simple DI replacement canister and was placed on the end of the air tube to reduce any impact of pollution such as when they fog for mosquitos and I forget to disconnect the hose inside. There are a still a few more tools available to help reduce nitrates and phosphates so will cover the final ones next post. Until then, happy reefing! Sent from Singapore Reef Club mobile app1 point
-
1 point
-
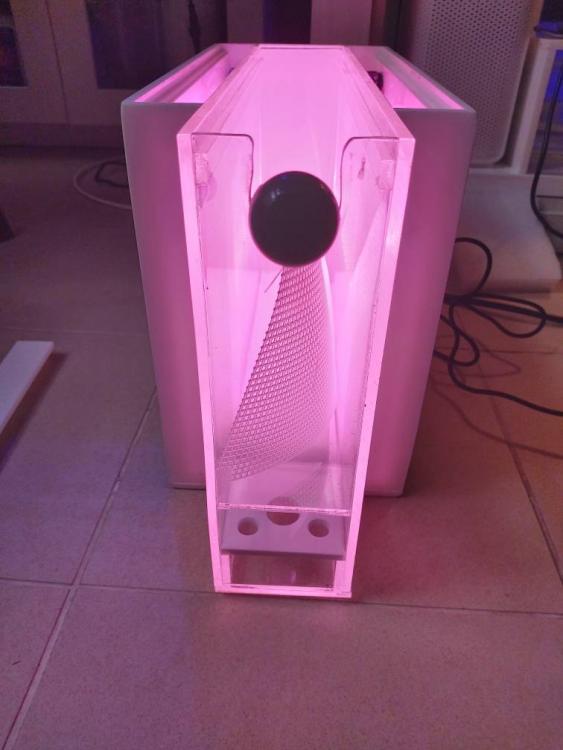
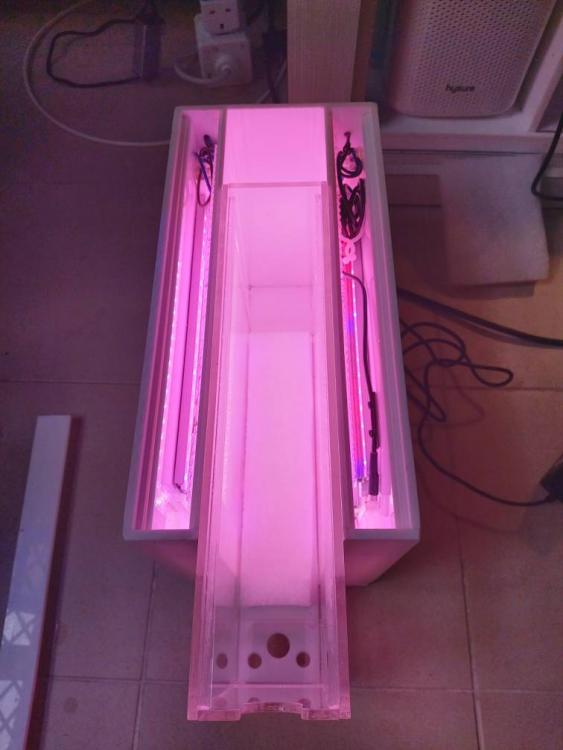
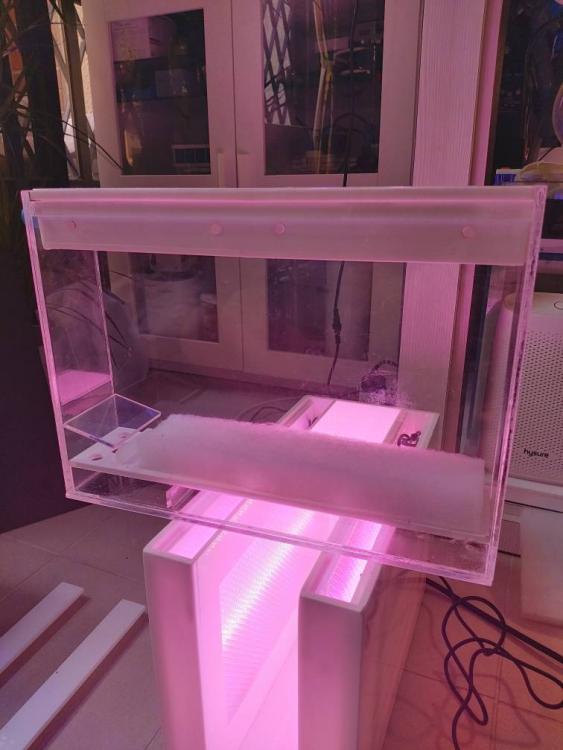
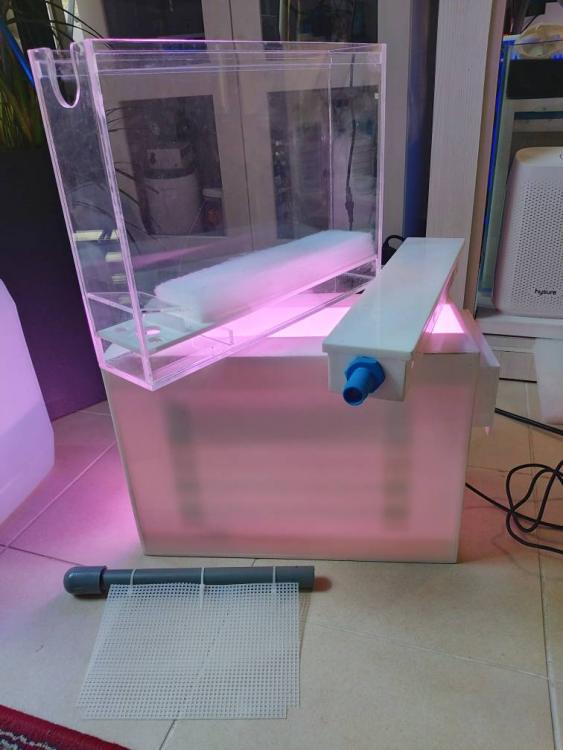
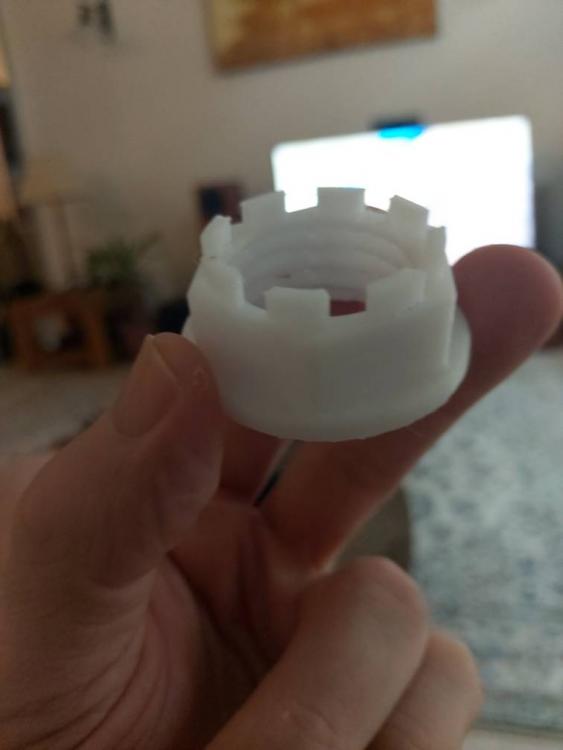
Aanother DIY ATS! So this is a different design of ATS so that the lights are enclosed, so no chance of rust or anything. Using strips of grow lights mixed with some cool whites that I picked up from Sim Lim Tower, I connected them to a temperature regulator circuit which switches off the 12v power if things get too hot within the light compartments. I also added in some air circulating fans to the boards on which the lights sit. These boards allow for the lights to be easily removed for maintenance. I took some measurements with my Seneye and it registered around 210 PAR from one side (seneye only points in one direction haha) so I guess that means the centre will get over 400 PAR which should be more then enough to grow the GHA. The plumbing is not yet done as Covid19 CB rightfully put a halt on the shopping trip to the plumbing shop. The GHA grows on a mesh screen which will spill into a pull out clear acrylic box. This should mean that cleaning is really easy as you dont have to remove everything. Just unscrew one pvc union and pop out the box! I accidentally made the unit 1cm too big for my sump DOH! So I am giving this unit away to a nice reefer (there may be some drag involved haha). So as we figure out how they are going to have the unit installed I can adjust the plumbing so it either drains from the bottom or the top. I started to 3D print a connector for some soft plumbing. I have the connector installed on the other ATS I built. Then ran out of filament so only managed the internal part. Acrylic was from DAMA near UBI mrt station. I find their prices good and their service is top notch. Is great to support a local business. Anyways let's hope we can get this installed soon. Sent from Singapore Reef Club mobile app1 point

.thumb.jpg.925f69253b41c49fa108822ae1c697f8.jpg)
